How to shoot with a film
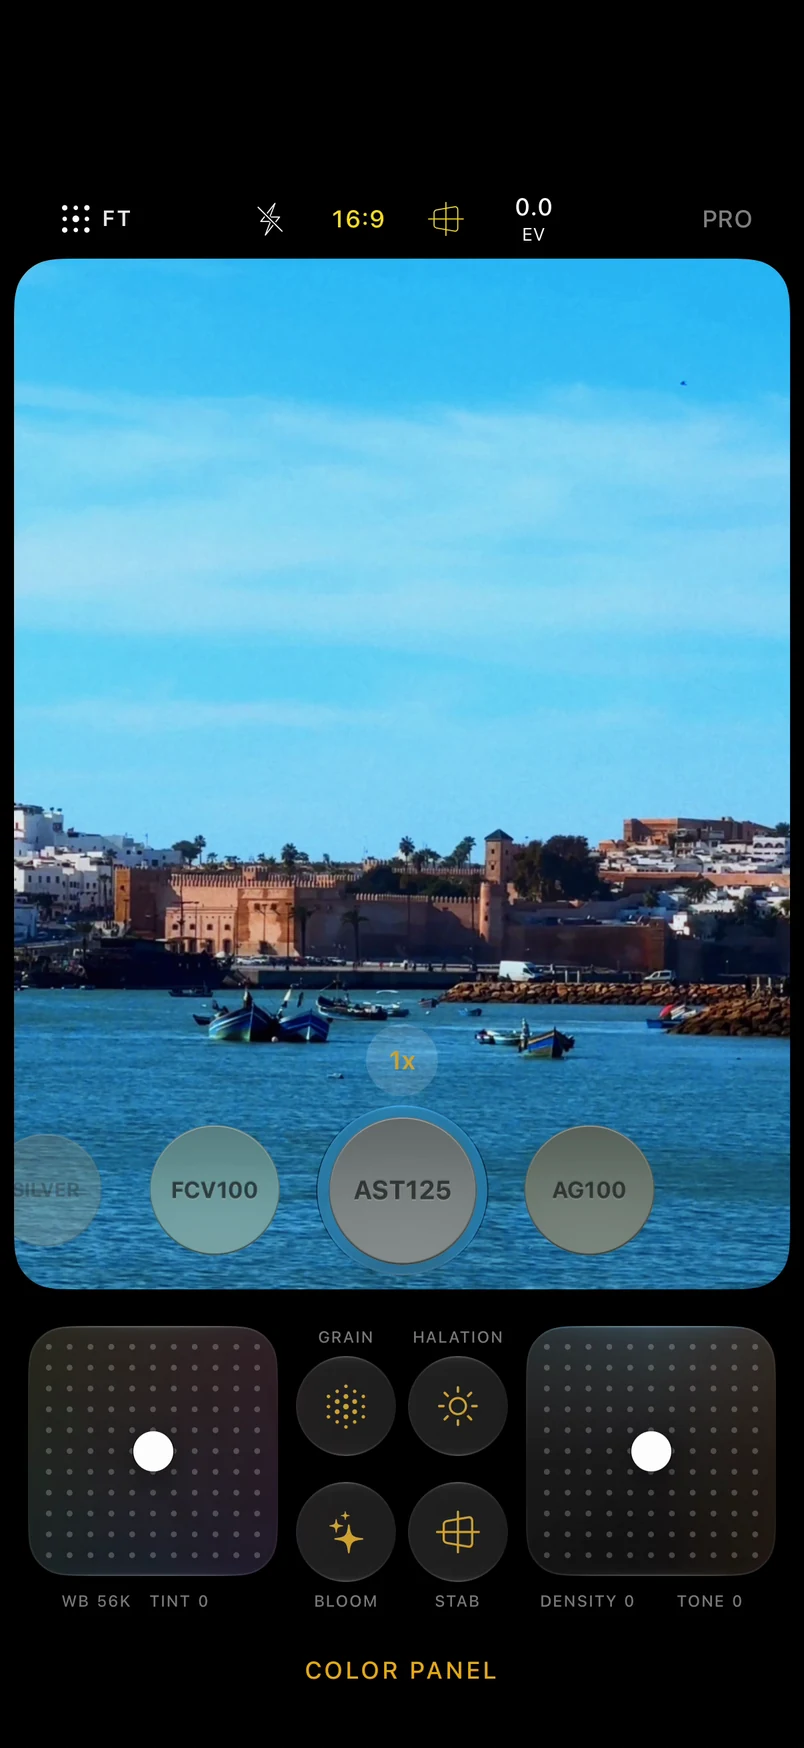
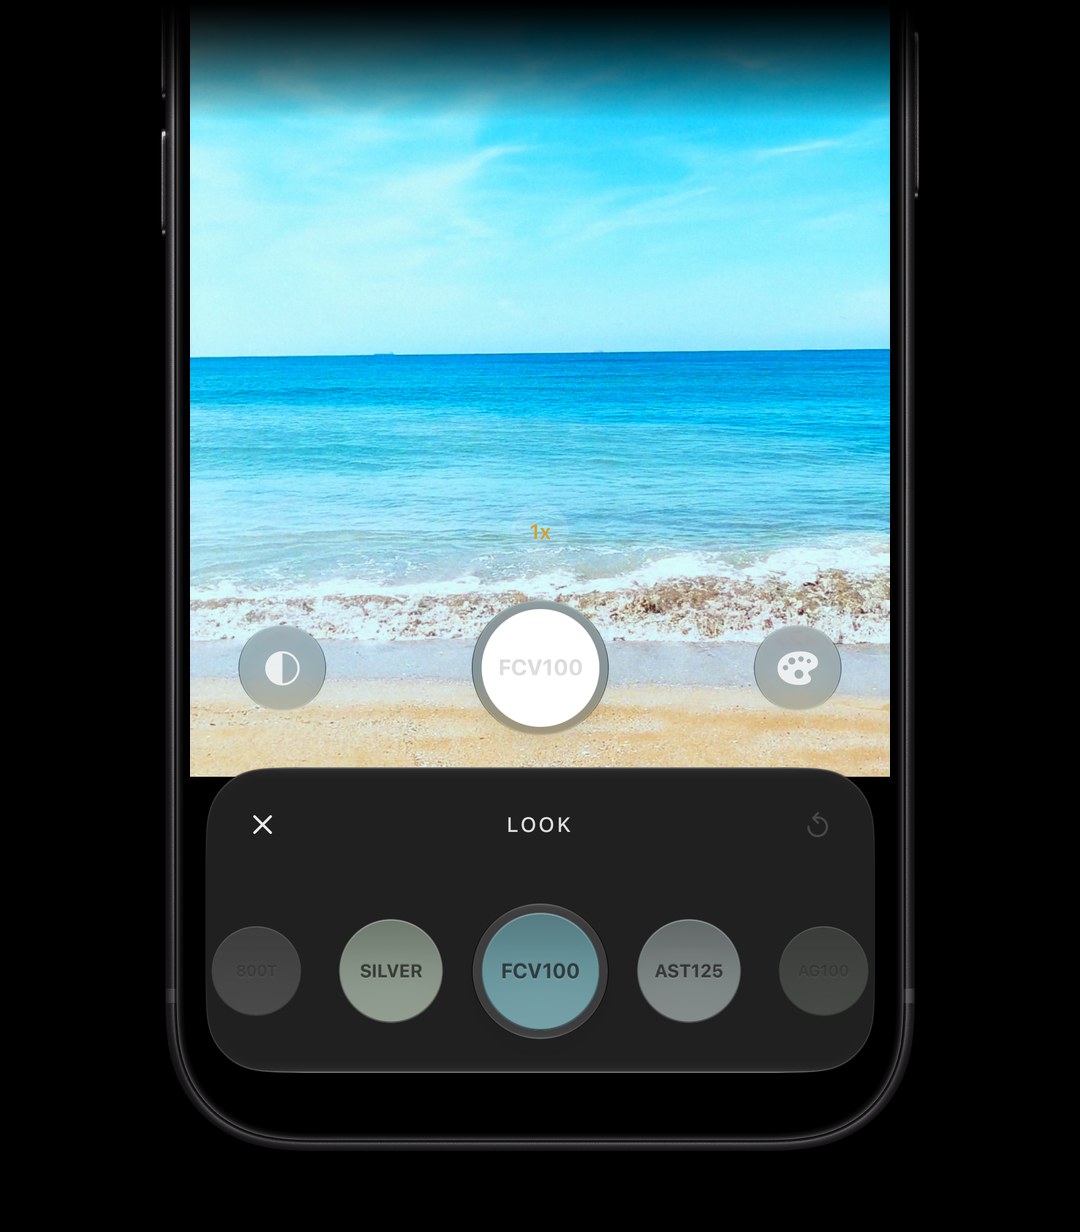
- Tap the color panel button.
- Tap a film in the strip.

This isn't film.
It's FilmTexture.
Choose a film before the shot and see it live, in photo and video.
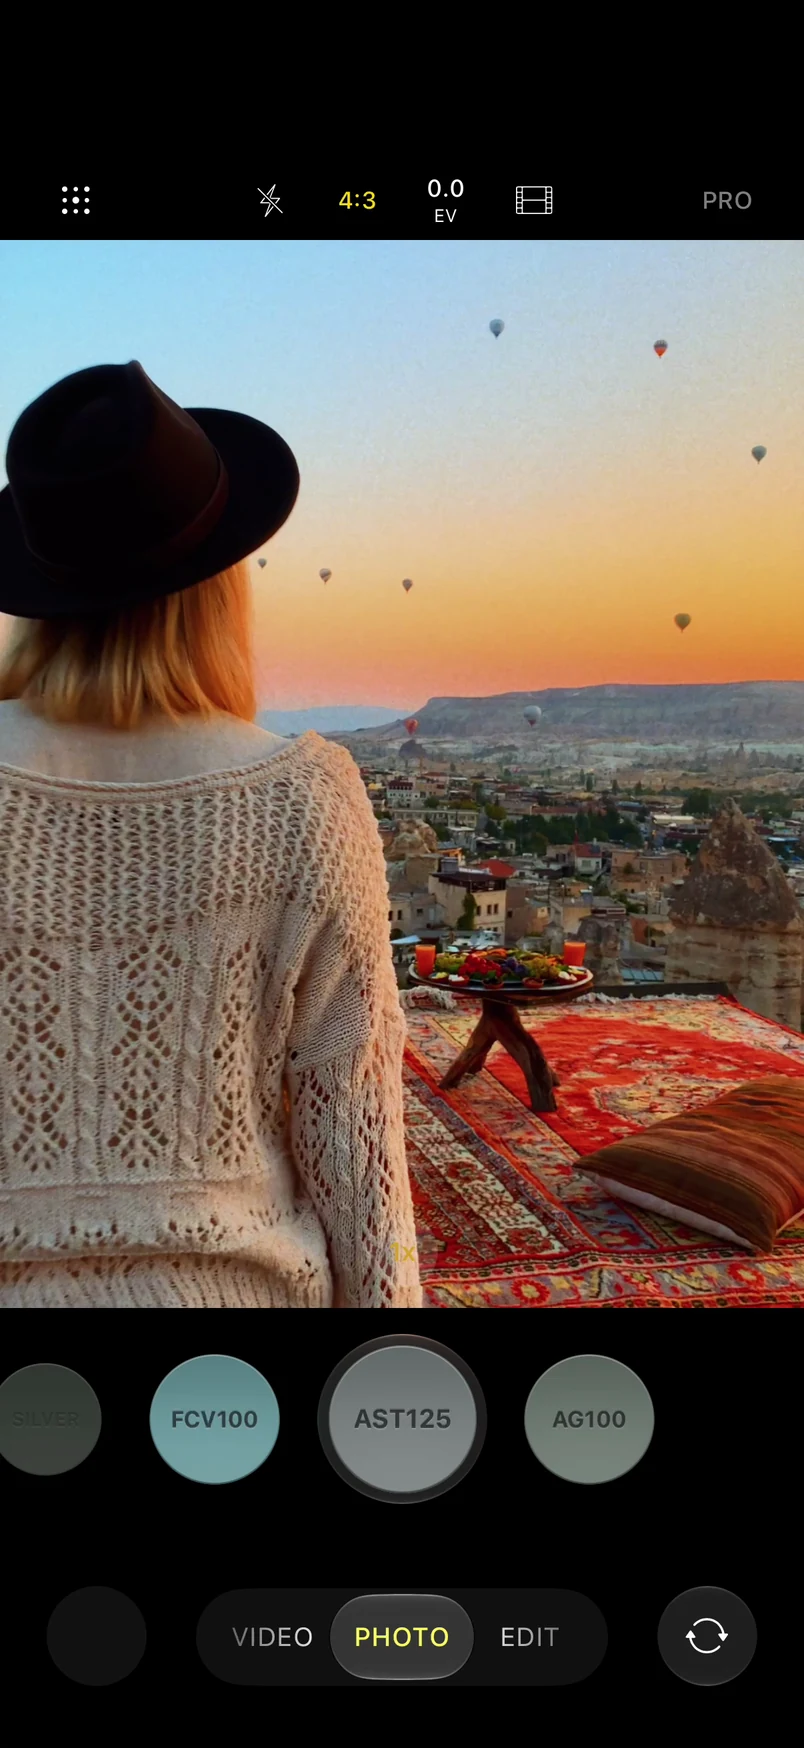
Every film has its own light. Cool and crisp, warm and full, soft and faded: choose the feeling before you shoot.


Give any photo in your library the film it deserves. Every edit is a new copy, and the original stays as it was.


The same films move. Press record and the look is there from the first frame.
See what people make with every film, and share your own frames.
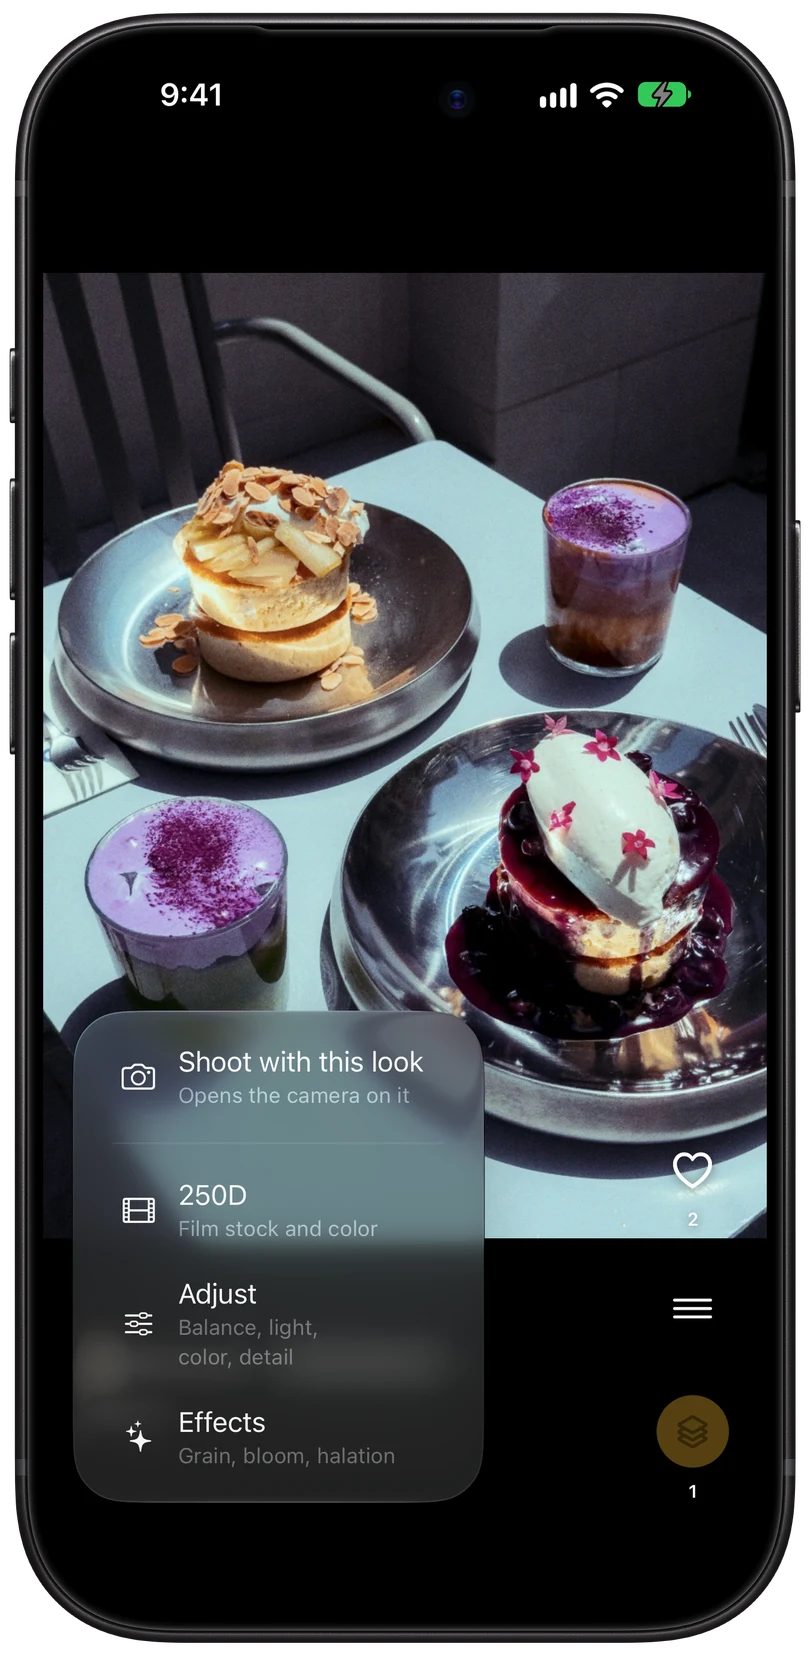
Try any film for free.

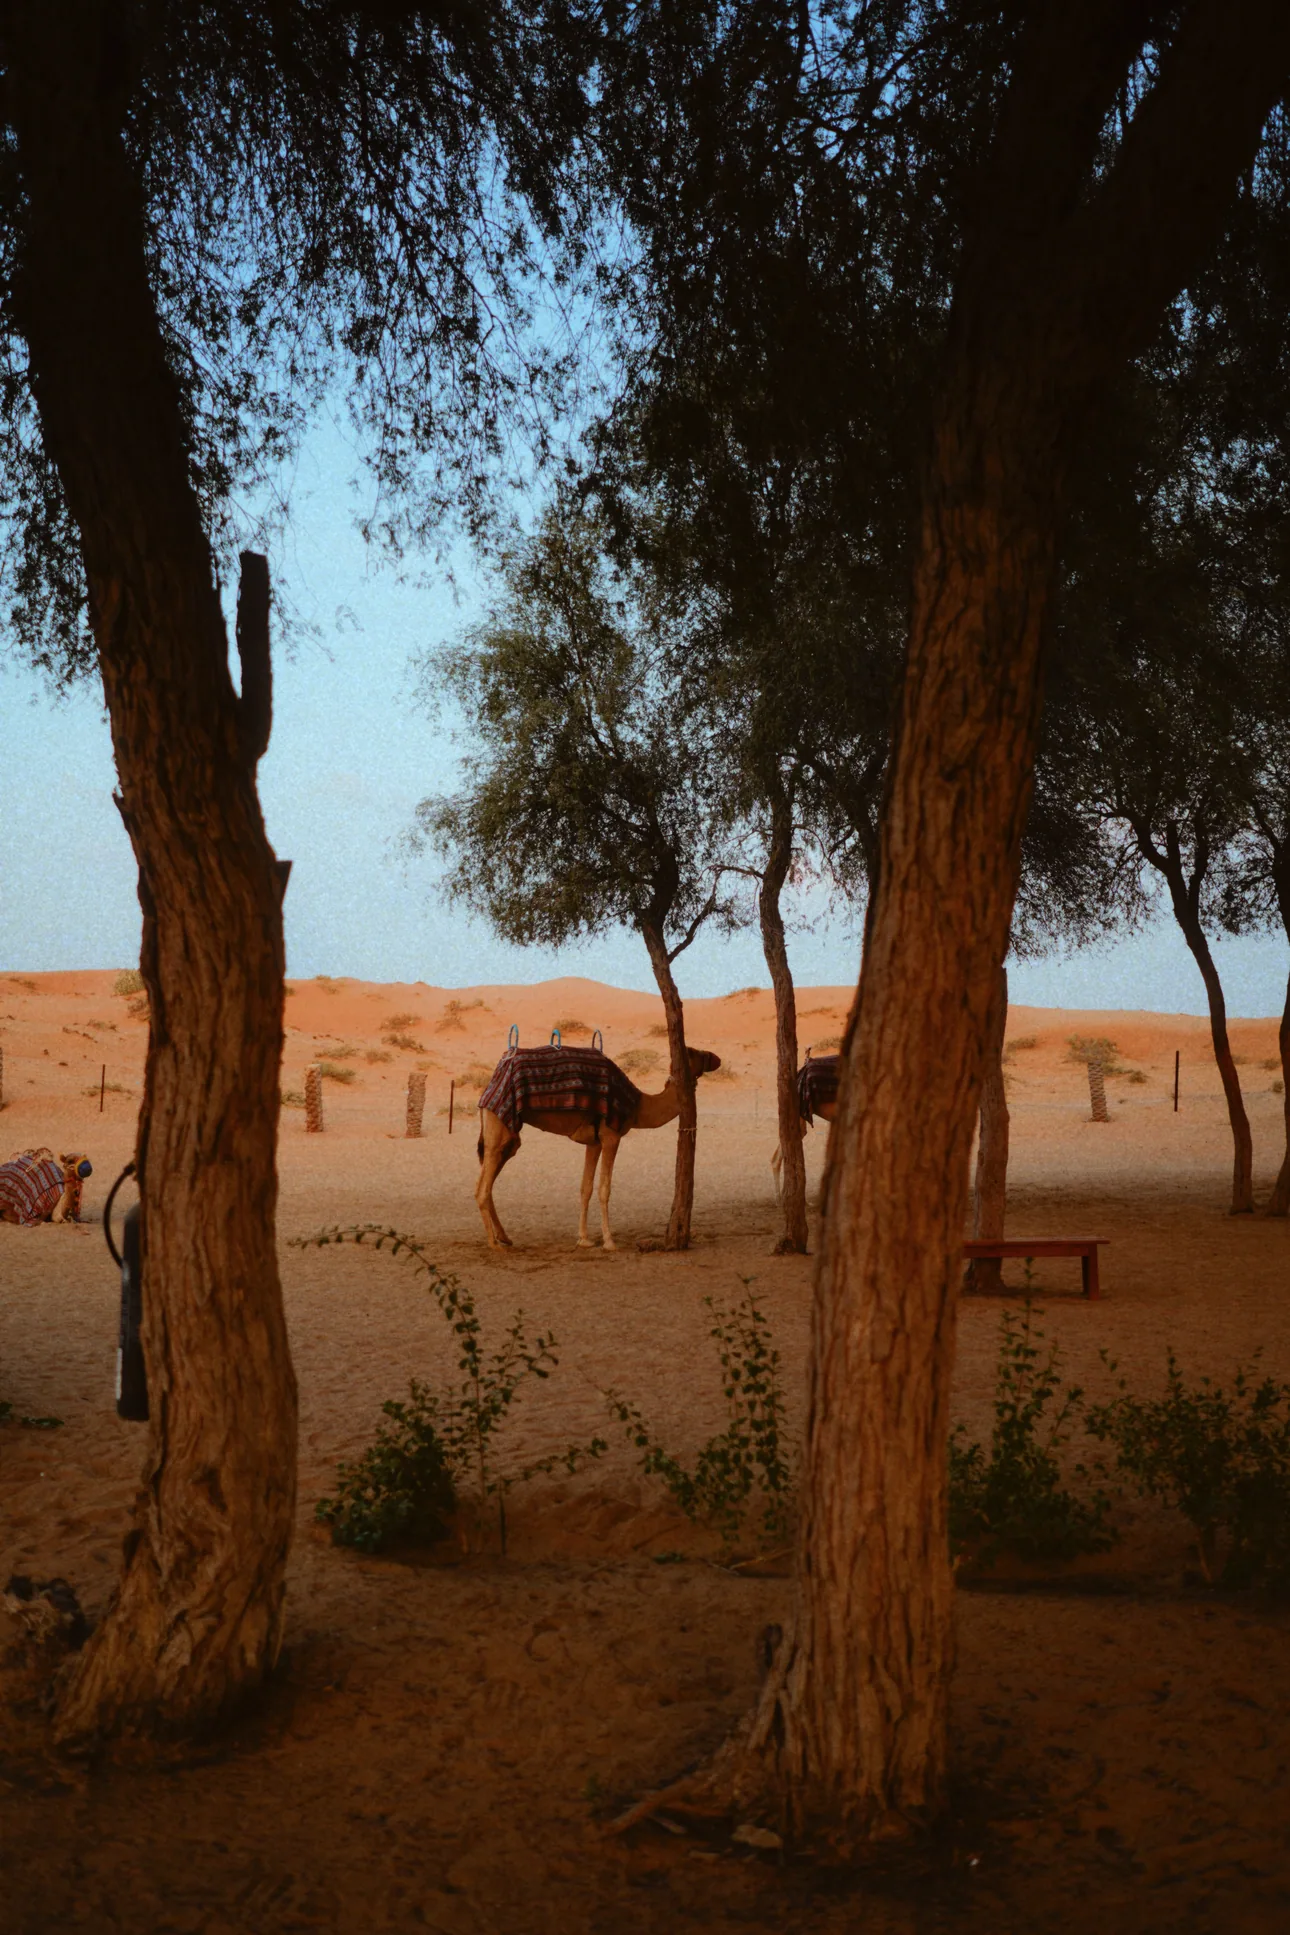
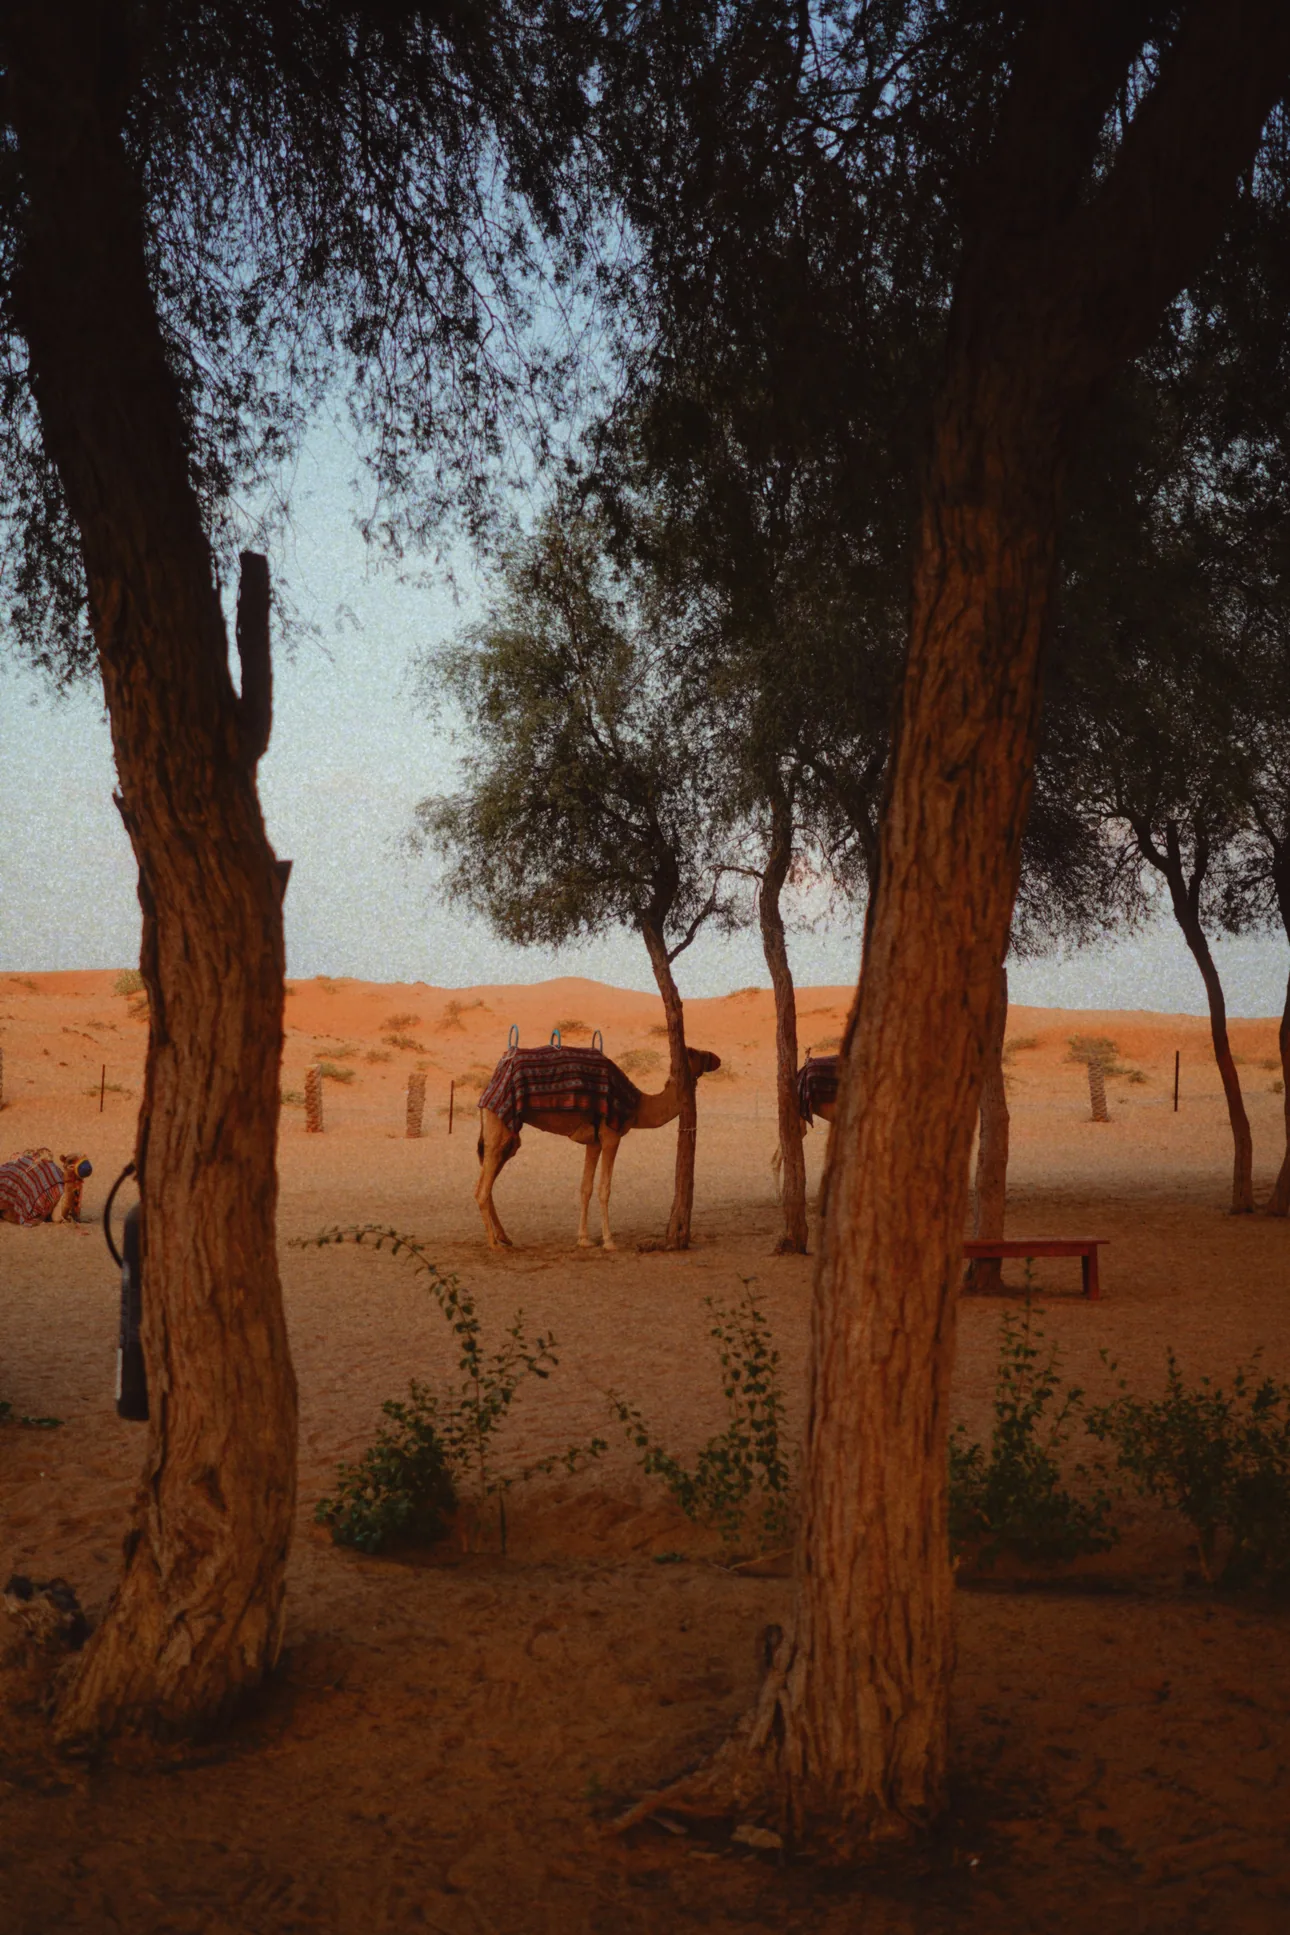
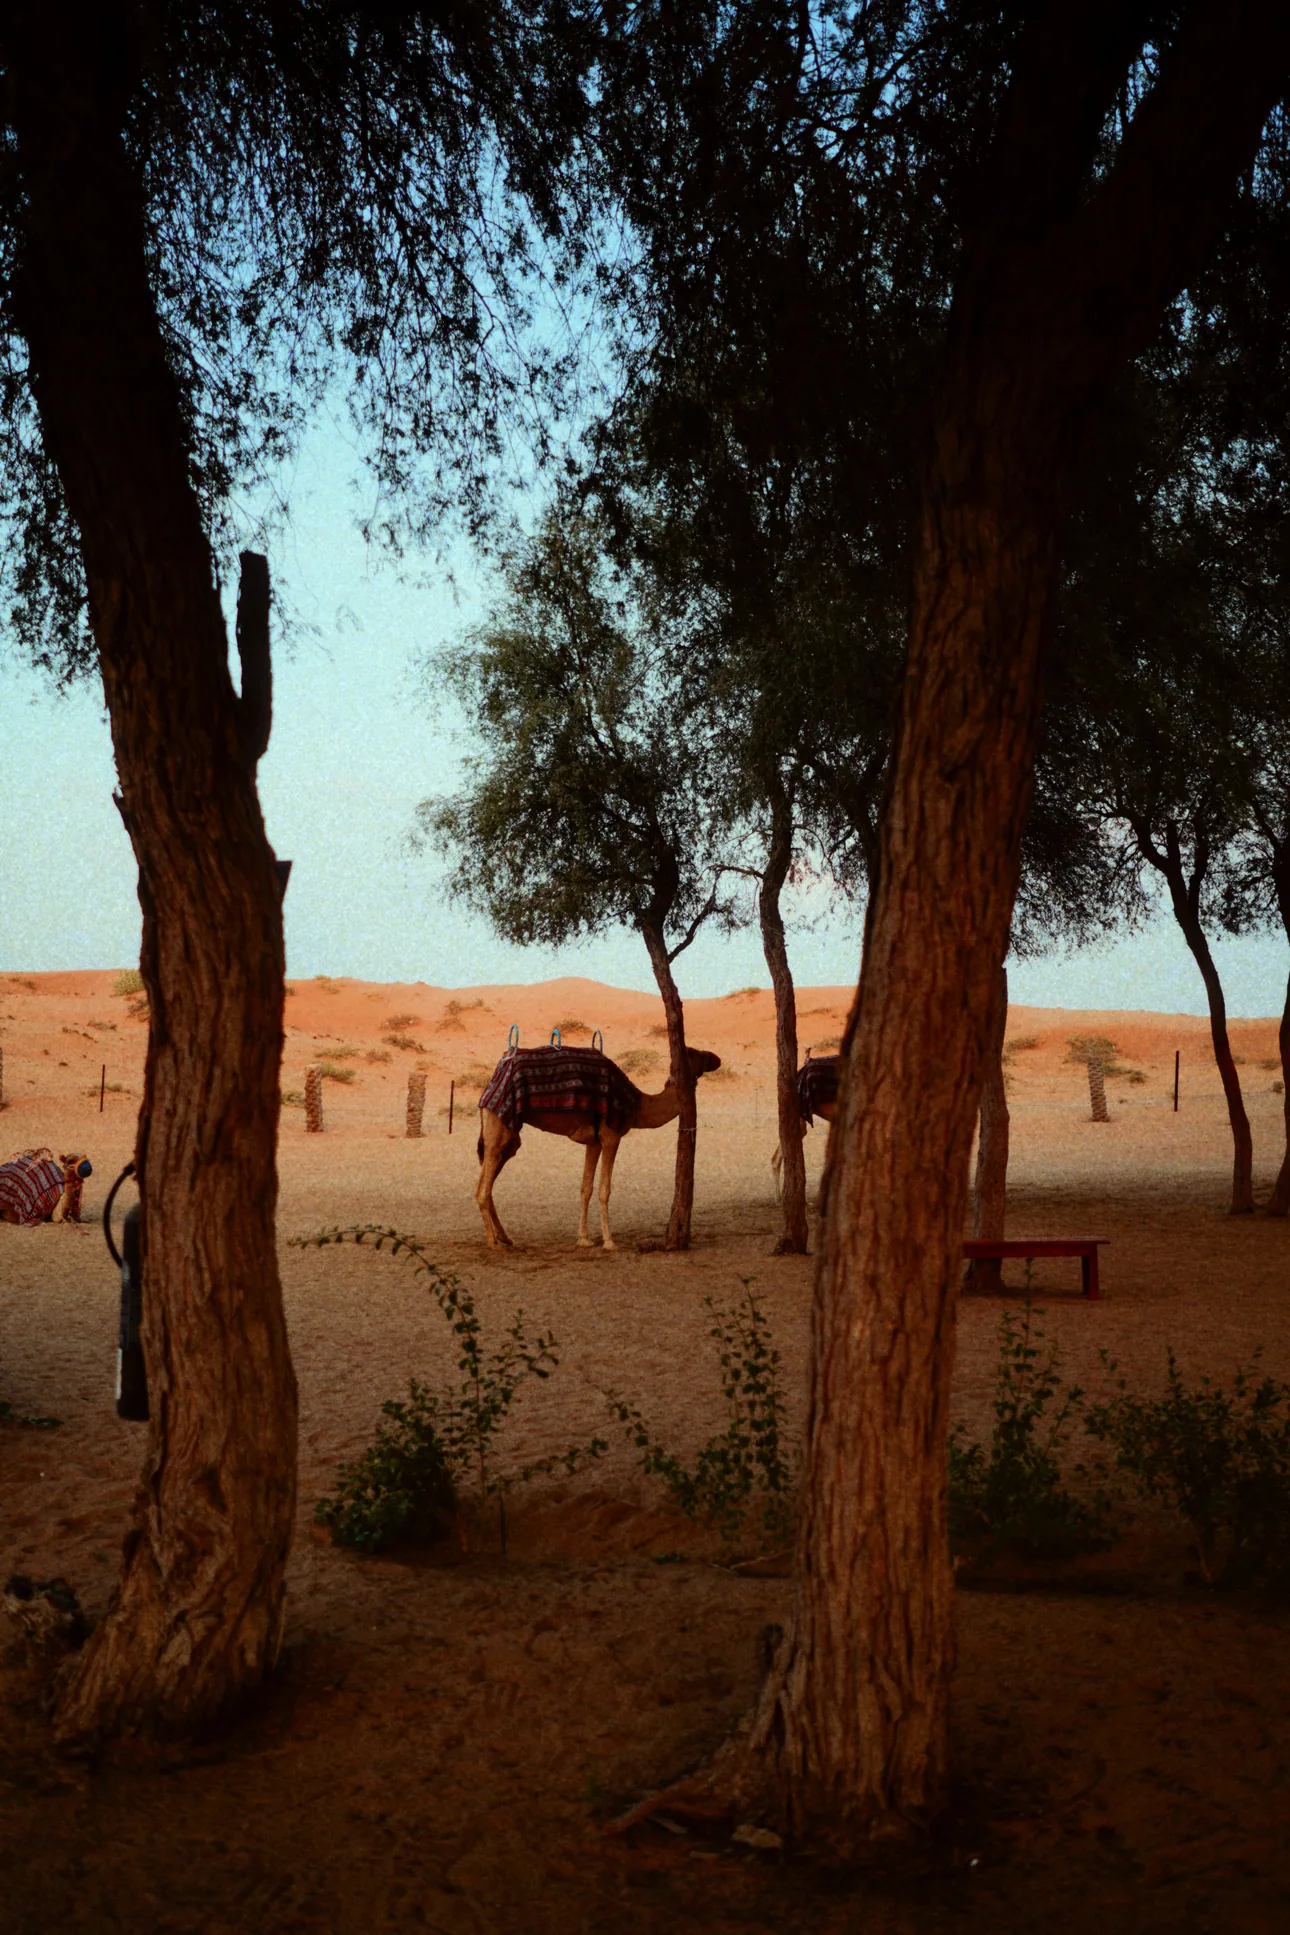
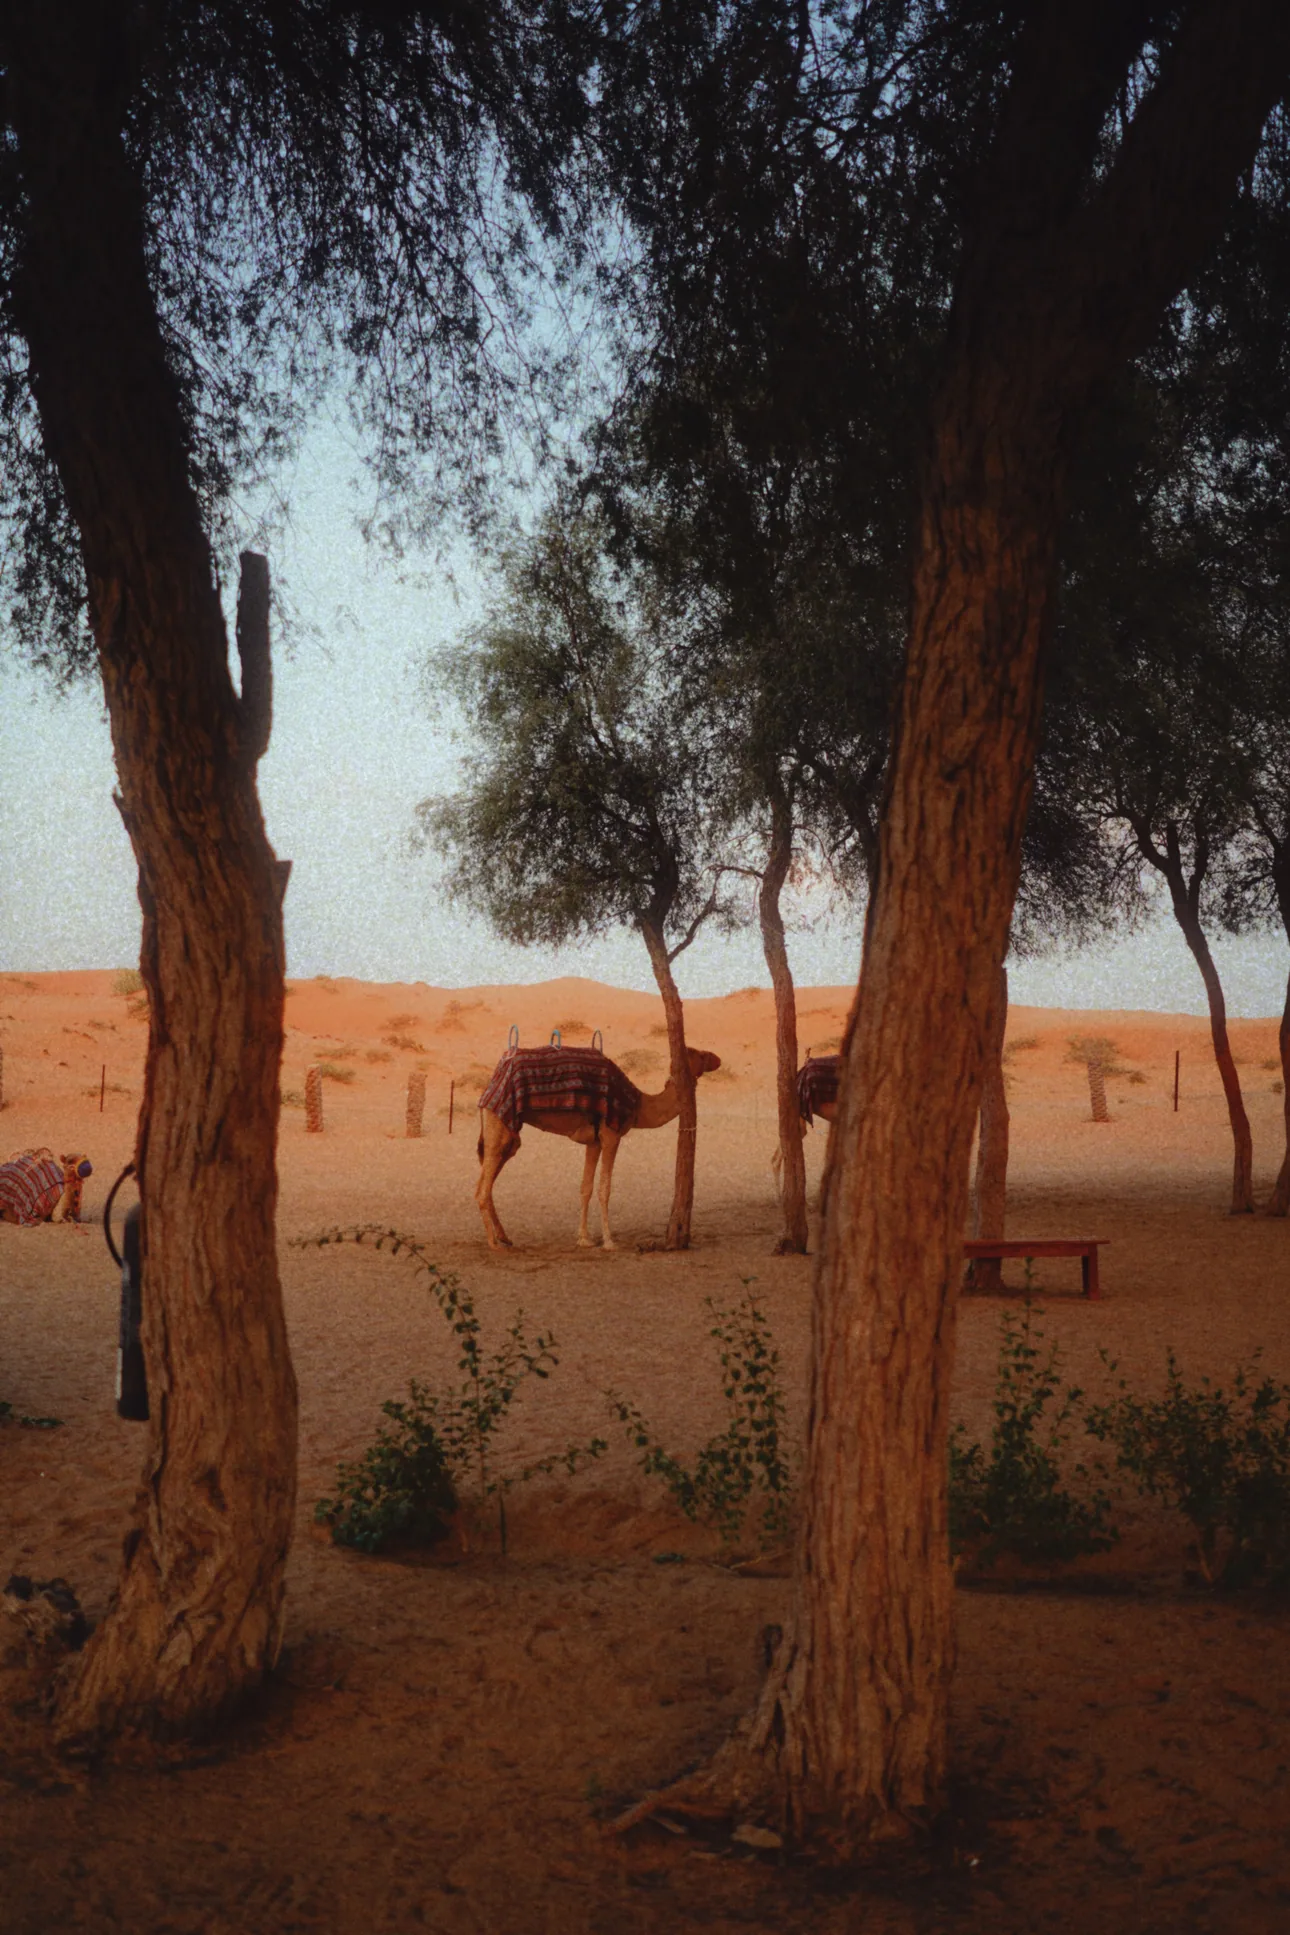
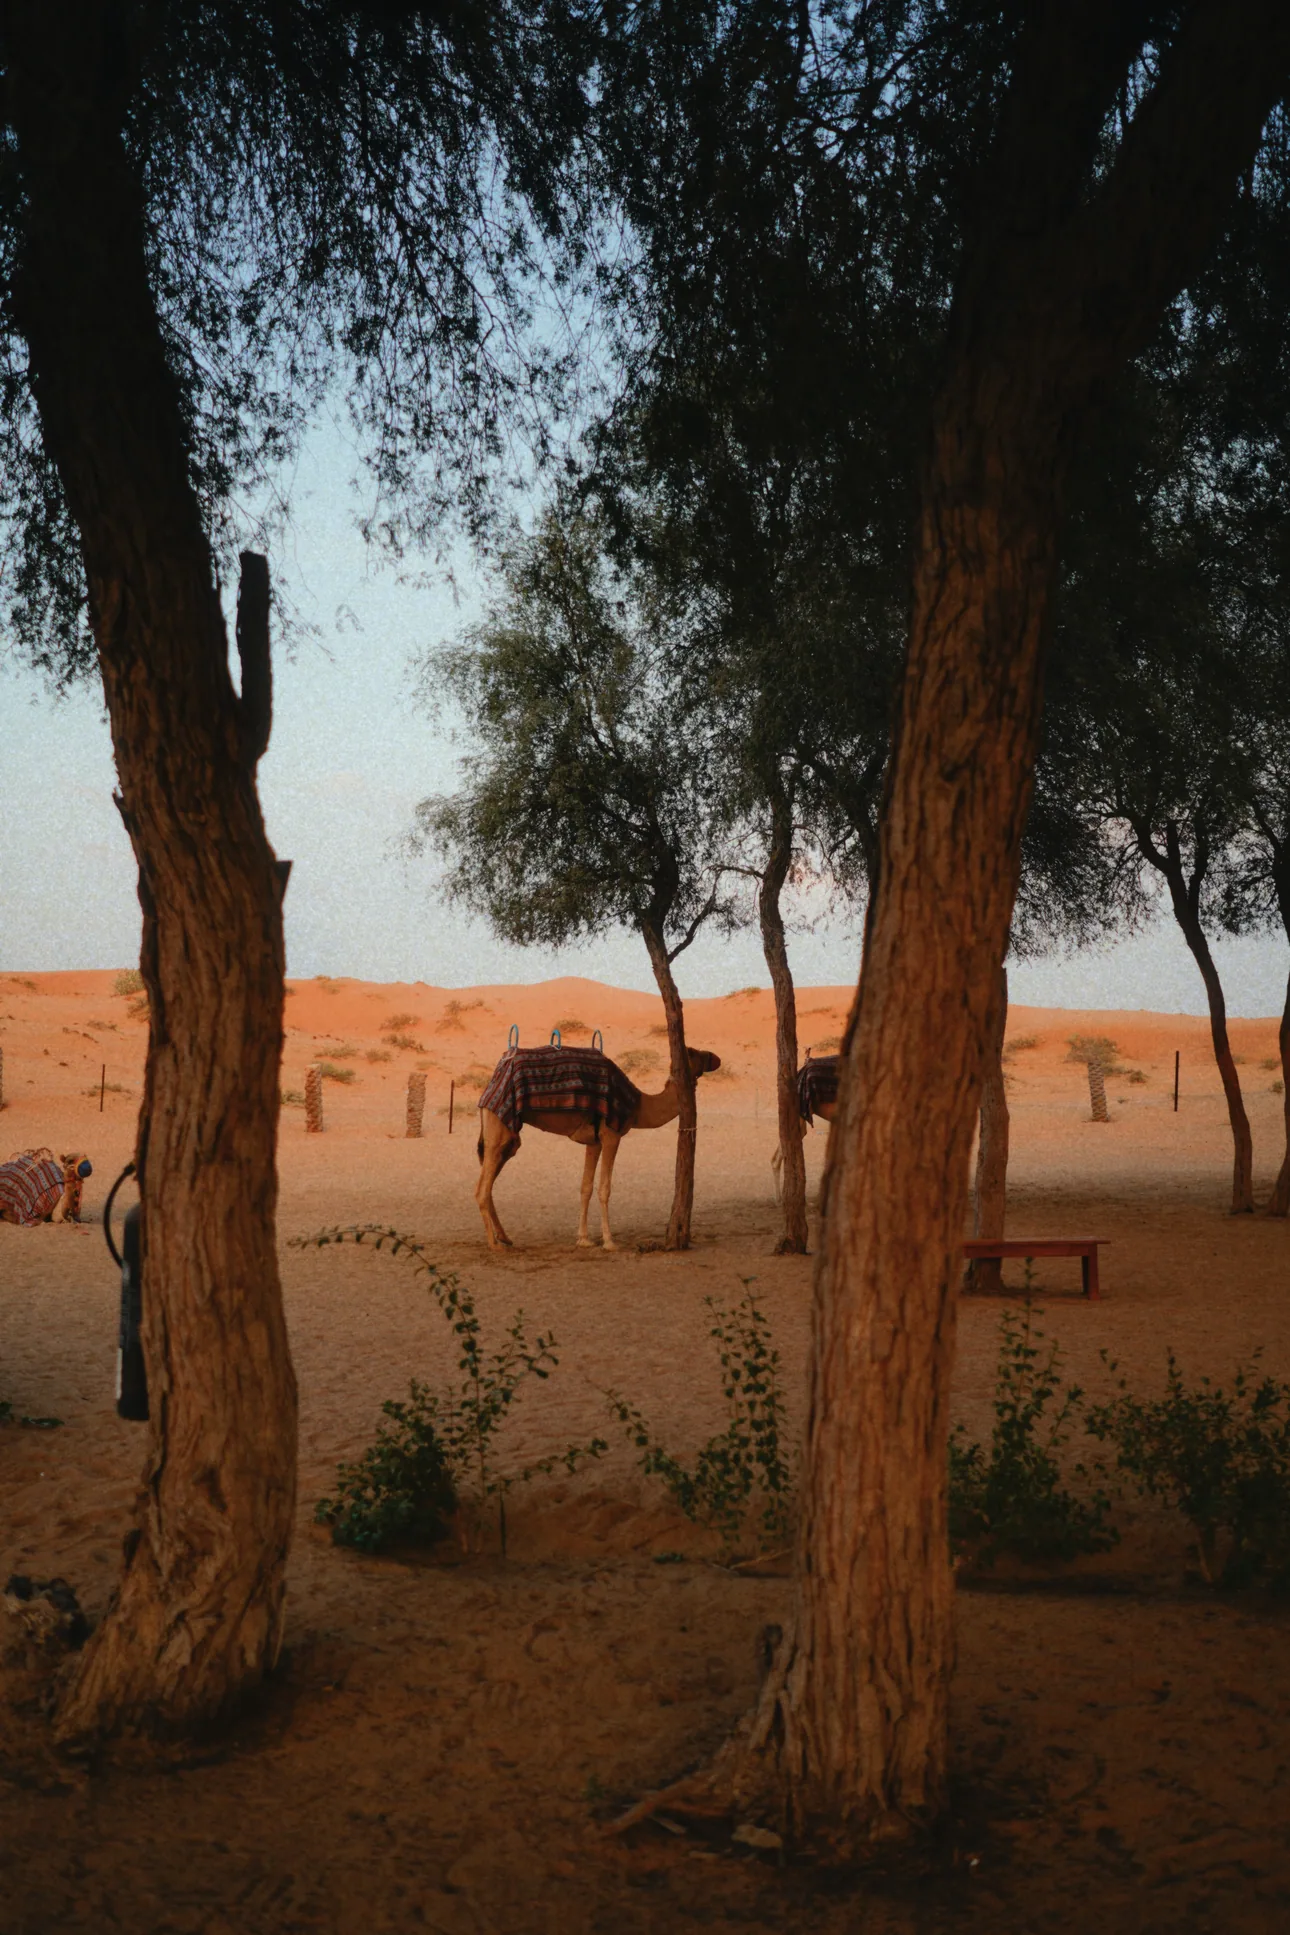
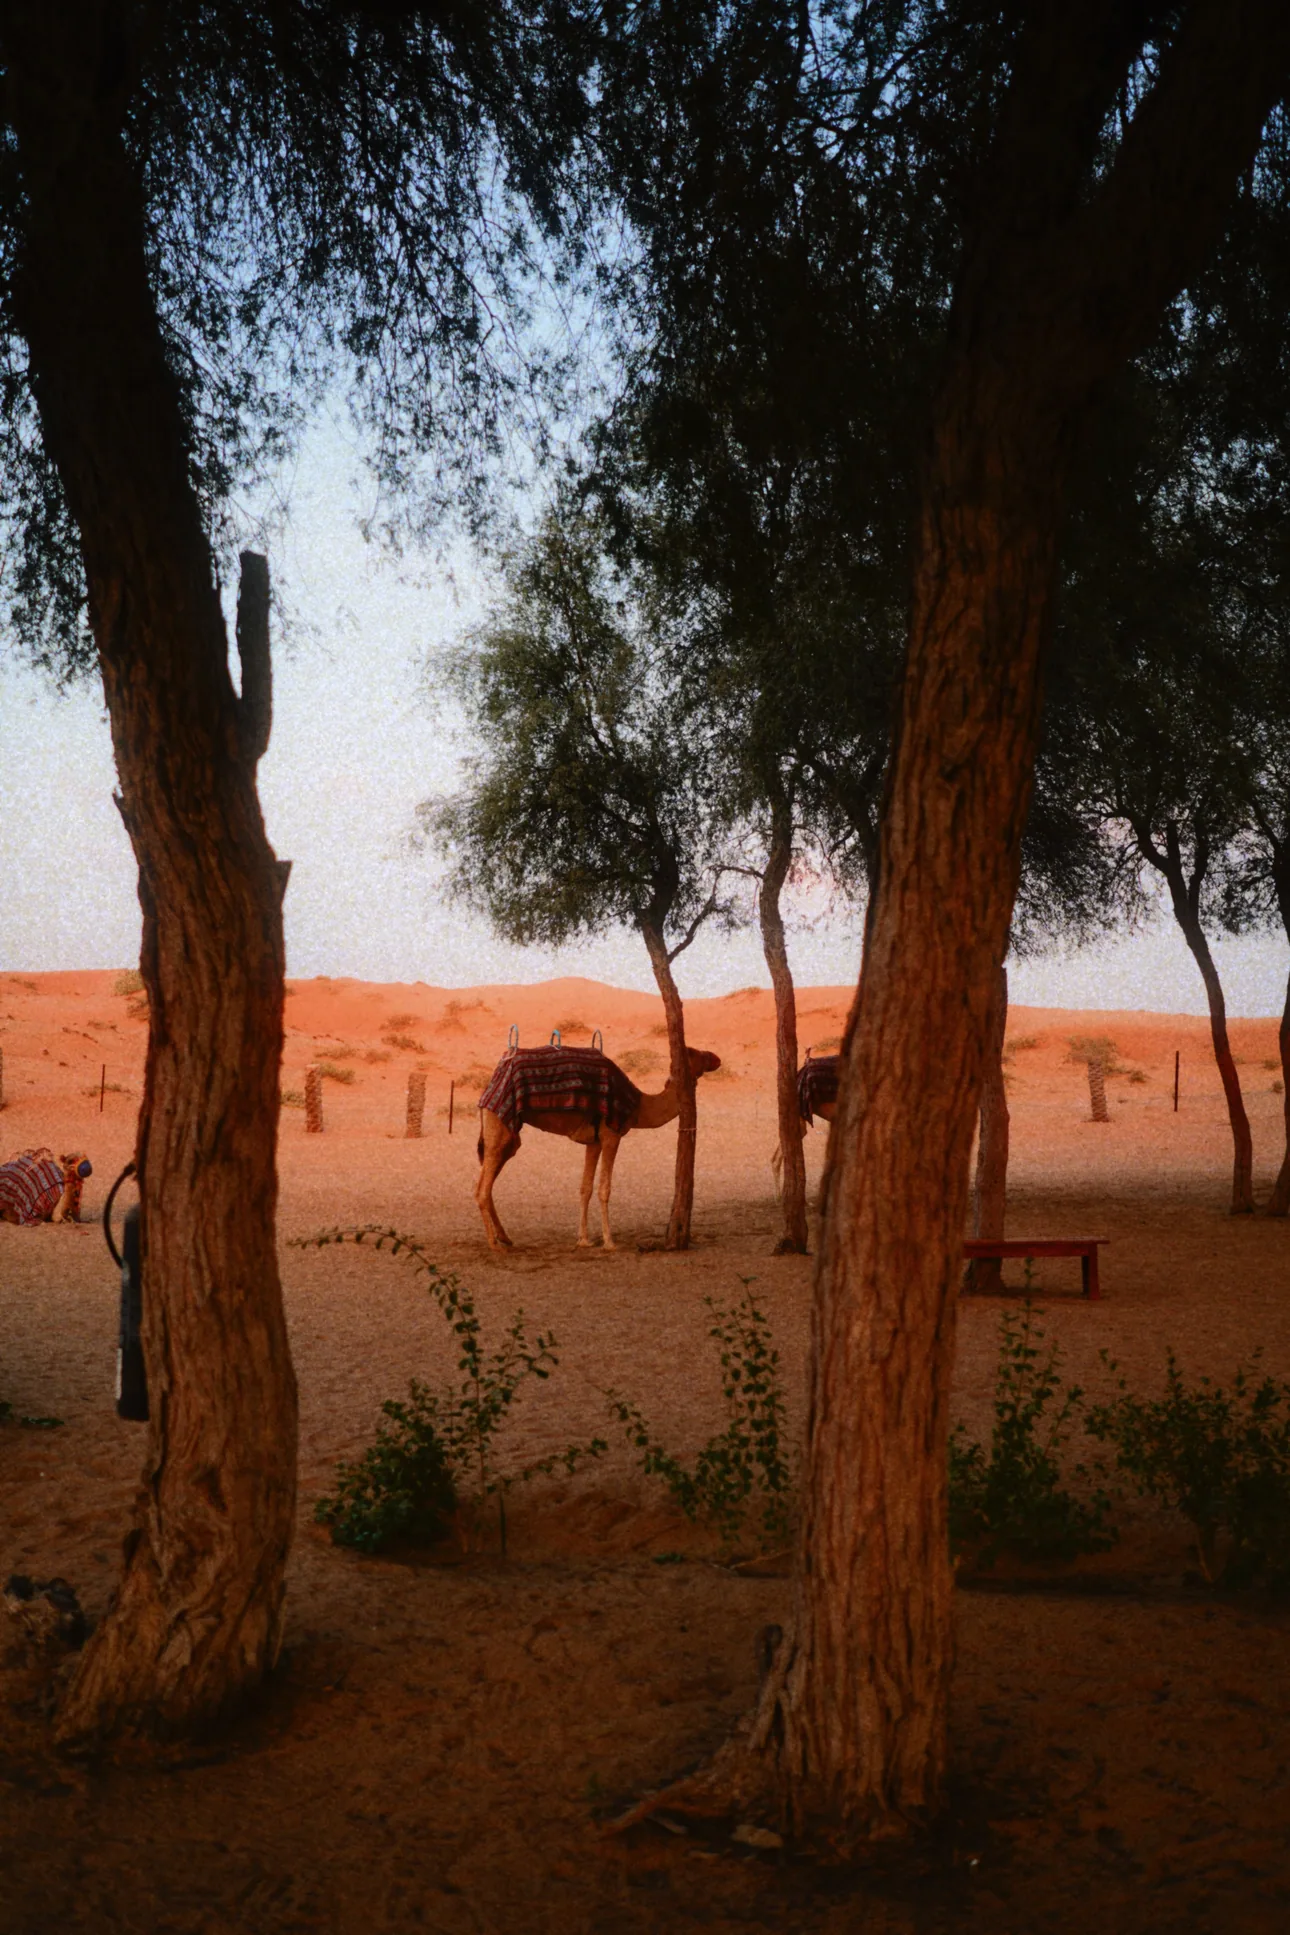
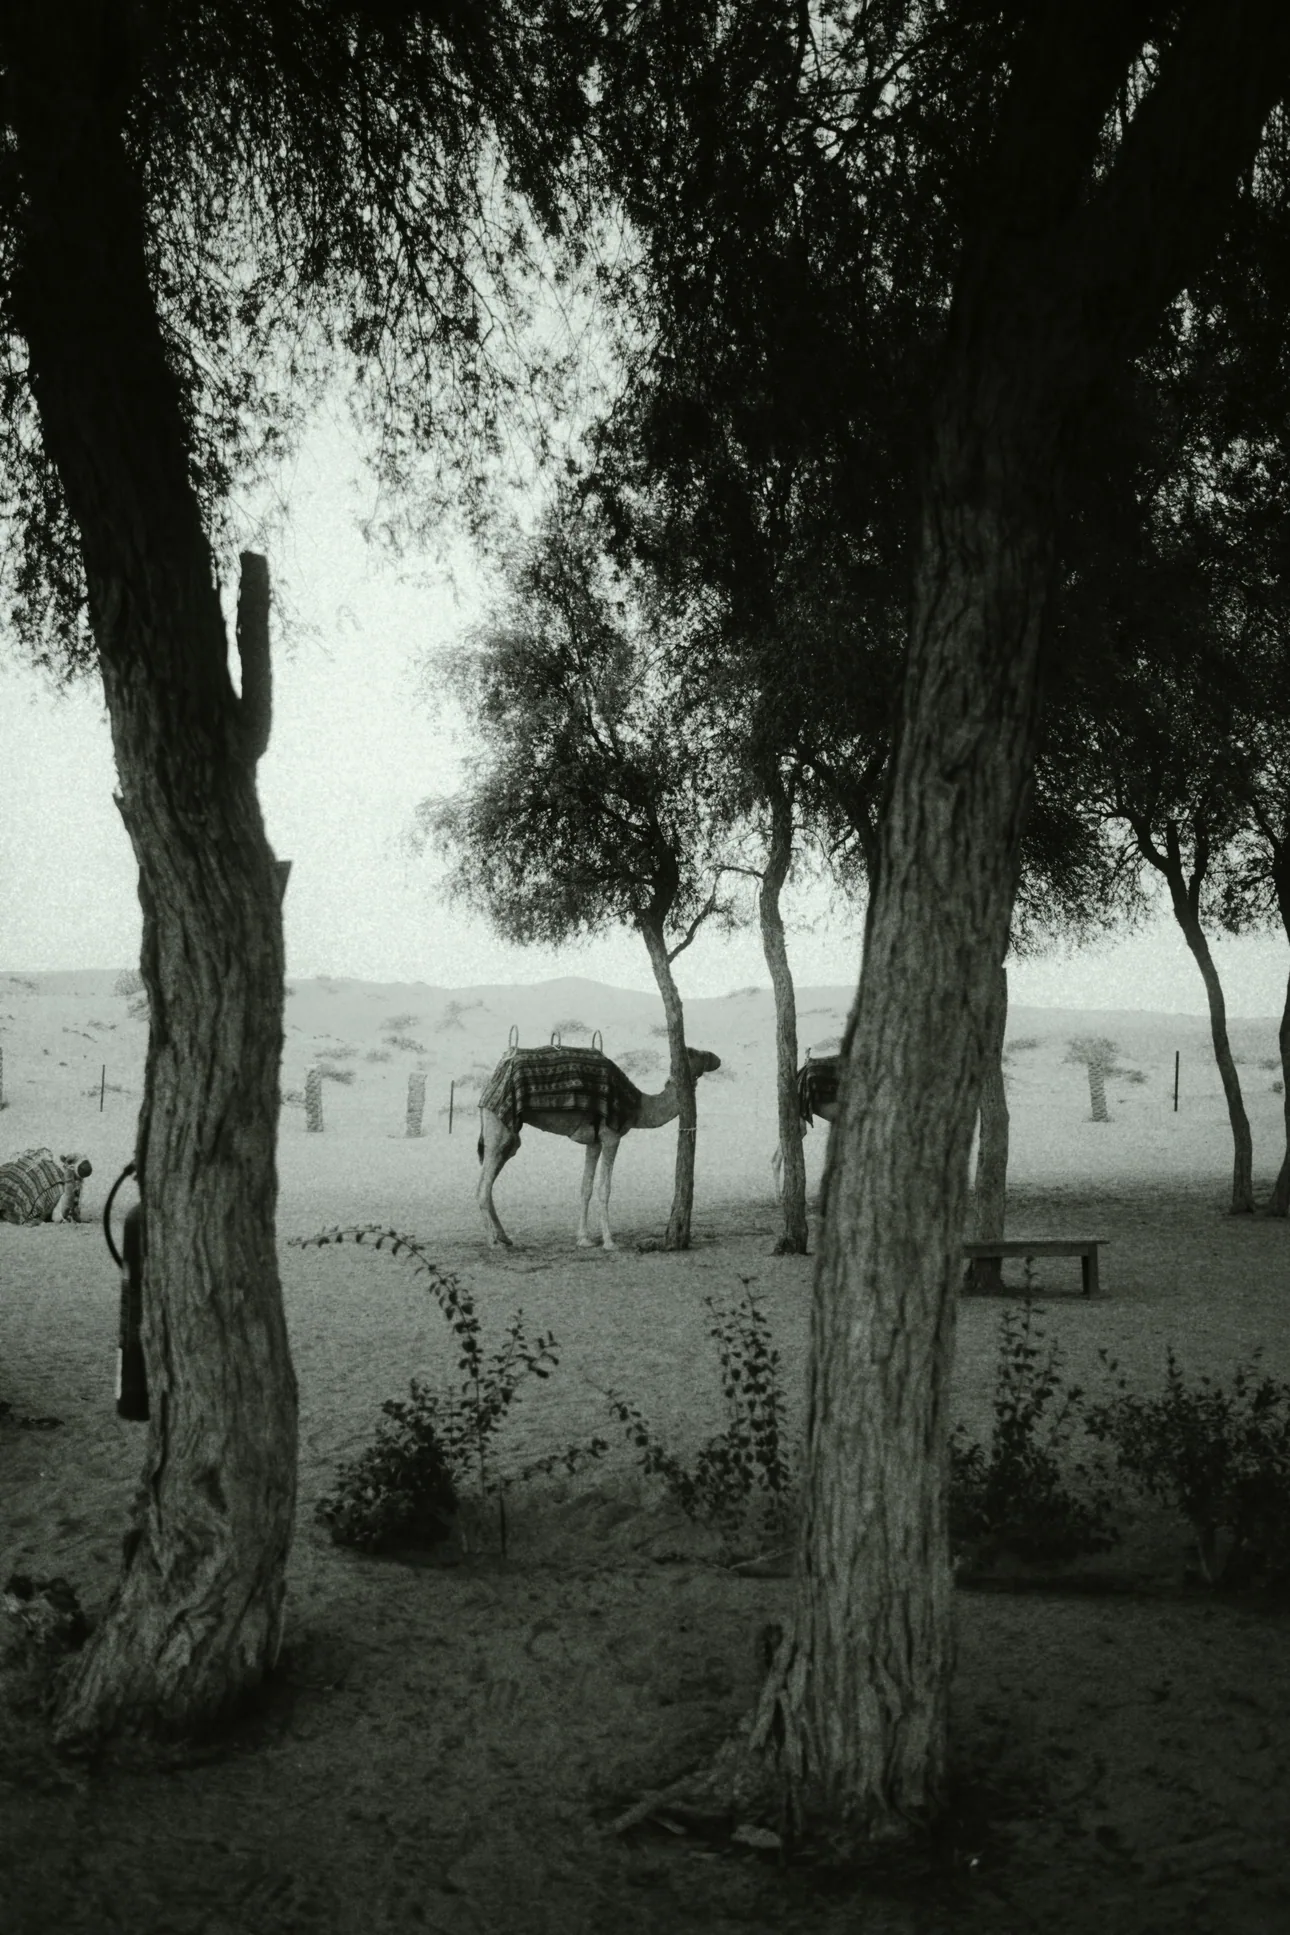
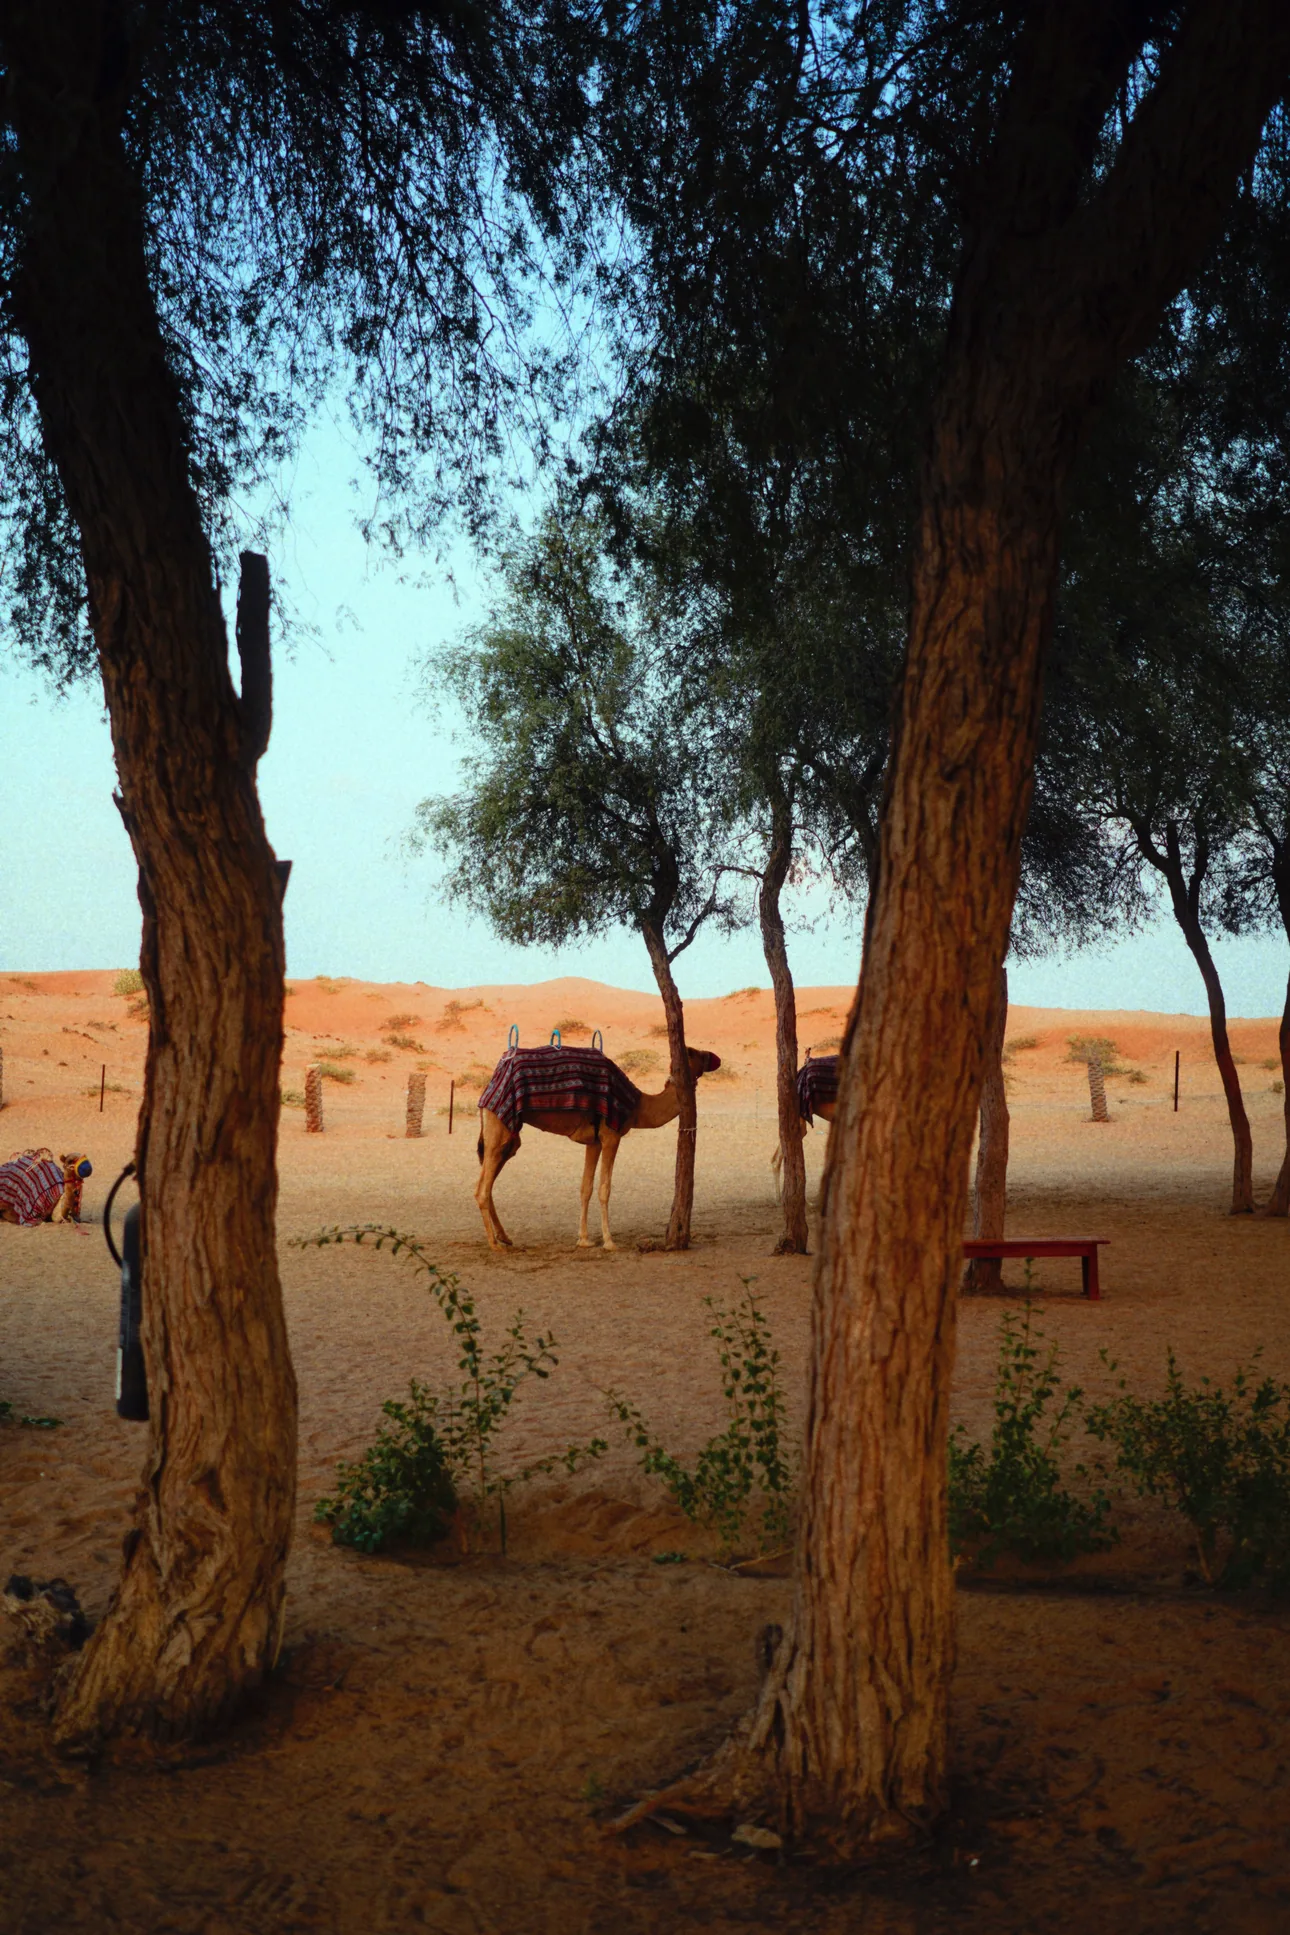
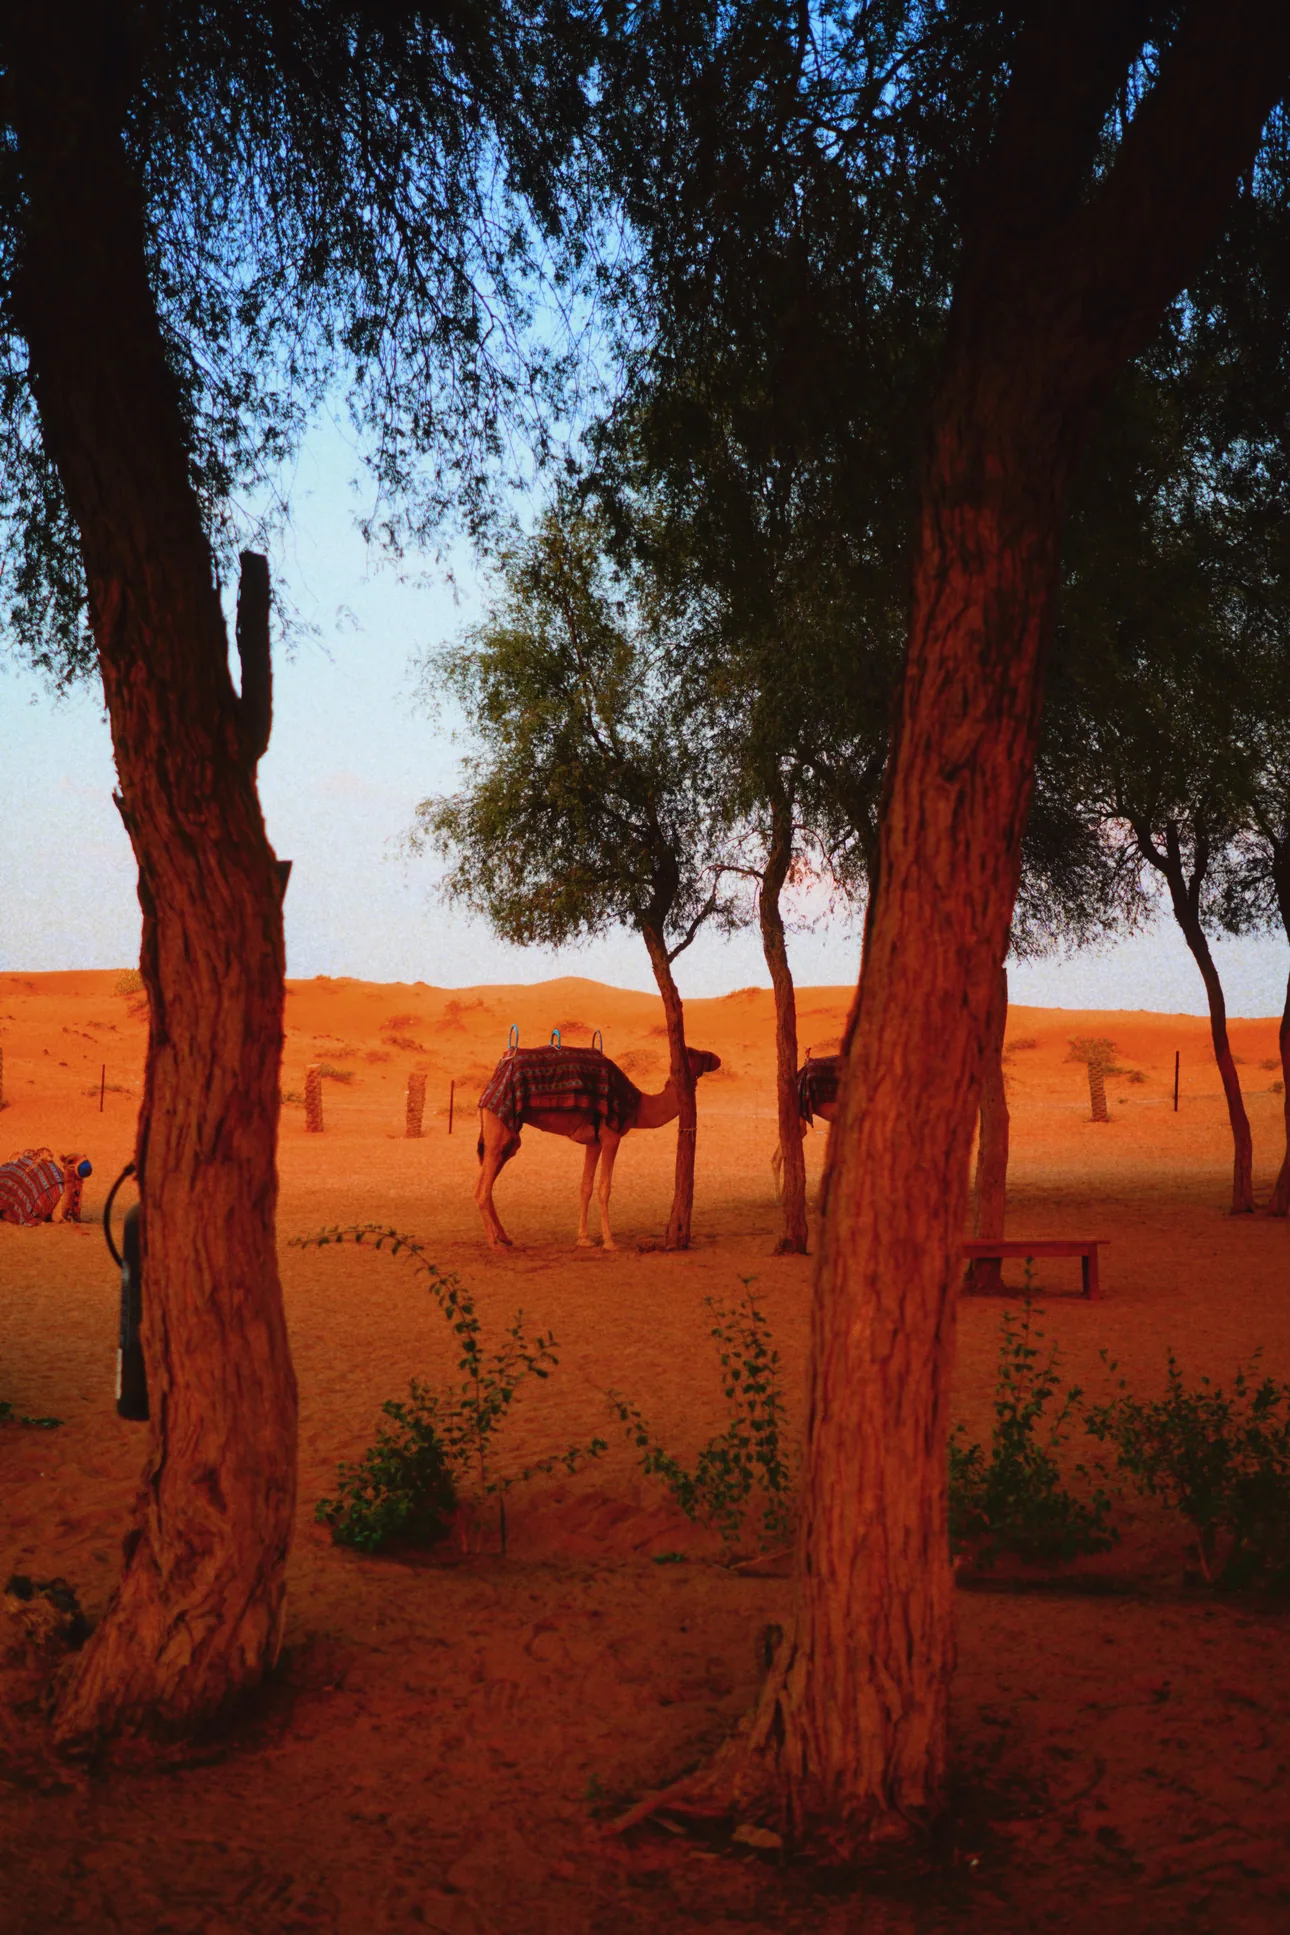
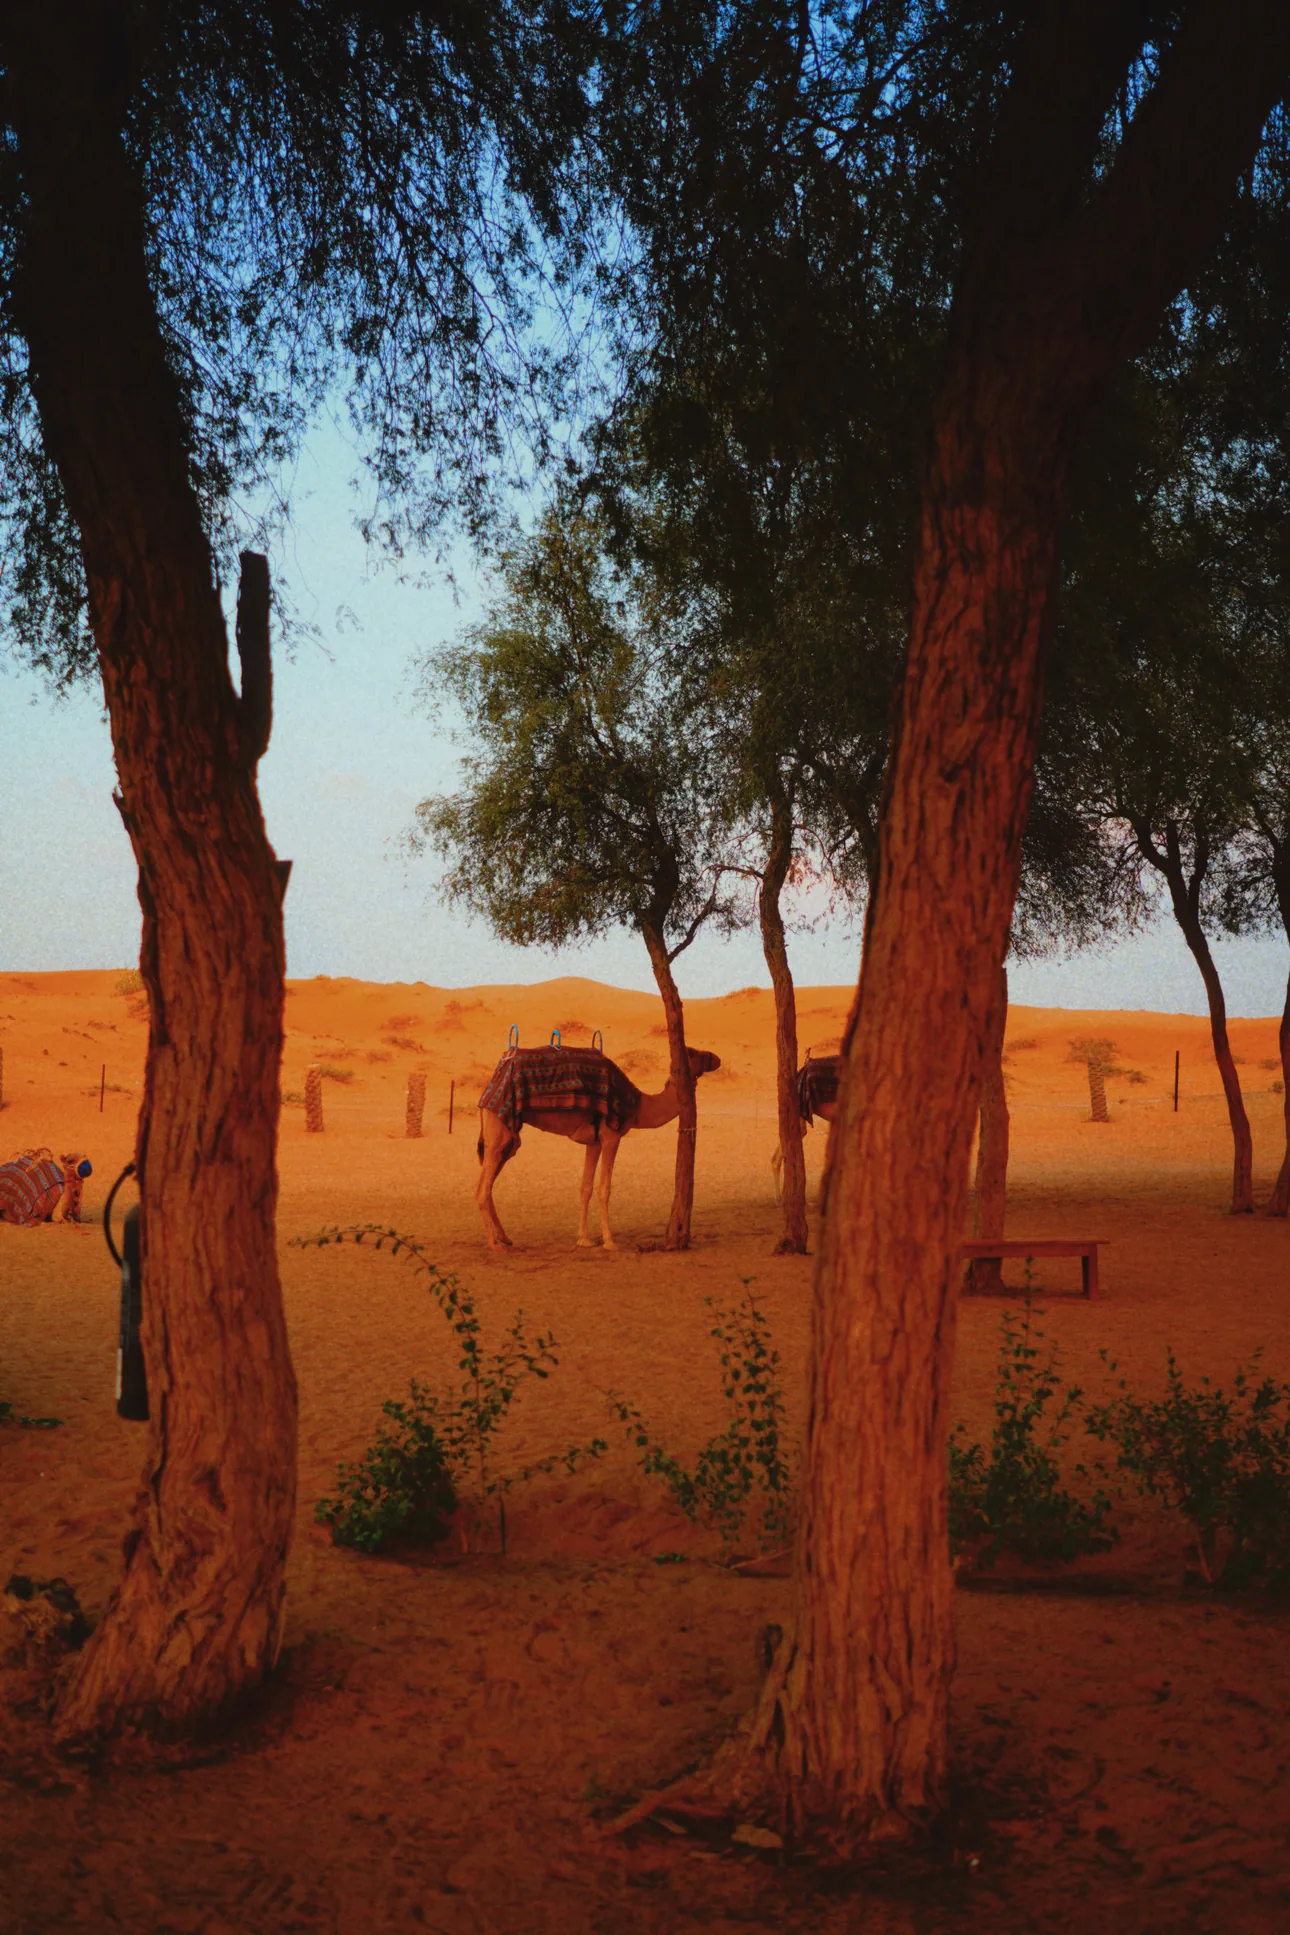
Swipe through them the way you'd load a new roll. The one you stop on is the one you shoot.
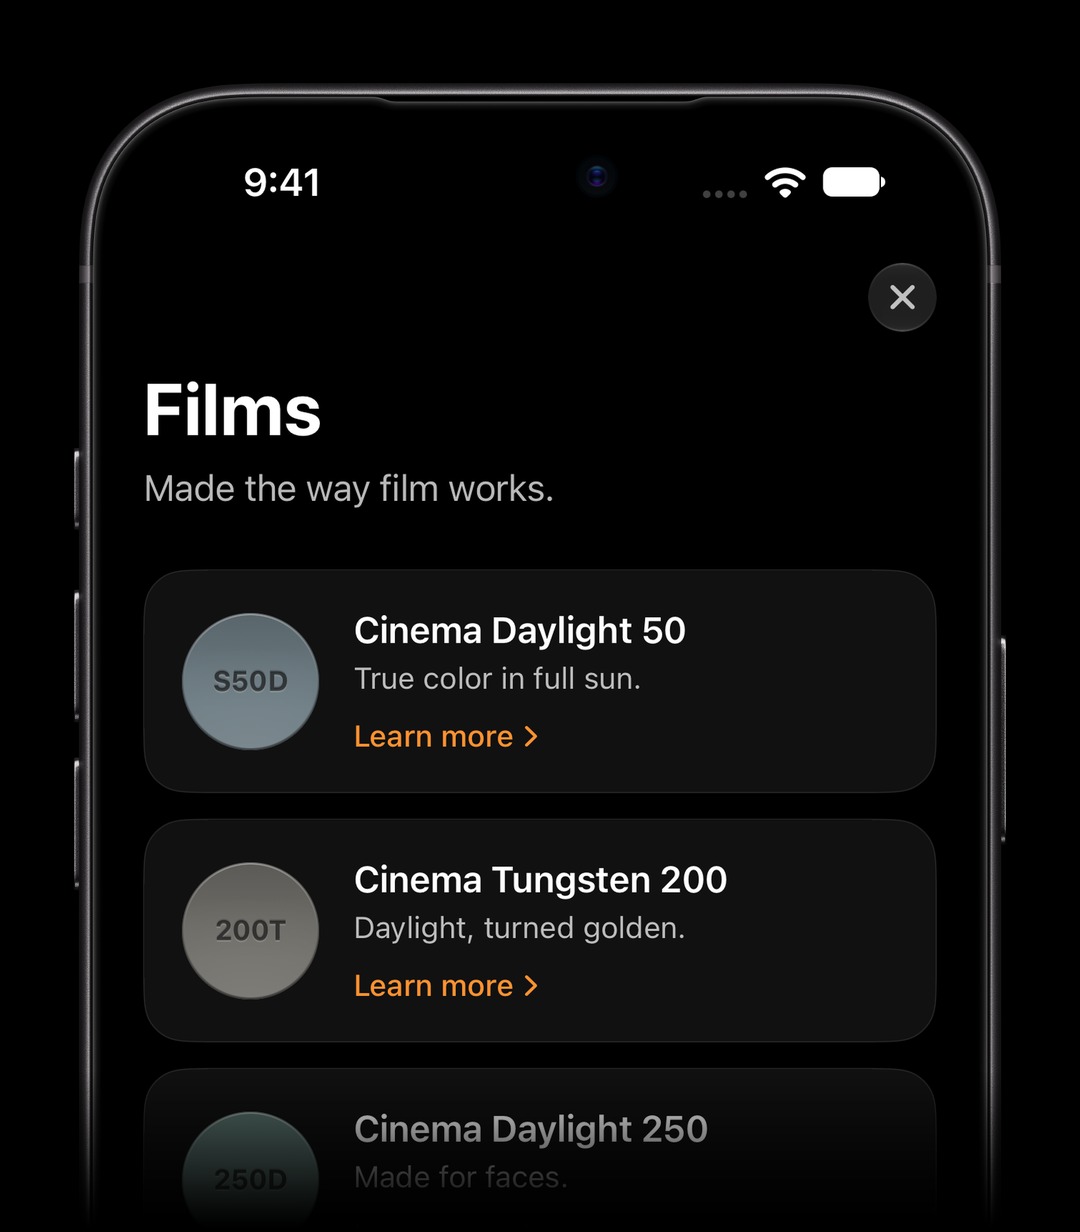
True color in full sun.
Learn more ›Daylight, turned golden.
Learn more ›Made for faces.
Learn more ›The night, in quiet color.
Learn more ›Every detail, kept.
Learn more ›Bold, raw nights.
Learn more ›Only light and shadow.
Learn more ›Slide color for clear days.
Learn more ›Golden light, full color.
Learn more ›Faded like a summer memory.
Learn more ›Slide color for clear days.


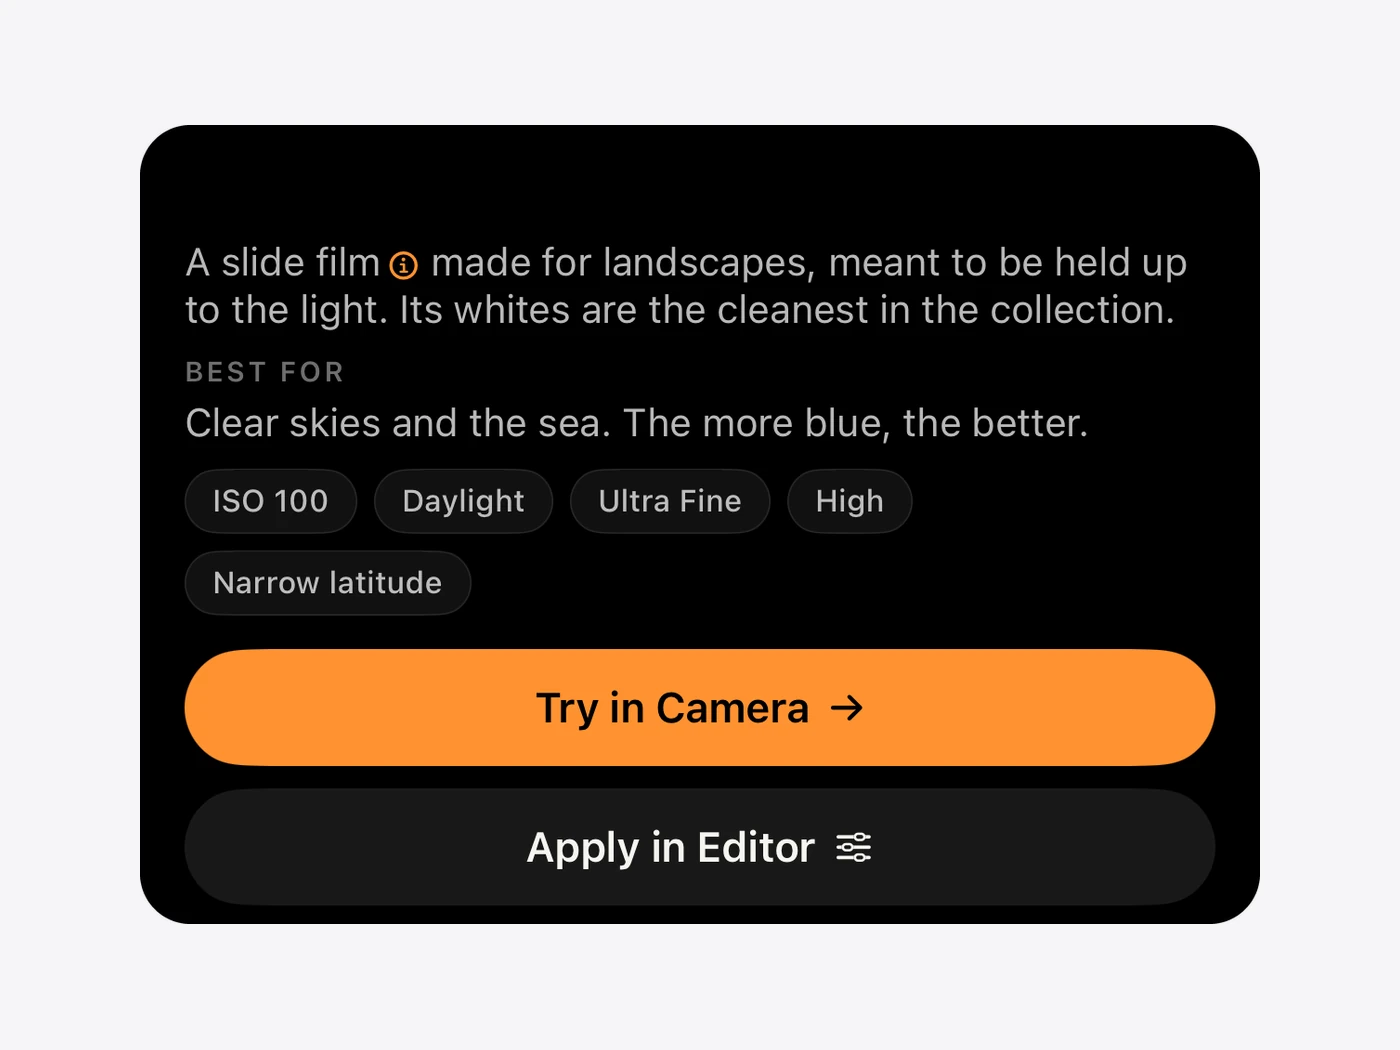
A slide film made for landscapes, meant to be held up to the light. Its whites are the cleanest in the collection.
Clear skies and the sea. The more blue, the better.
True color in full sun.
Daylight, turned golden.
Made for faces.
The night, in quiet color.
Every detail, kept.
Bold, raw nights.
Only light and shadow.
Slide color for clear days.
Golden light, full color.
Faded like a summer memory.
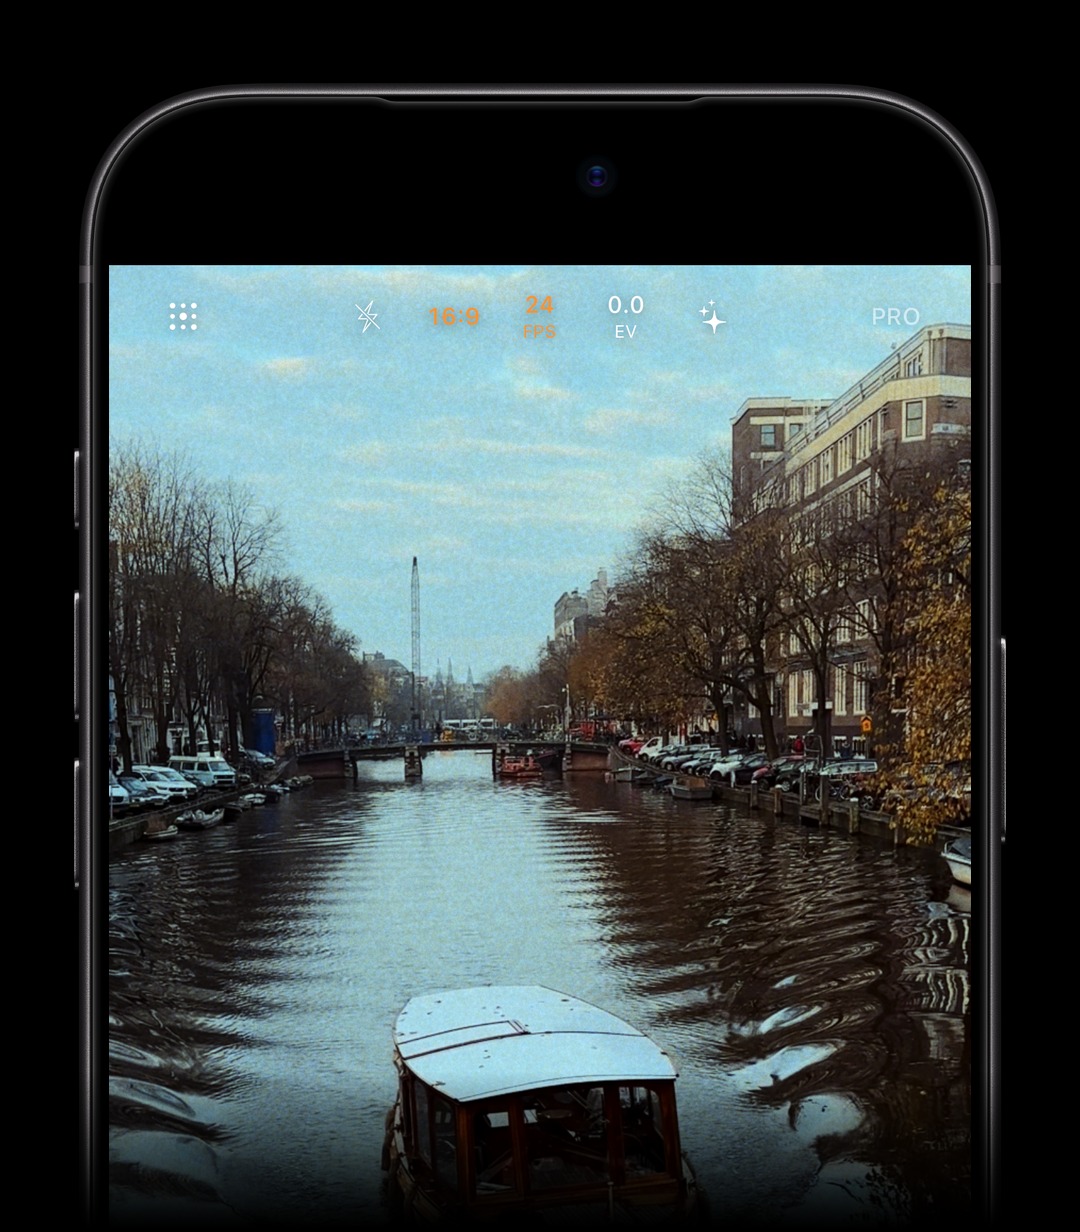
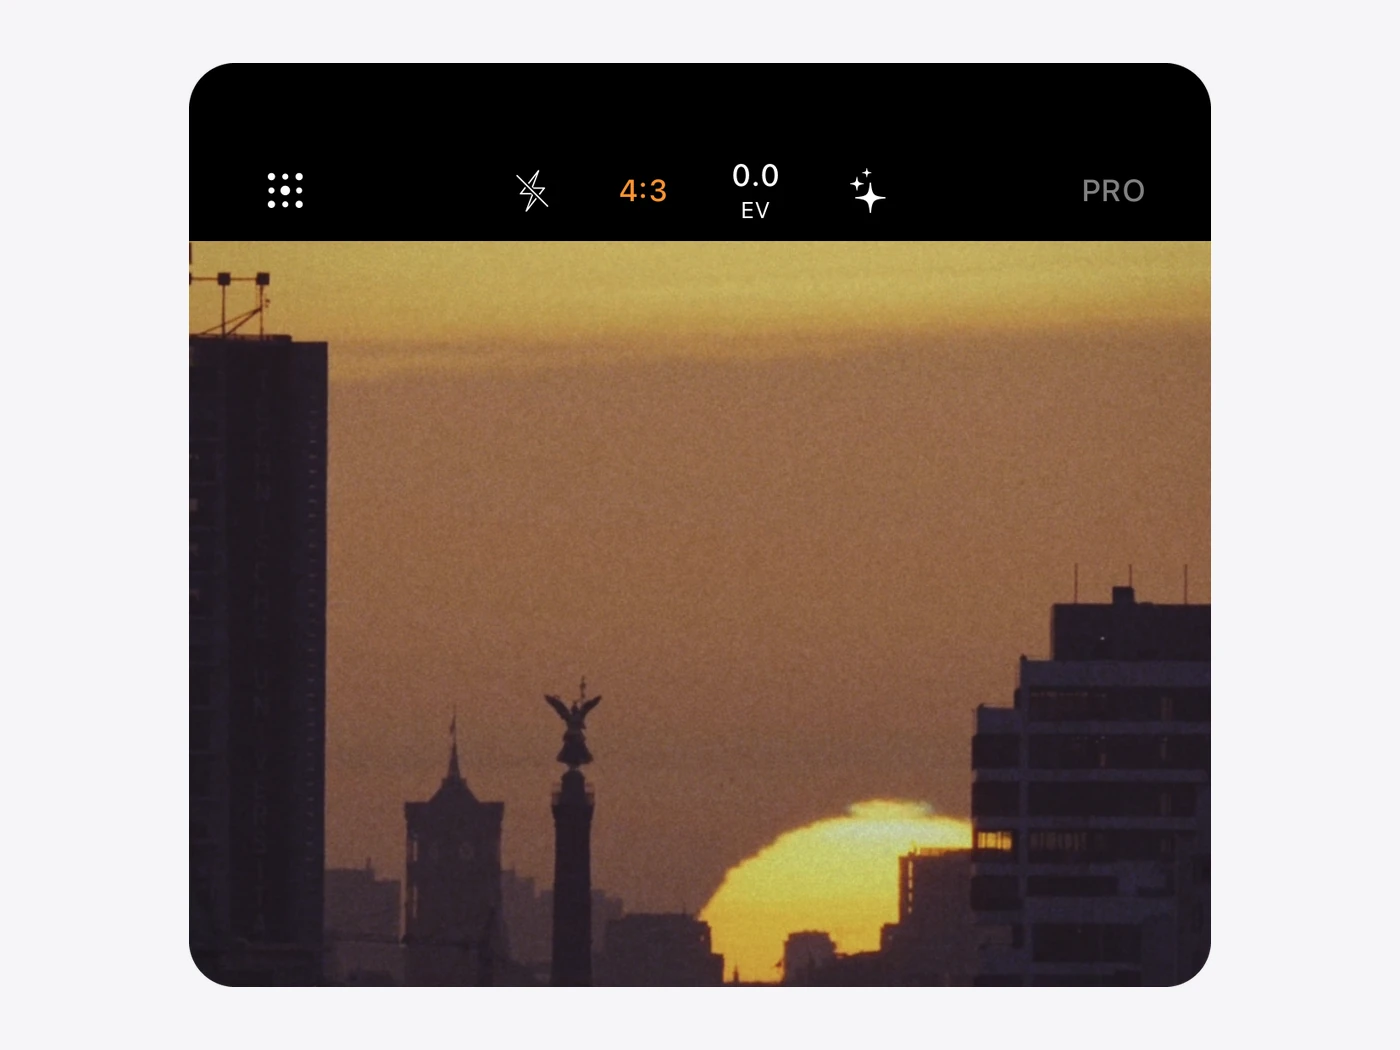
FilmTexture's camera is a film camera for iPhone with a live viewfinder: the film you choose is applied as you frame, in photo and video. Choose a film, shape its texture and color, and take the shot you already saw.
Tap Look and the shutter row becomes a strip of films. Hold it, and the LOOK panel rises with every film. The film is applied live, as you frame.
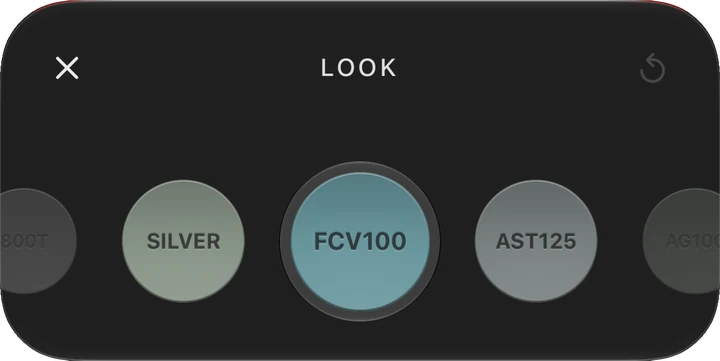
How it works Each film is its own color model and brings its own grain; halation and bloom are set in Effects. The color of each disc comes from the film itself, from the way it paints a middle gray.
Effects gathers the film's three textures in one tool. Grain comes in 35mm, 16mm and 8mm; halation and bloom in 35mm and 16mm. Each turns on or off with a tap.
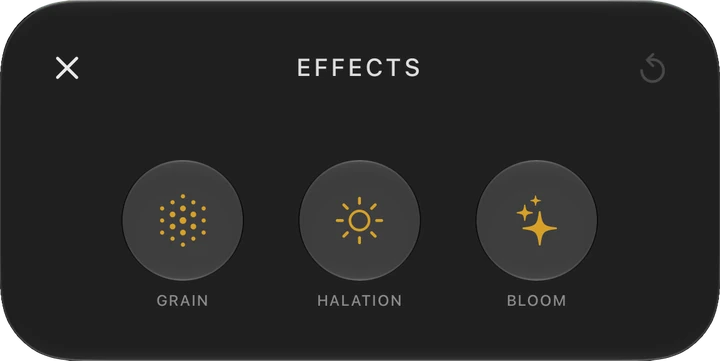
How it works You set each texture yourself, and the film's color develops over it, the way color forms over grain in the emulsion.
The color panel holds two pads: one for warmth and tint, one for density and tone. Between them, Grain, Halation and Bloom turn on and off with a tap.
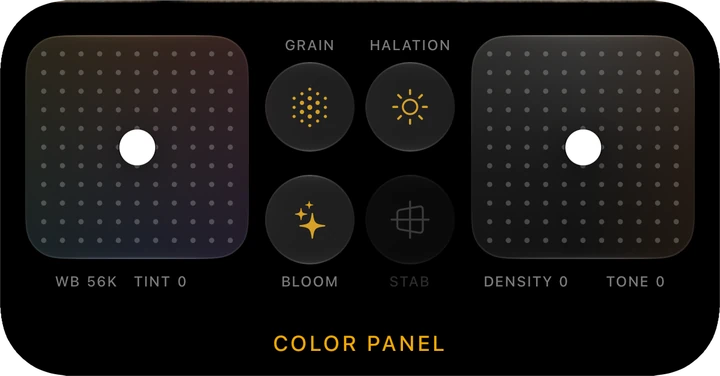
How it works Density works like the density of a print: as it rises, color grows richer, not darker. Skin tones move less; reds and blues, the film's strongest colors, move a little more. Warmth is read in Kelvin, as on a camera.
PRO opens from the top row. Shutter, ƒ, ISO and white balance each get their own ruler, as on the iPhone camera. Double-tap a value to return it to auto.
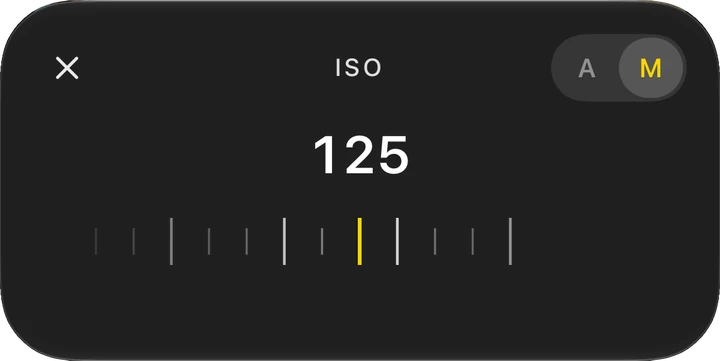
How it works These are the camera's own controls, and the film reads what they capture. White balance is set directly in Kelvin and tint. The longest exposures gather frames, the way an open shutter gathers light.
Tap Before & After beside the shutter to set the film aside and see the scene as it is. Tap again and the film is back.
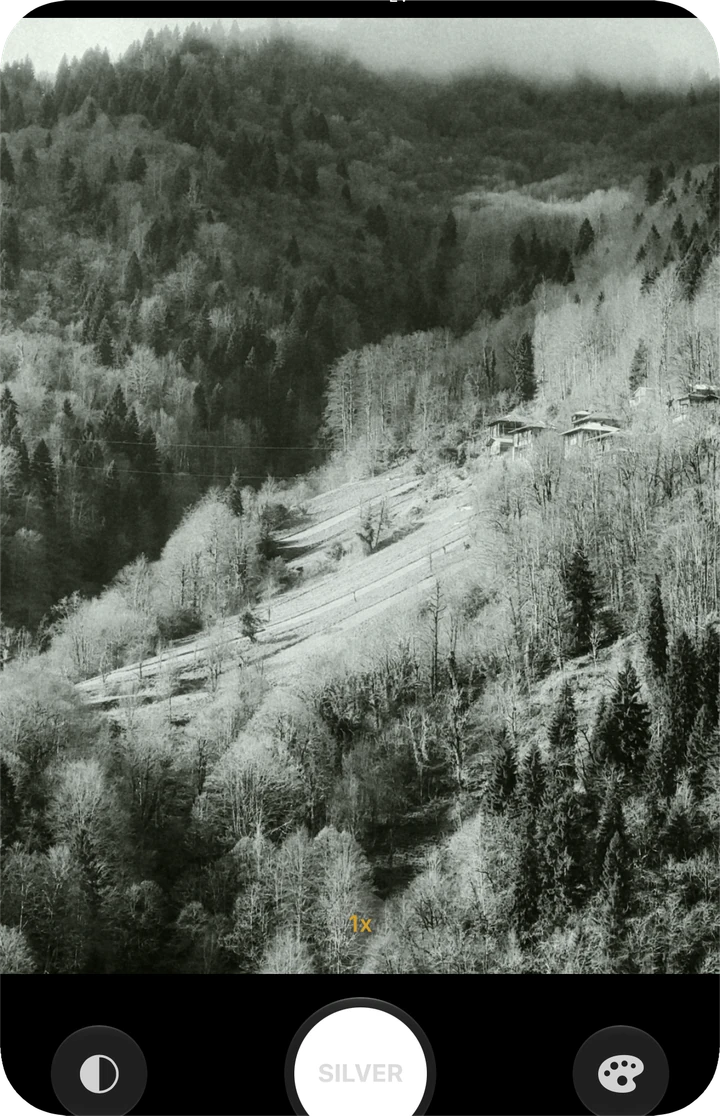
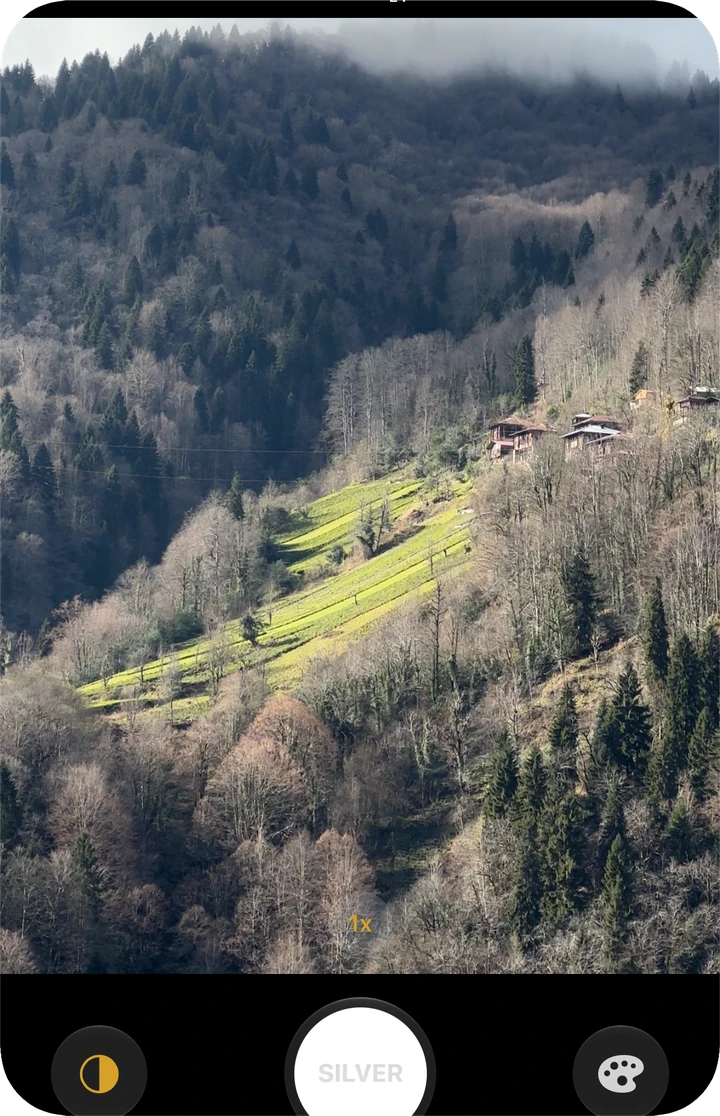
How it works While it is on, the button turns gold and anything you shoot is saved without the film. Leave the camera and the film returns on its own.
The row above the viewfinder is yours. Add Effects, ƒ or white balance, take tools away, or go back to the essentials. Look stays on the left, PRO on the right.
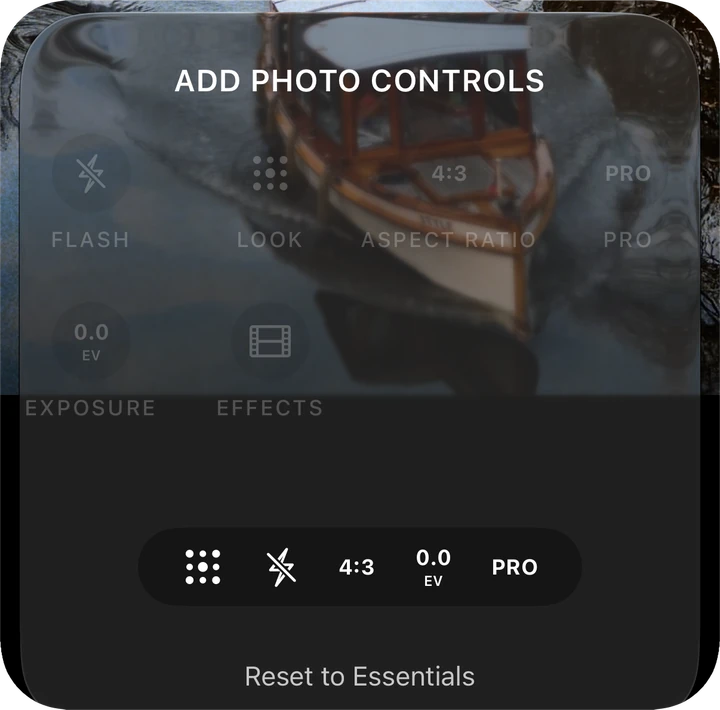
How it works Photo and video each keep their own row.
Aspect Ratio: 4:3, 16:9 or 1:1. Flash: off, or three levels of power. Exposure, for a lighter or darker frame. Zoom moves between the lenses; macro turns on by itself up close, and can be turned off.
The viewfinder, the recording, the photo and the editor read the same film, so one scene gives one result.
Each film is a complete color model, built from how a real film responds to the spectrum, with its own grain.
Grain sits in the emulsion, and the film's color forms over it.
It follows the film's speed and stays in the whites, like a scanned negative.
Halation rises from the film base; bloom comes from the lens.
Every film, and the tools of a real lab. Built around the way film behaves, so your edit looks developed, not filtered.
Choose a film from the strip. It is applied at the strength it was made for.
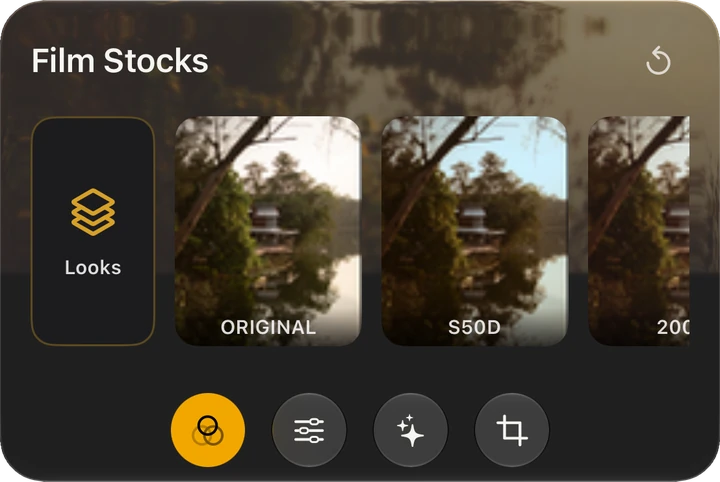
How it works The editor uses the same film as the camera, so a photo developed later matches one shot live. Each film is built as its own color model: how it answers light, how its dyes behave, how it was developed.
Temperature, Tint and Saturation set the color of the whole frame.
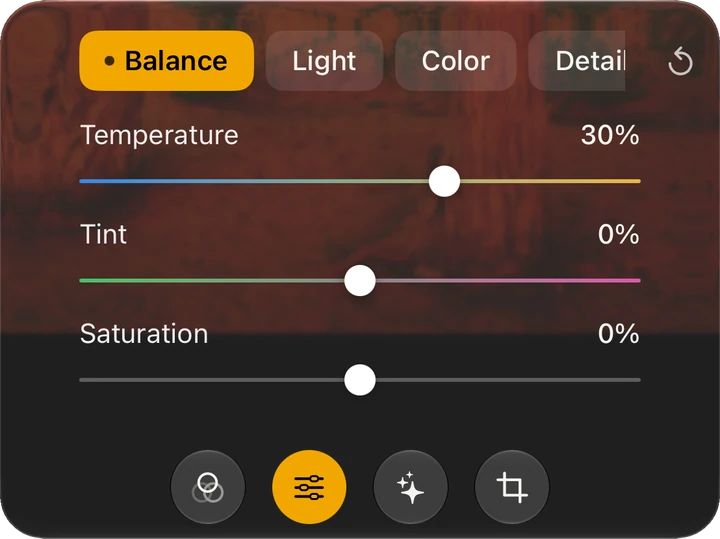
How it works Temperature and Tint move the white point from one light source to another, as if the light itself had changed.
Exposure, Brightness, Contrast, Highlights, Shadows, Blacks and Curves.
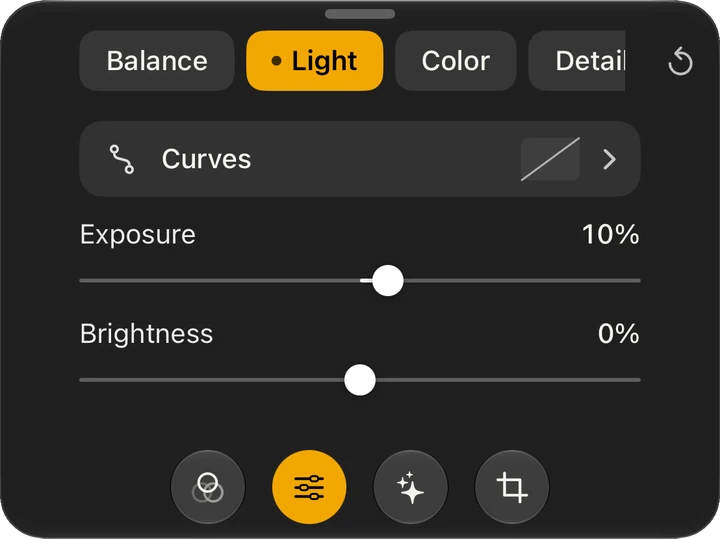
How it works Light adjusts the image after the film has been applied, the way a print is made lighter, darker or harder in the darkroom.
Color Wheels push shadows, midtones and highlights in their own directions. HSL refines each color on its own.
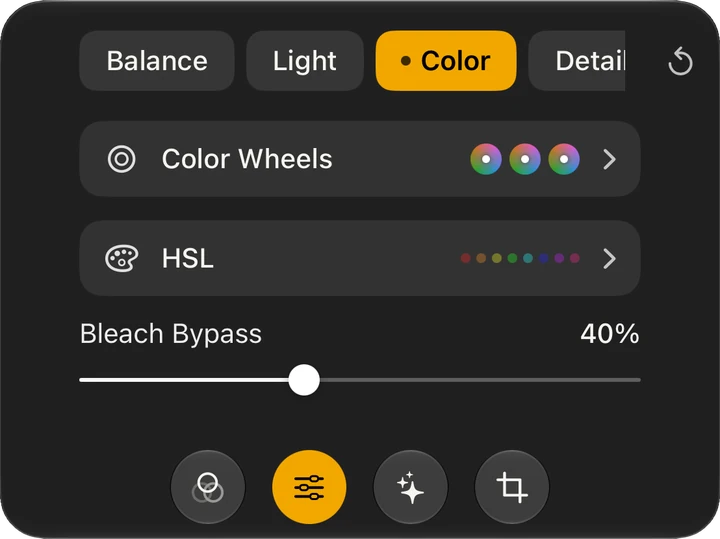
How it works Bleach Bypass recreates a lab process: silver is left in the image during development, so color grows quieter and contrast rises.
Sharpness, Soft Focus and Vignette.
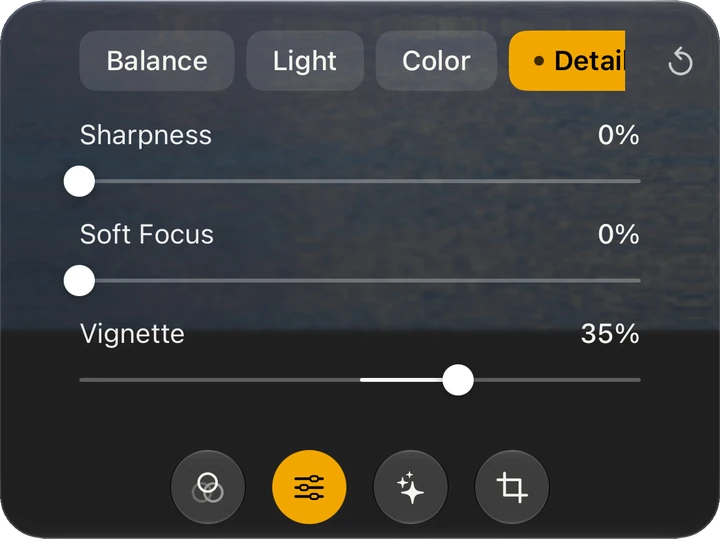
How it works Sharpness and Soft Focus act on the image before the film is applied, the way a lens shapes the negative. The film's color and texture form on top. Vignette is a lens's gentle fall-off at the edges.
Choose a grain size, then tune it in the shadows, midtones and highlights, with its own resolution and color.
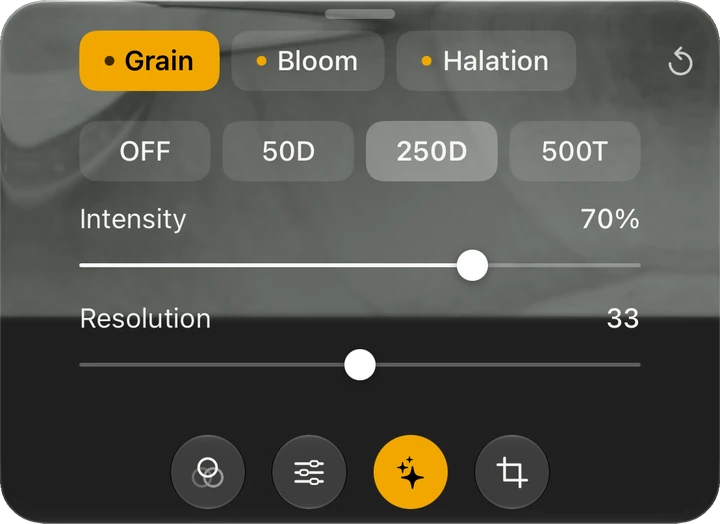
How it works Grain forms in the density of the image, not on top of its light. Faster films grow coarser grain, as real stock does. And like a scanned negative, grain stays even in the whites, carrying only as much color as the film itself allows.
A soft glow around the brightest parts of the frame. Threshold decides what glows; Spread decides how far.
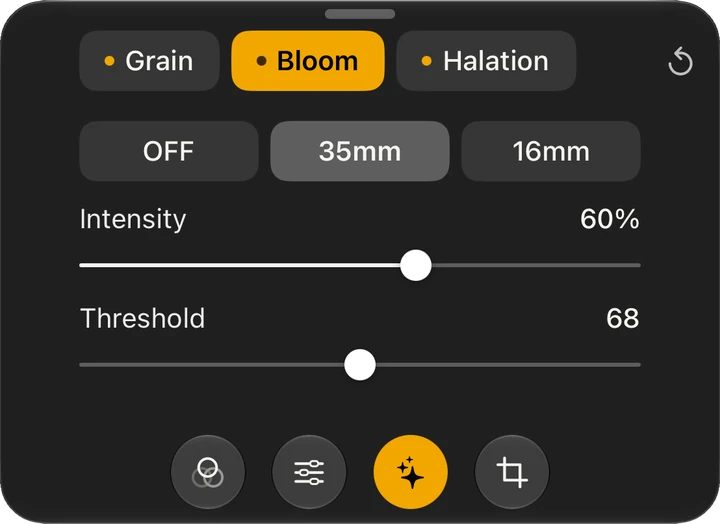
How it works Bloom is light spreading in the lens and through diffusion. FilmTexture lifts the points that cross the threshold, spreads them and lays them back over the image.
A red glow that gathers around strong light.
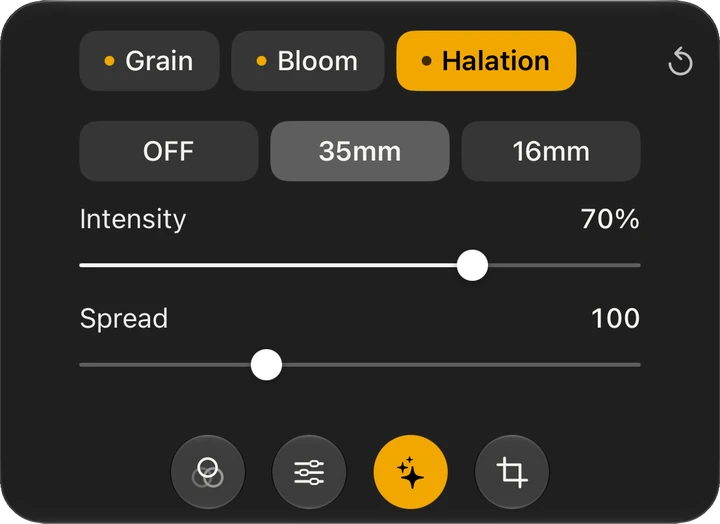
How it works On film, bright light passes through the emulsion, reflects off the film base and returns as a reddish halo. FilmTexture draws it from the highlights outward, one narrow halo and one wide, with red the strongest color. 35mm and 16mm differ in how far it spreads.
Freeform, 16:9, 3:2, 4:5 or 1:1, and Straighten.
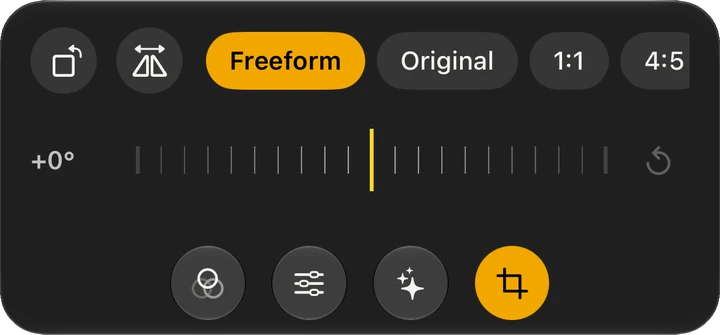
How it works 3:2 is the classic 35mm frame.
Each save becomes a new photo, dated today, in your FilmTexture album. The original stays exactly as it was.
The viewfinder, the recording, the photo and the editor read the same film, so one scene gives one result.
Each film is a complete color model, built from how a real film responds to the spectrum, with its own grain.
Grain sits in the emulsion, and the film's color forms over it.
It follows the film's speed and stays in the whites, like a scanned negative.
Halation rises from the film base; bloom comes from the lens.
Short videos for every part of FilmTexture, and a line on how it works.
October 18, 2026 · FilmTexture
Halation is the soft red glow that forms around strong light on film. It appears when bright light passes through the film, reflects off the back of it and exposes the image a second time, from behind.
You have seen it around street lamps at night, at the edge of a window in a dark room, around the sun behind a face. It is one of the quiet signs that a picture was made on film.
Color film holds its picture in a thin emulsion, made of three layers. Each layer answers to one part of the light: blue at the top, then green, then red, nearest the clear base the emulsion sits on.
Most light stops in the emulsion. Very bright light does not. Some of it passes all the way through, reaches the back of the film and bounces back. On its way back it meets the red layer first, so the glow it leaves is red, warming toward orange where it is strongest.

Film makers worked against this for a century. Most films carry an anti-halation layer that absorbs the light before it can return. Where that layer is thin, or missing, halation grows. Black-and-white film shows it too, as a pale glow without color.
They often appear together, and they are easy to confuse.
A night street can have both: a red ring hugging each lamp, and a softer haze around it.
Halation needs contrast: a light much brighter than what surrounds it.
Flat, overcast light shows little halation, because nothing in the frame is bright enough to pass through the film.
It began as one, and film makers spent decades reducing it. Today many photographers look for it, because it marks a picture as film.
Because the red-sensitive layer sits deepest in color film, nearest the base. Light that bounces back from the base reaches it first.
Not in the same way. A digital sensor has no film base for light to bounce back through, so the glow does not form on its own. It can be made the way film makes it.
Every film can. How much depends on the film's anti-halation layer and on how bright the light is. In black and white it appears as a pale glow without color.
Open FilmTexture, add Effects to the top row and turn on Halation. Then point the camera at a bright light against a dark background.
Try halation live. Download on the App Store
A film camera for iPhone. You choose a film before the shot and see it live in the viewfinder, in photos and video. The same films work in the editor, for photos you have already taken.
In the camera, tap Look at the top left and the shutter row becomes a strip of films. Swipe to a film; the viewfinder shows it live.
It is free to download, and every camera tool is open to everyone. You can shoot three photos or videos a day for free, with any film; Pro removes the limit.
Pro gives unlimited shots with every film, and lets you save and share your edits and keep looks. Lifetime is everything in Pro, paid once, with no renewal.
In the FilmTexture album in Photos. Every edit you save becomes a new copy, dated today; the original stays as it was.
Yes. Switch to Video and the film is part of every frame you record.
No. The camera and the editor work entirely on your iPhone. Only what you choose to post to the community leaves your device. If you allow it, a short daily performance report leaves too, with no photos, videos or personal details.
Grain is the texture that forms in the film itself. Halation is the red glow around strong light, from light returning through the film base. Bloom is the soft glow a lens gives the brightest parts of a frame.
Subscriptions are handled by Apple: on your iPhone, open Settings, tap your name, then Subscriptions. In FilmTexture, Settings › Plan shows your plan and restores purchases.
Any iPhone that runs iOS 26 or later.
Write to info@filmtexture.com.
FilmTexture is a film camera app for iPhone: you choose a film before the shot and see it live in the viewfinder, in photos and video.
FilmTexture turns iPhone into a film camera. Ten films, each its own color model with its own texture, run live in the viewfinder for photo and video, and the same films develop any photo in the editor. Made by a working cinematographer and colorist, built natively for iPhone, and available in English, Turkish, German, Spanish and Japanese.
| Platform | iPhone, iOS 26 or later |
|---|---|
| Price | Free to download, with in-app purchases (Pro, Lifetime) |
| Films | Ten, from daylight and tungsten cinema films to black and white |
| Languages | English, Turkish, German, Spanish, Japanese |
| Website | filmtexture.com |
| @film.texture | |
| Contact | info@filmtexture.com |
What each version of FilmTexture brought to the camera and the editor.
Some landscape clips exported squeezed to one side; they now export exactly as you framed them.
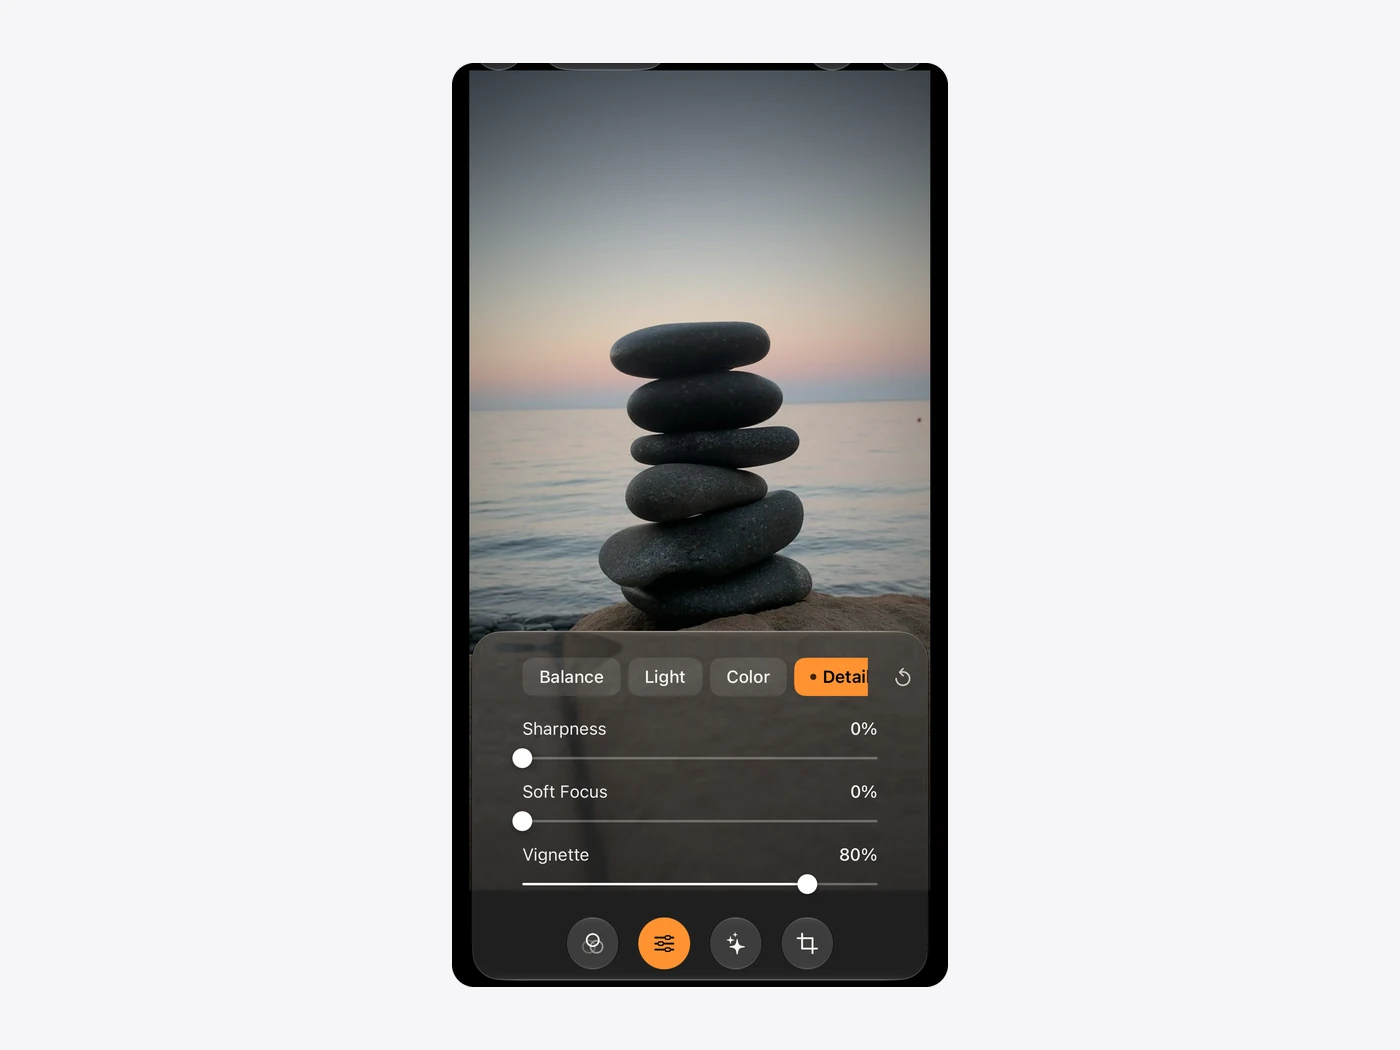
In the editor, Vignette now only darkens the corners.
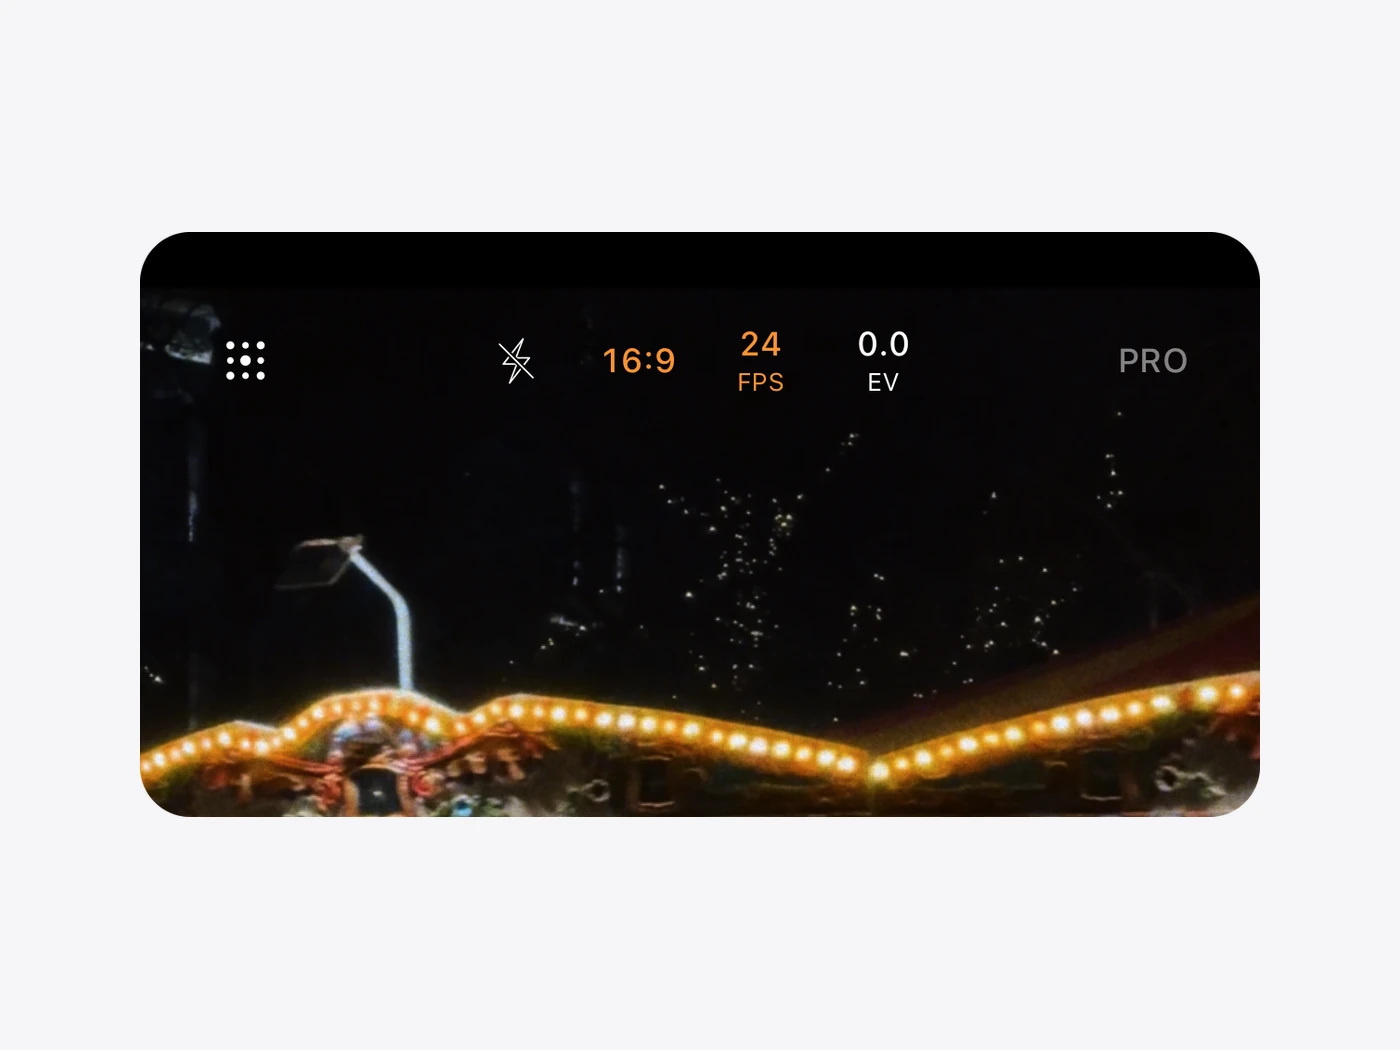
Shoot video at 24, 25 or 30 frames per second: 24 for the cadence of cinema, 25 or 30 to match your other cameras.
Looks, at your fingertip.
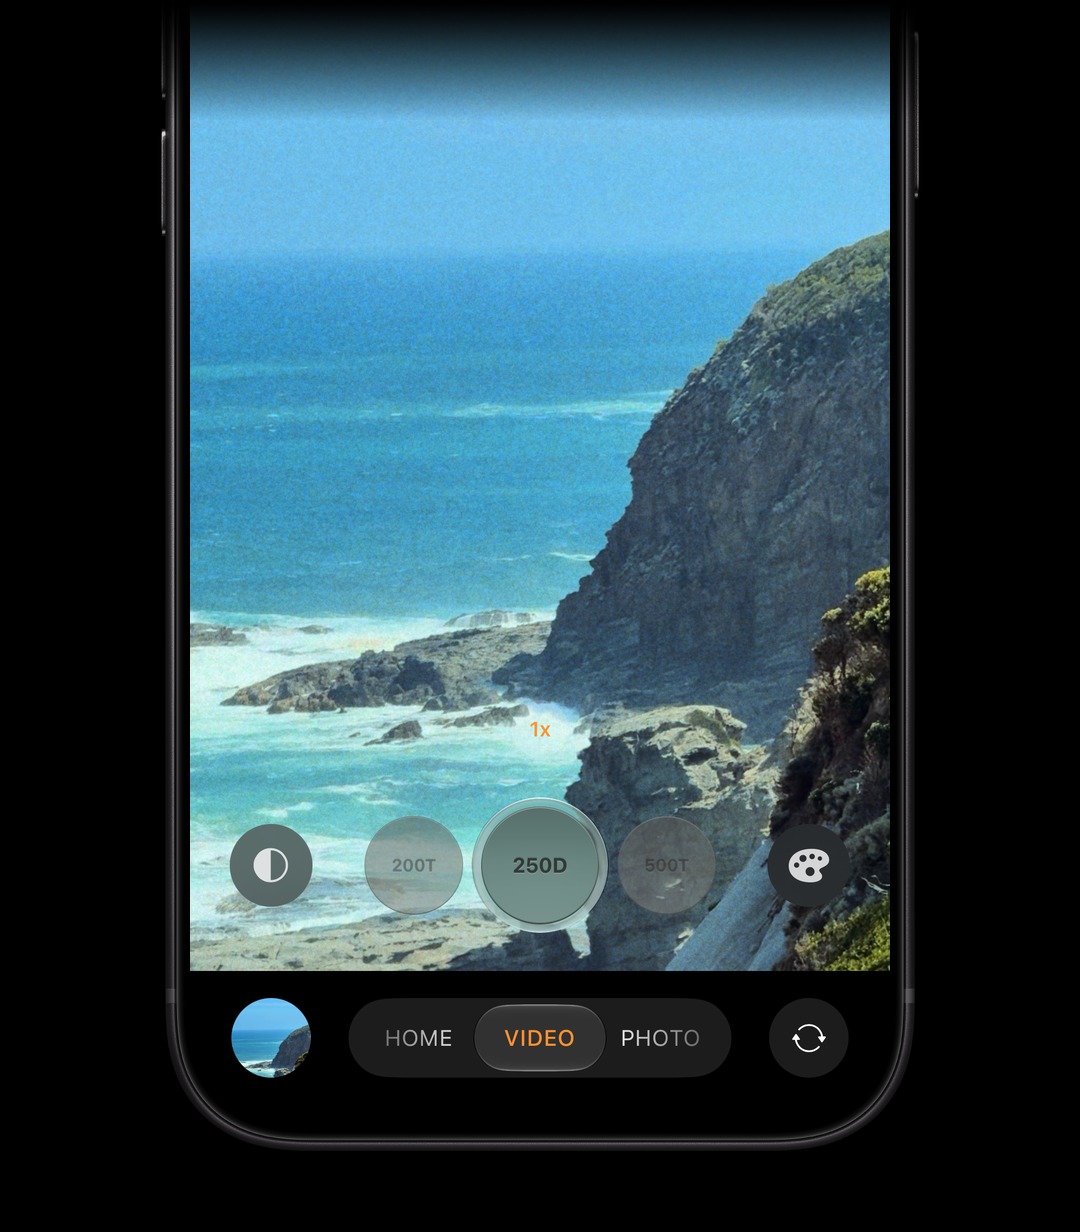
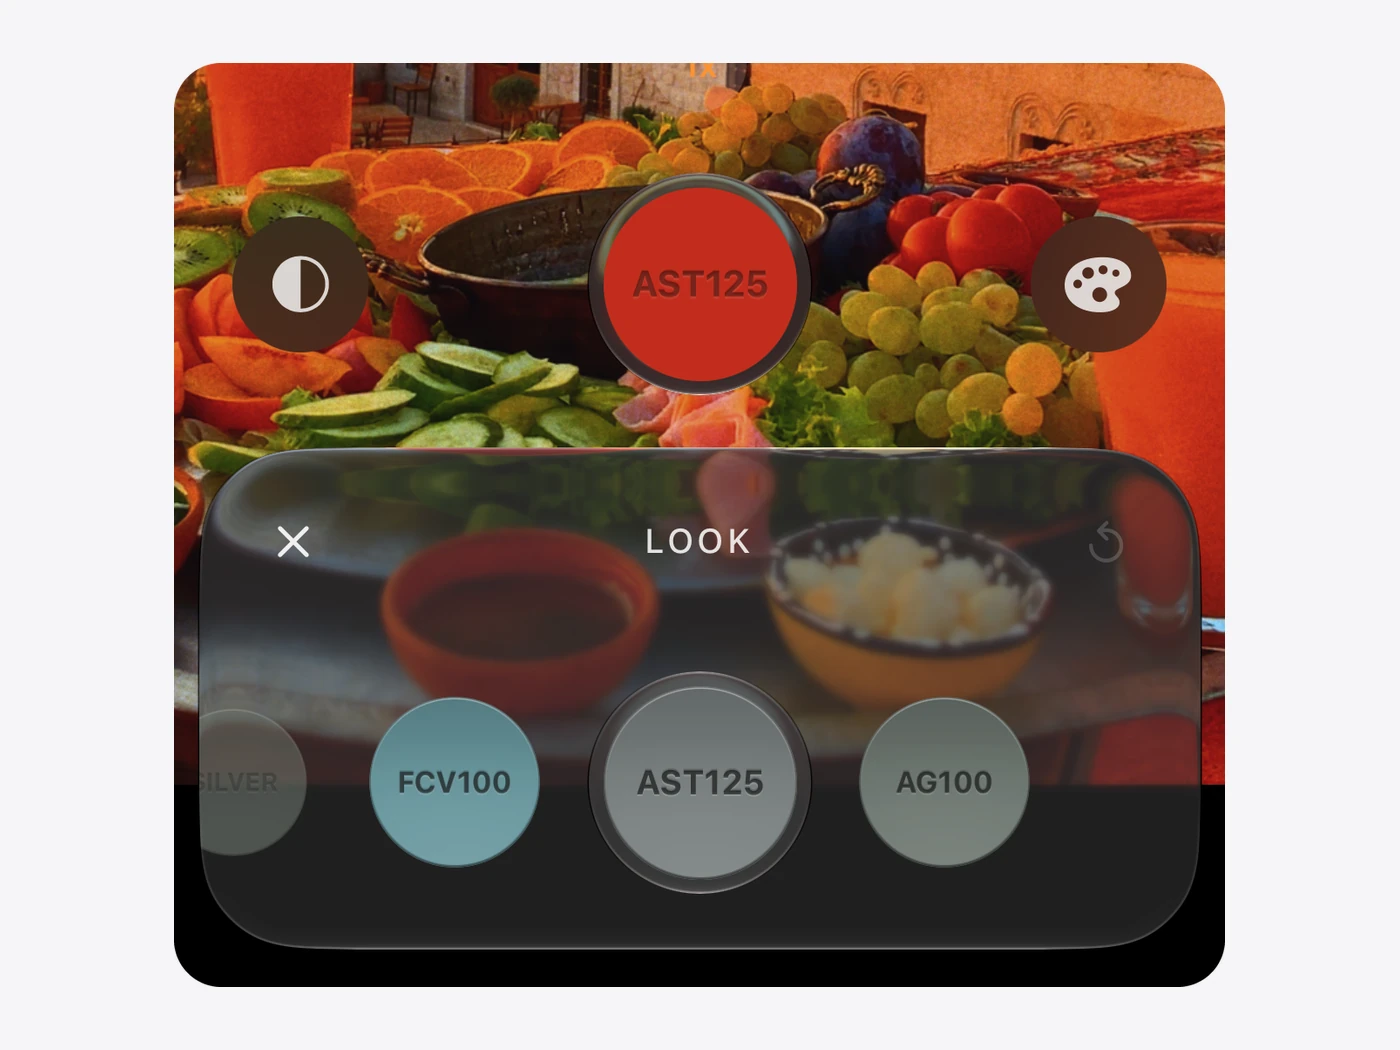
Touch and hold the shutter, or slide it, and looks appear on either side; let go to switch. Recording now starts when you lift your finger. Touch and hold the button to the left of the shutter for your four most recent tools; in PRO, for your four manual controls. Drag the bottom bar between HOME, VIDEO, PHOTO and EDIT, and feel each change.
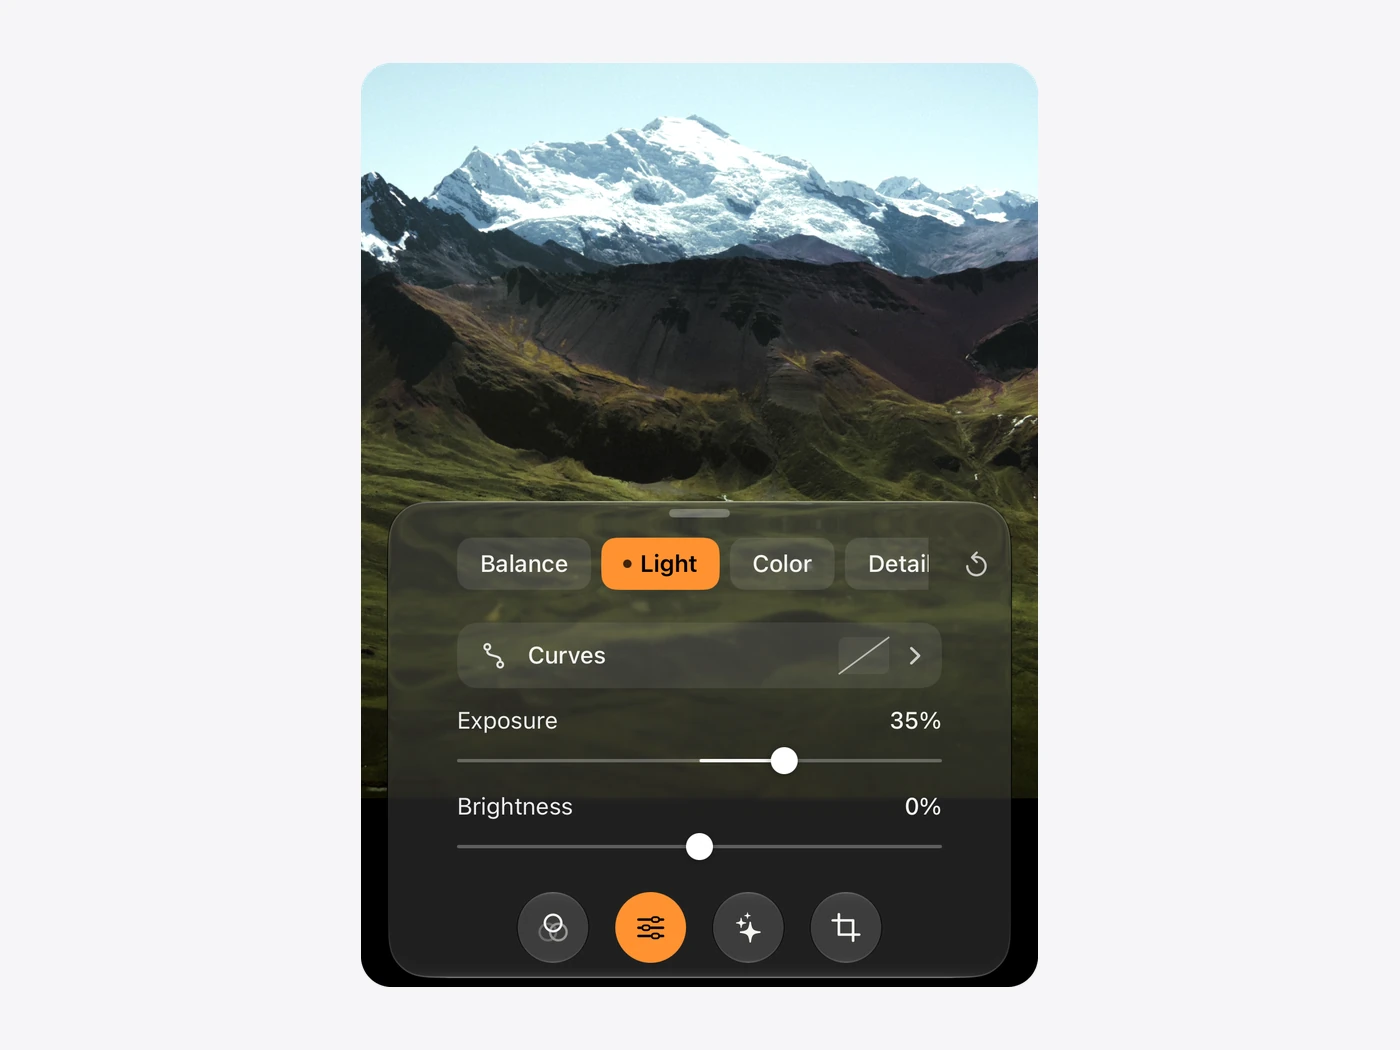
RAW photos open in the editor at full resolution, marked RAW, and exposure and white balance work on the RAW itself. On every photo, exposure, highlights, shadows and contrast now come before the film, and exposure moves in true stops. Zoom in to see every detail, with grain that holds still.
Pause a video and carry on when you're ready. If you leave the app while a clip is paused, it waits for you: continue it from the camera, or find it in Archive on your profile, next to your unfinished edits. Videos you post to the community can now run longer. A clip you export keeps the grain it was shot with.
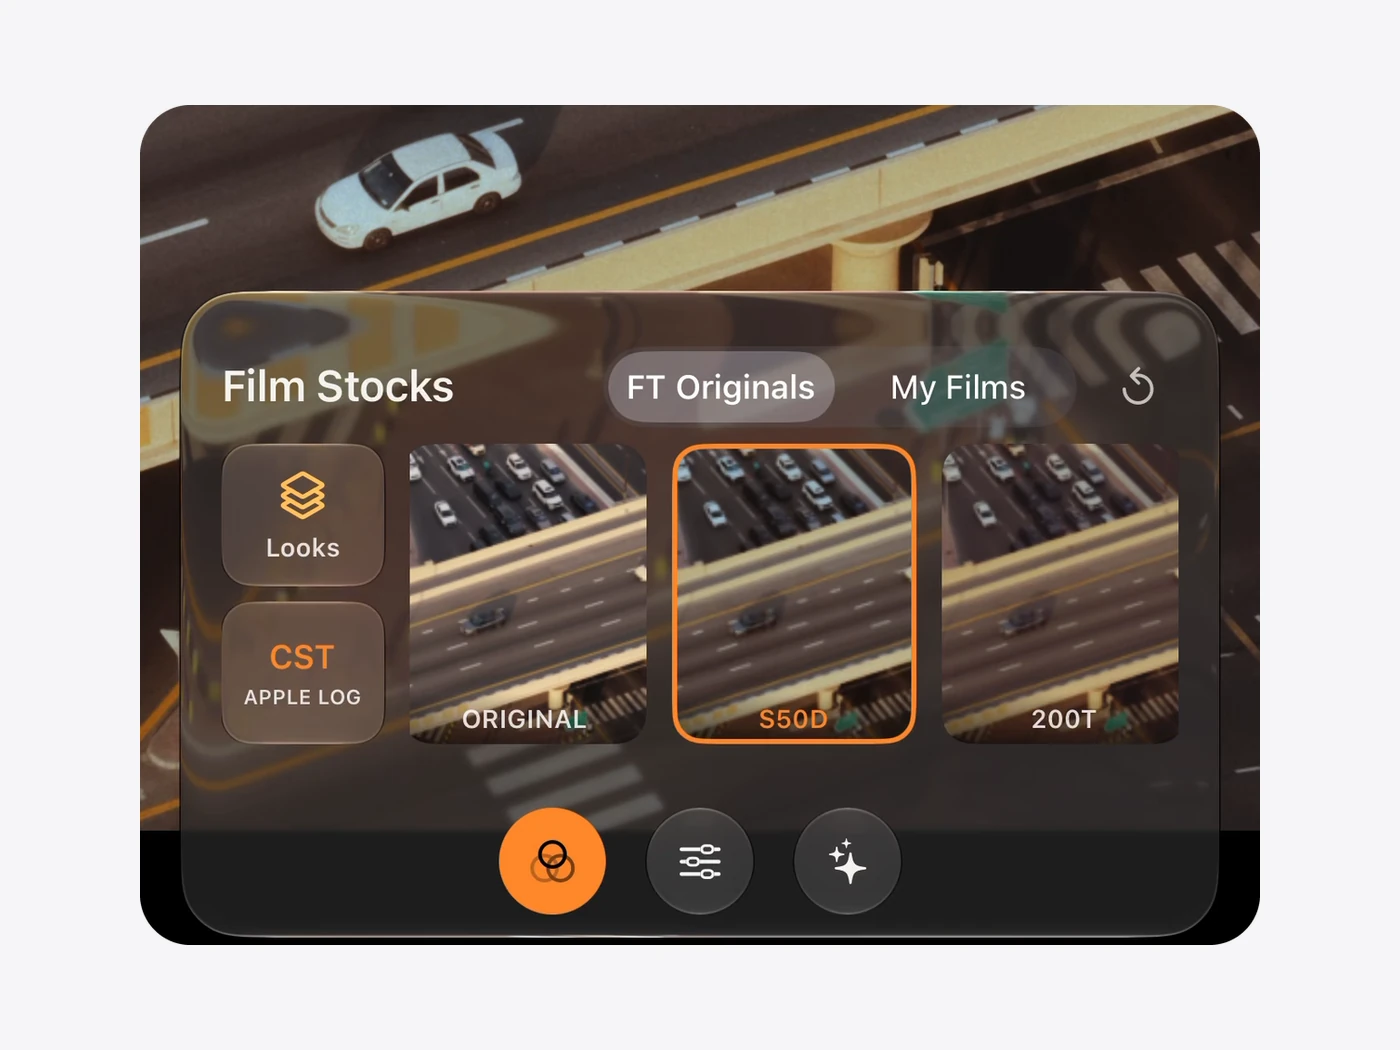
Apple Log videos open in the editor converted for the screen, so a film sits on them as on any clip. For log footage from other cameras, choose CST under Looks.
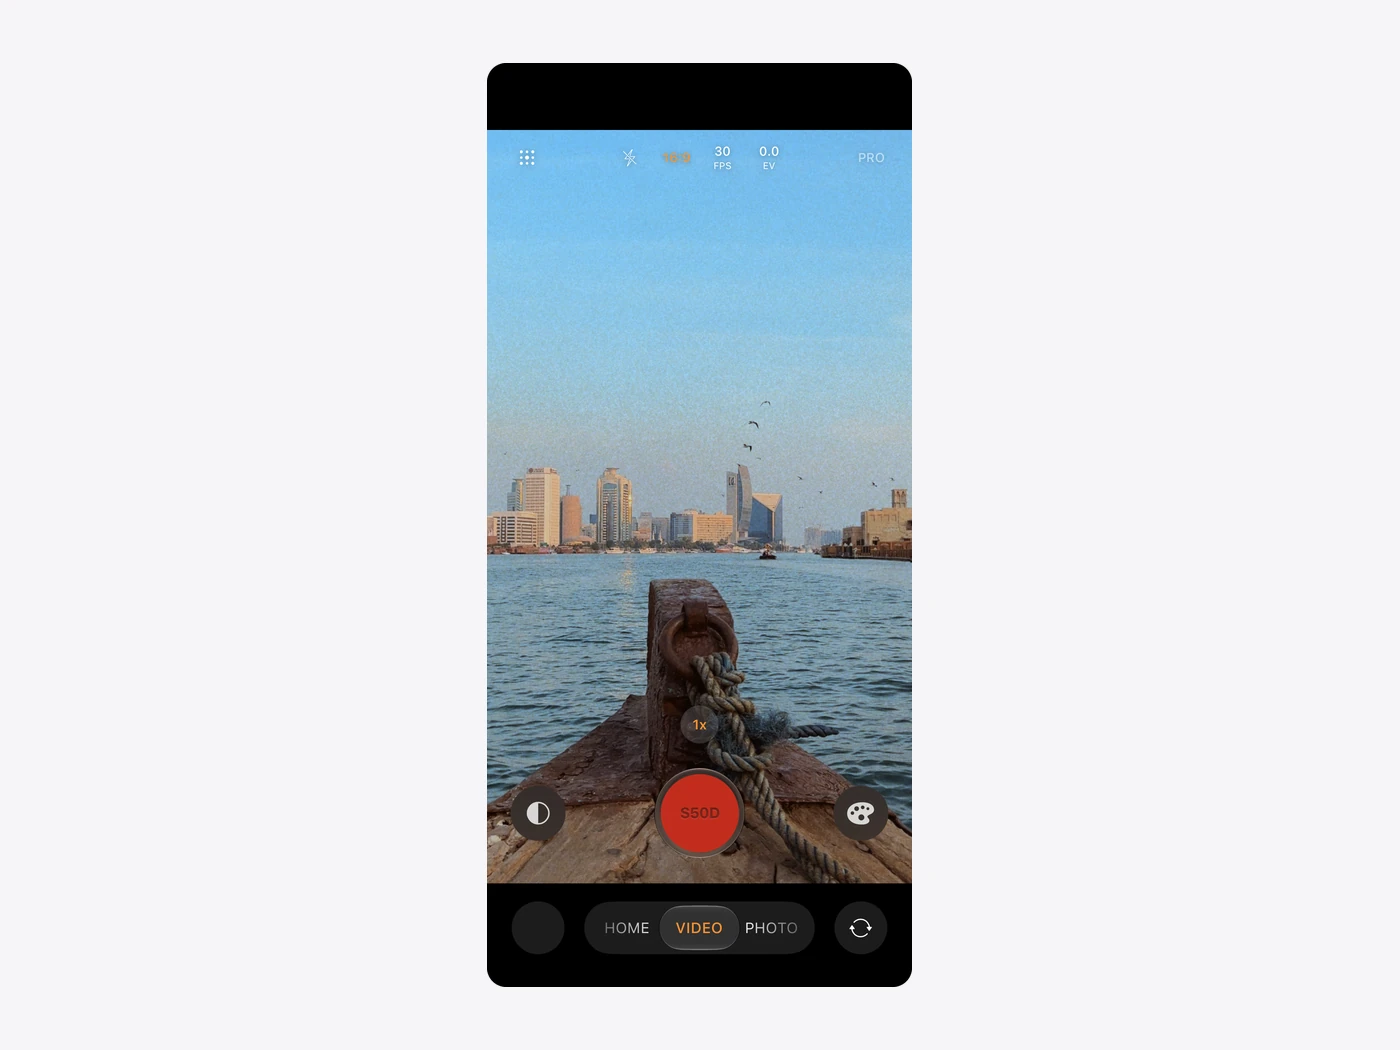
The viewfinder moves more smoothly, and your iPhone stays cooler while you record. Halation now rises from the light itself. When your iPhone is warm, Effects shows which effects are resting until it cools. When you're not recording, your iPhone locks on its own, following your Auto-Lock setting. On iPhone 13, iPhone 14, iPhone 15 and iPhone 15 Plus, grain is now as fine as in 4K, and stabilization works there too.
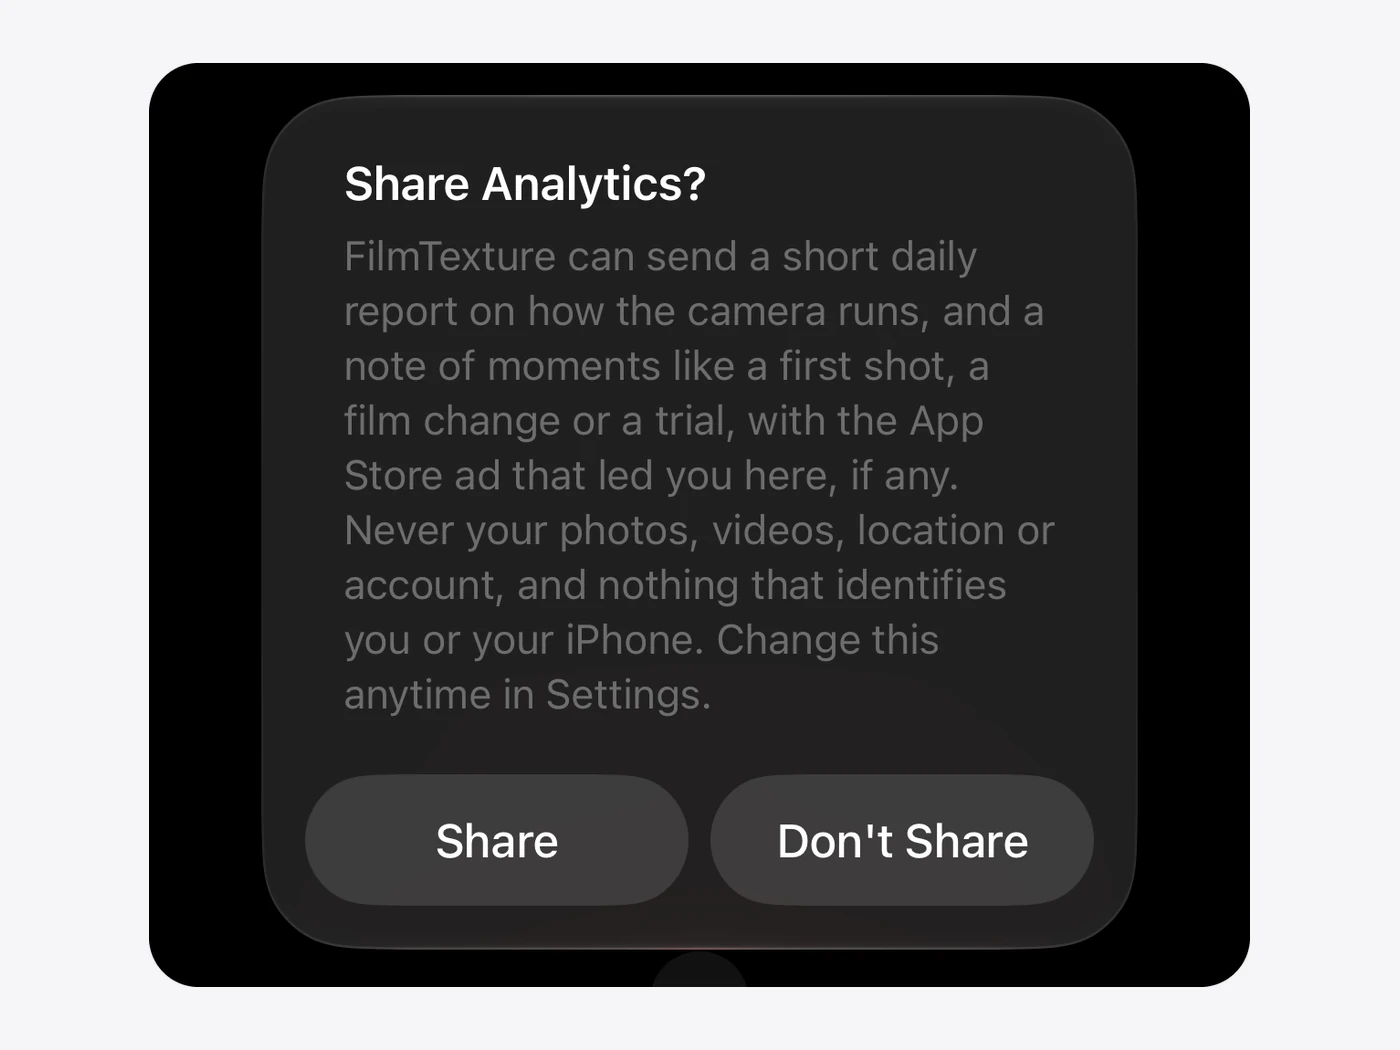
If you allow it, FilmTexture sends a short daily report on how the camera runs, so we can make it run smoother and cooler. The report never includes your photos, videos, location or account. Change it anytime in Settings.
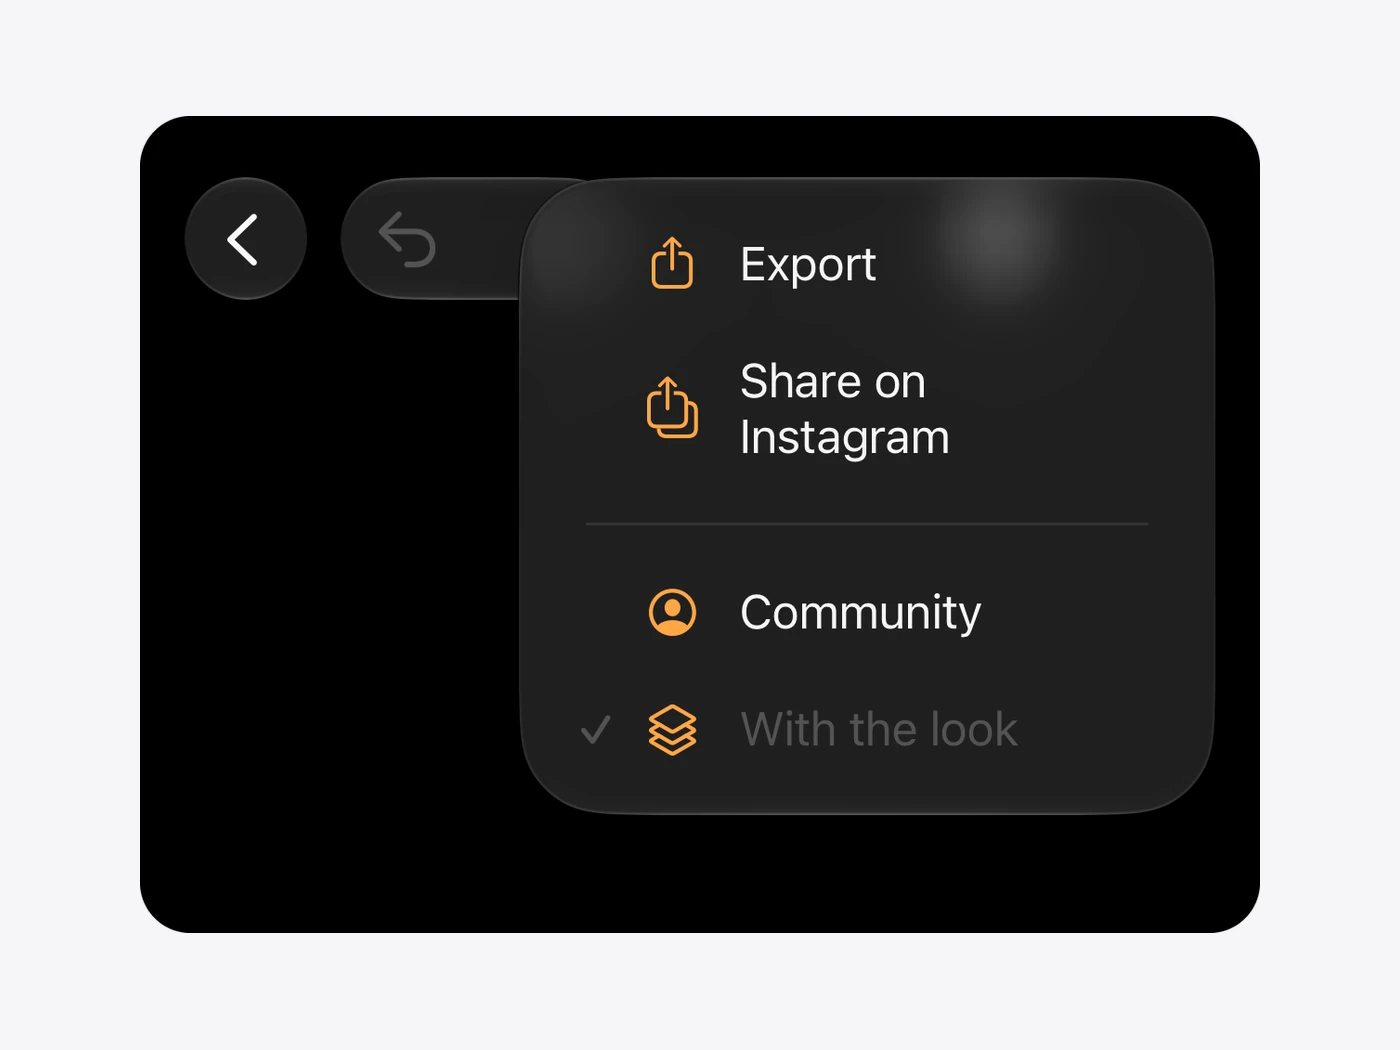
Share a video from the editor to your story in one tap.
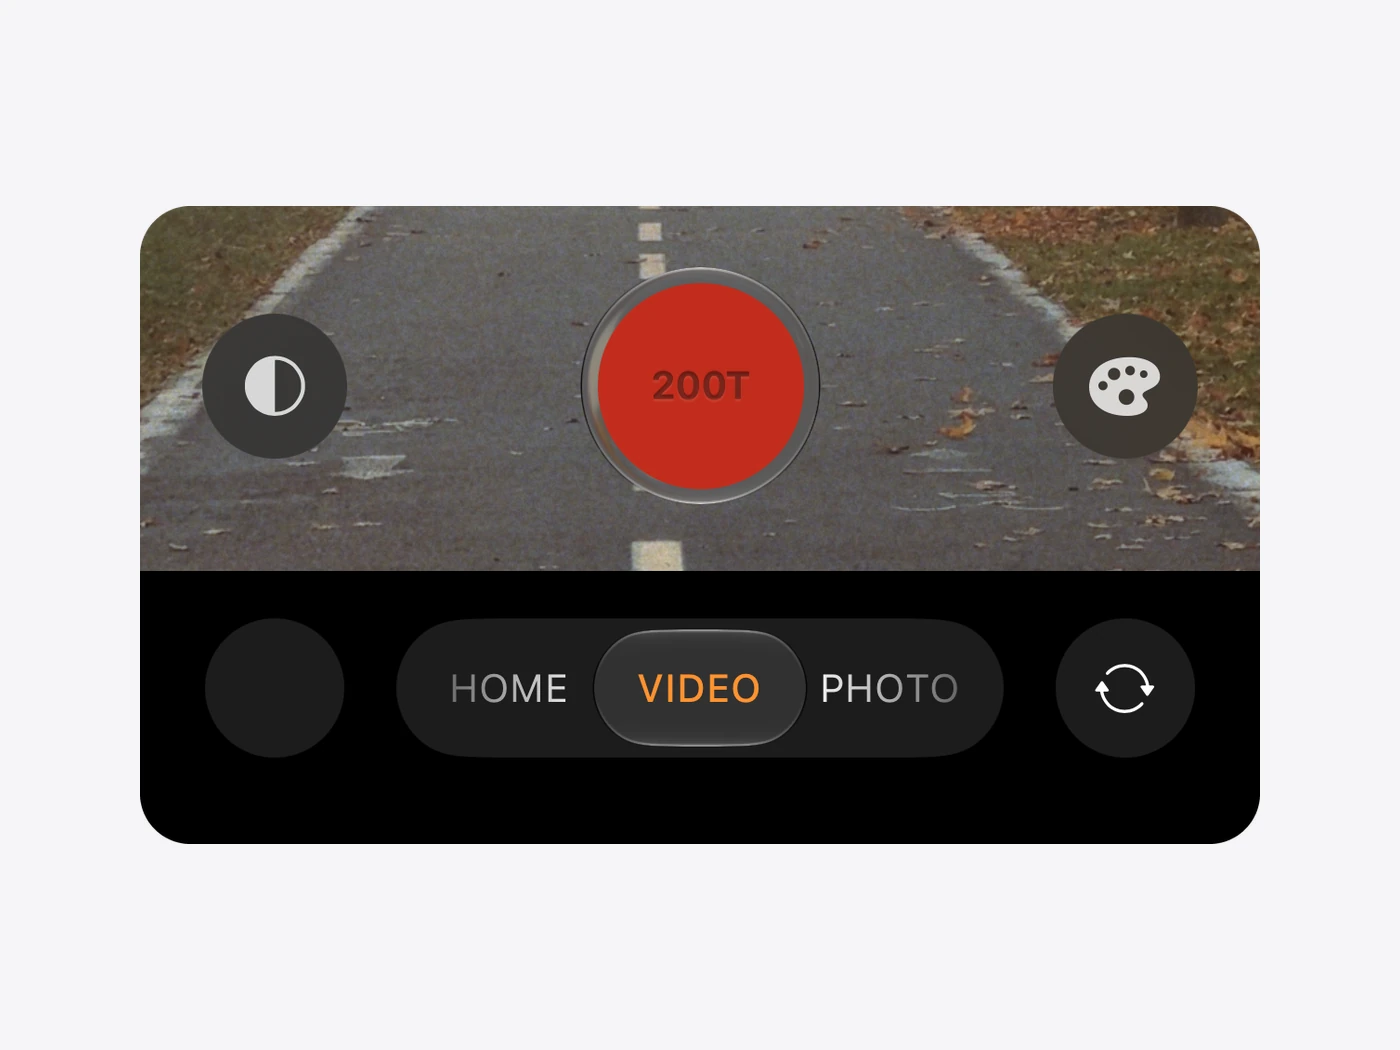
A new icon, a new accent color and a simpler HOME. Your latest photo opens at full resolution, even when you zoom in. FilmTexture now opens in VIDEO, unless you've chosen otherwise. In EDIT, the back button takes you to the camera.
Three short pages show how FilmTexture works: choose your film, develop any photo, get the look.
Dark tones stay smooth even with grain off. Halation and bloom start off, and you turn them on in Effects when the scene calls for them. Stabilization starts off too, and FilmTexture lets you know when the lens may need a clean.
Every film has new words, on its page and in About. In the editor, grain now comes in 35mm, 16mm and 8mm, as in the camera. Tap ⓘ beside a term to see what it means.
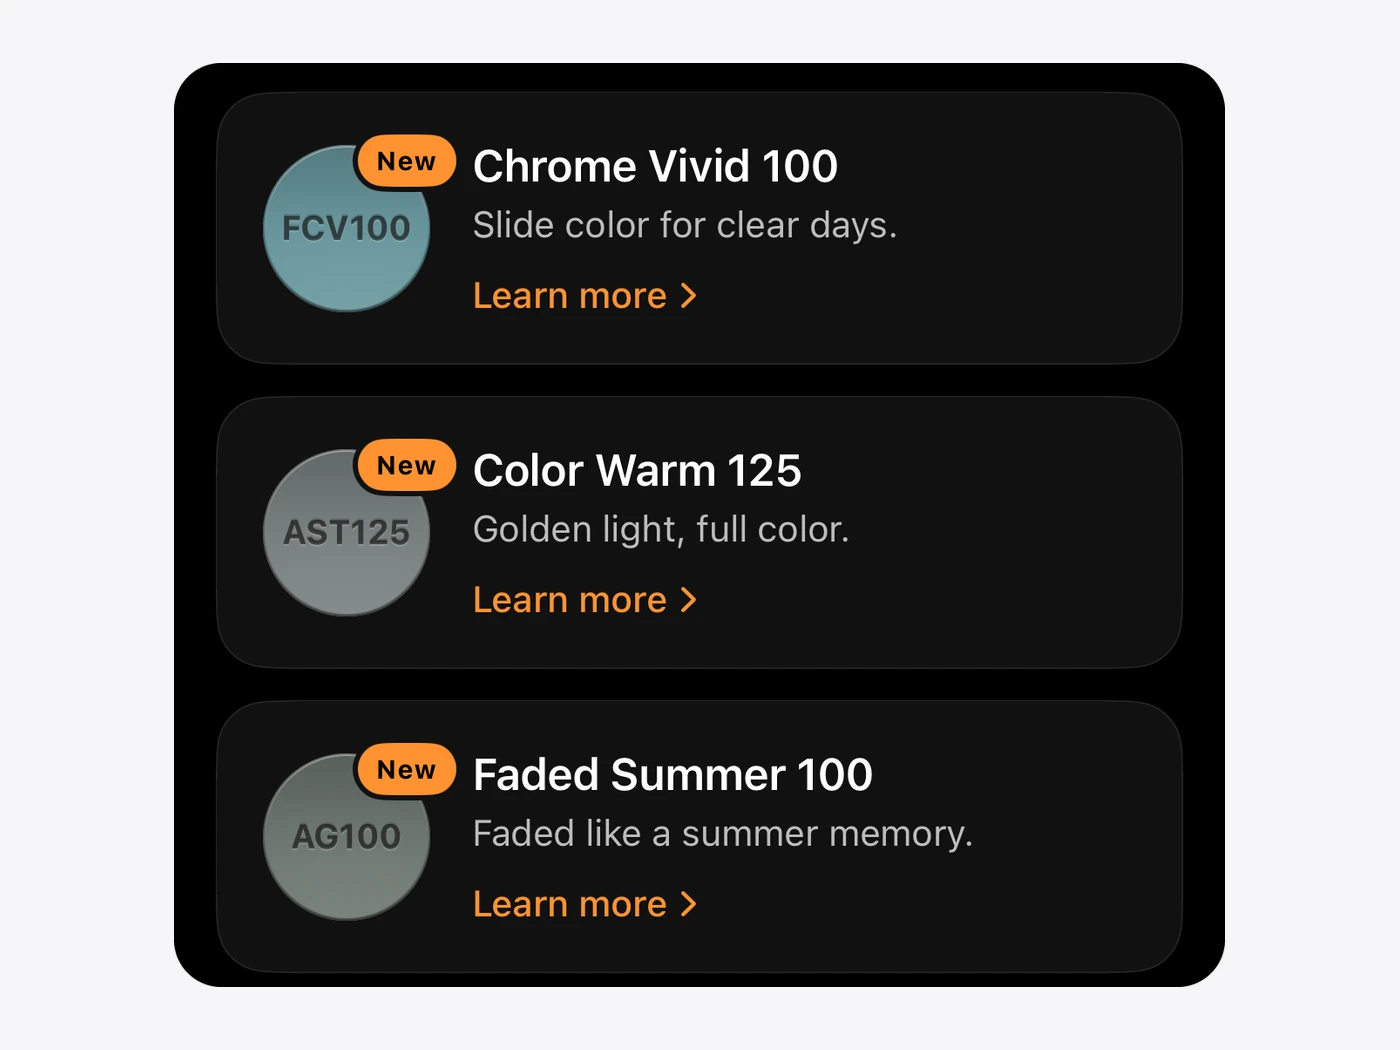
Chrome Vivid 100, Color Warm 125 and Faded Summer 100, each with its own 35mm grain, halation and bloom.
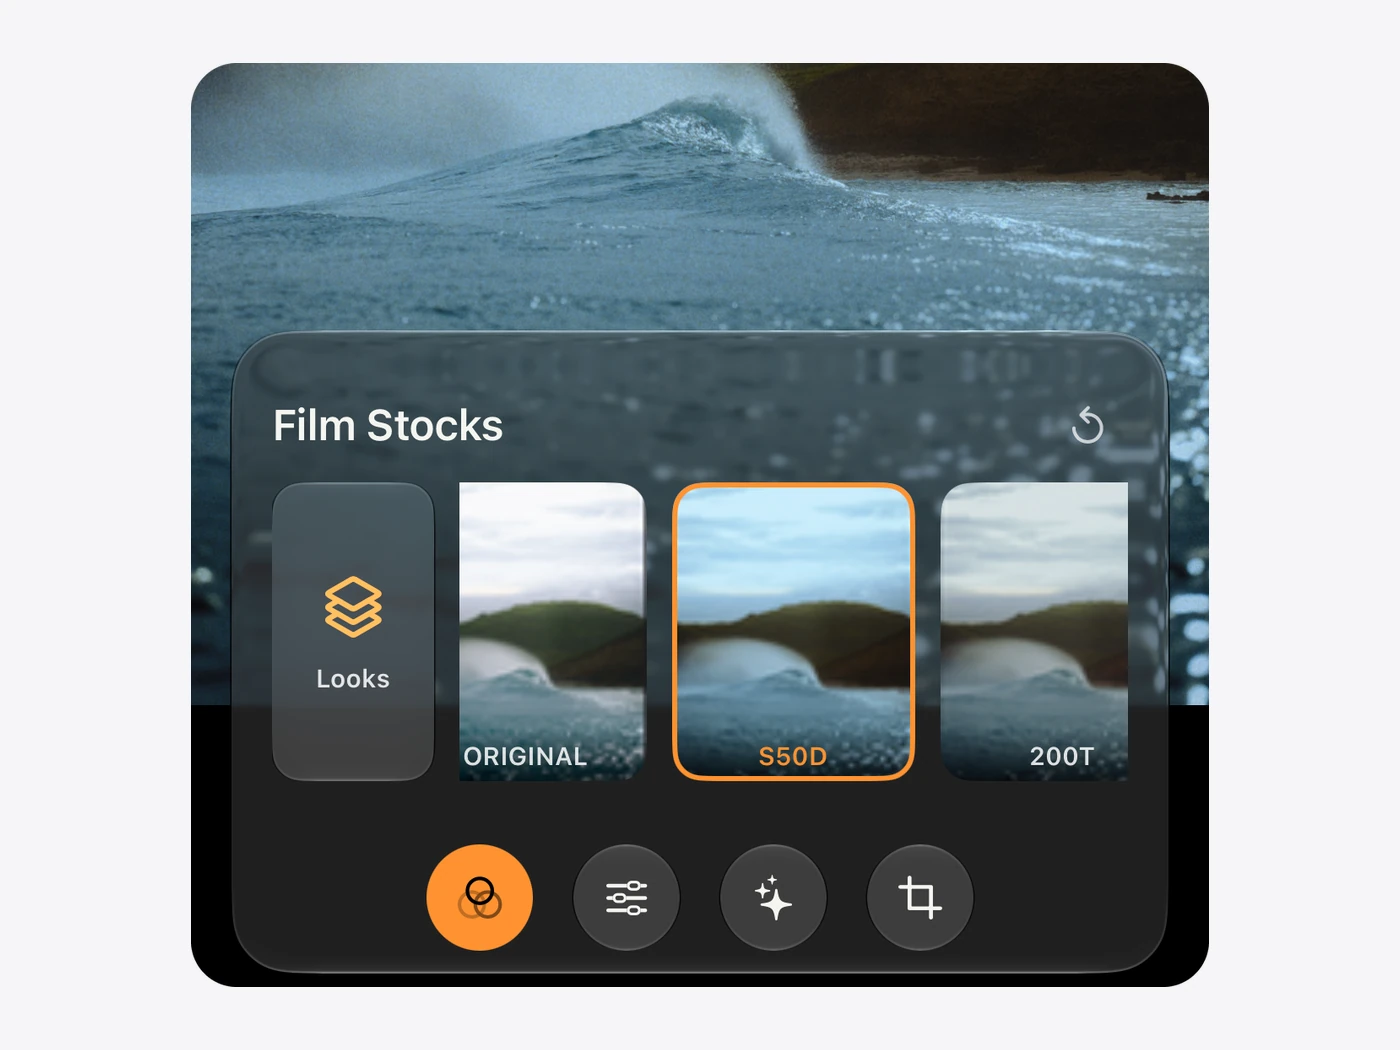
Its tools rise from the bar beneath the picture, and the picture stays where it is. Color Wheels gain Blending and Balance, and HSL shows how each color moves.
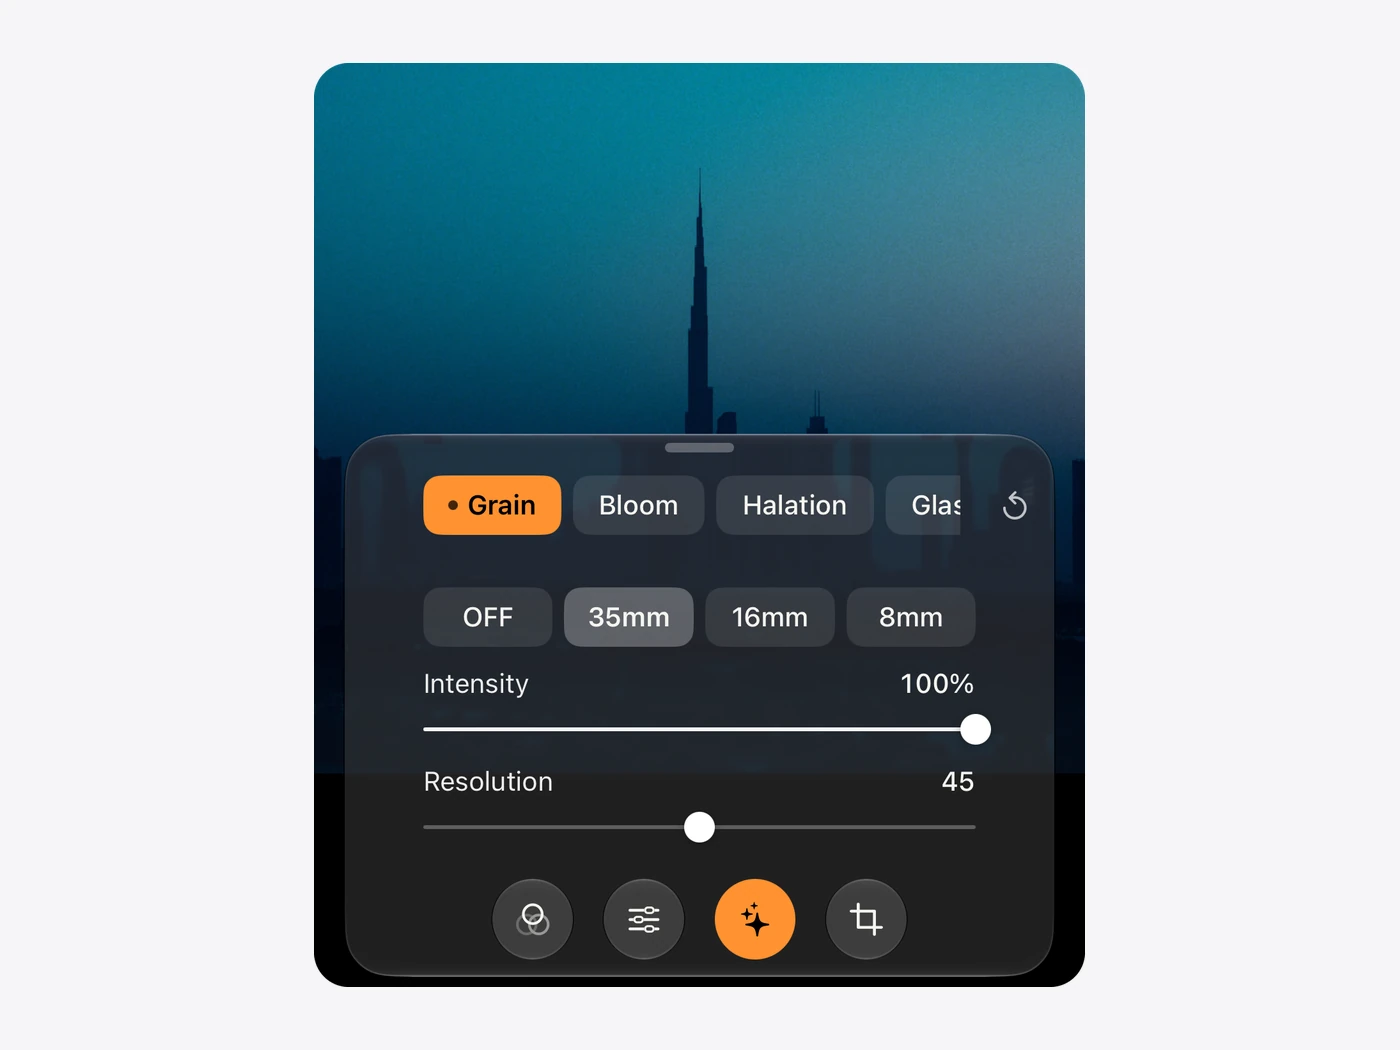
Each film's grain now follows its own tone and color, the grain in your videos never repeats, and your photos carry the grain you see in the viewfinder.
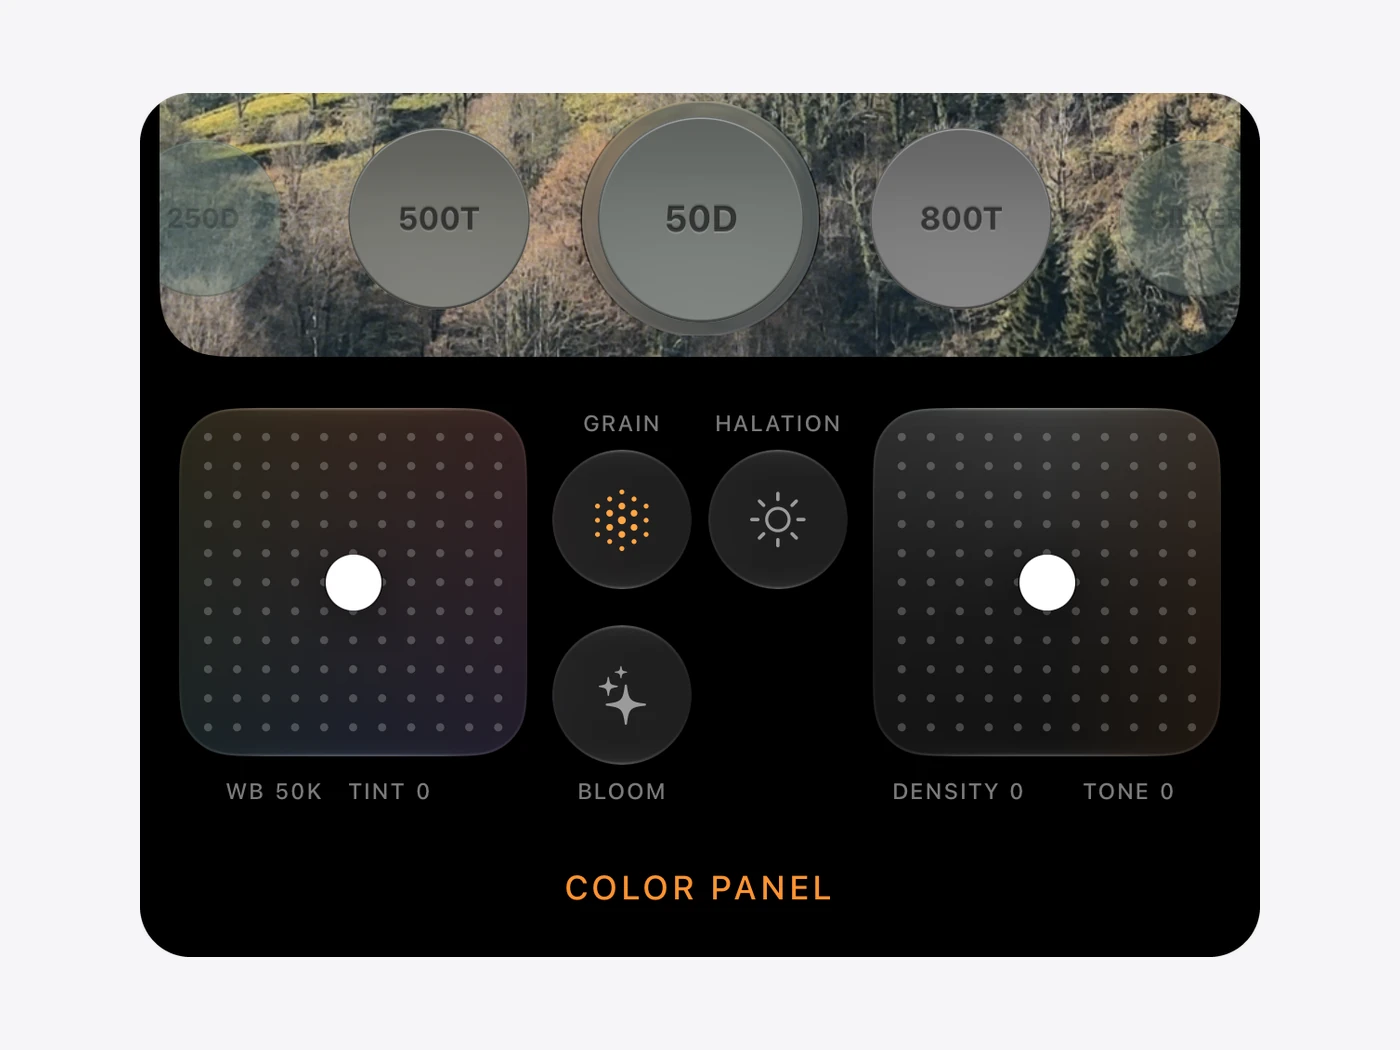
Temperature, tint and density reach deeper, and density brings richer color.
Every account its own looks, and followers on every profile.

Join the community with your Apple Account, and keep your email address to yourself if you like.
Profiles show posts, followers and following beside the photo. Tap followers or following to see who. Follows are public: anyone can see who a profile follows and who follows it.
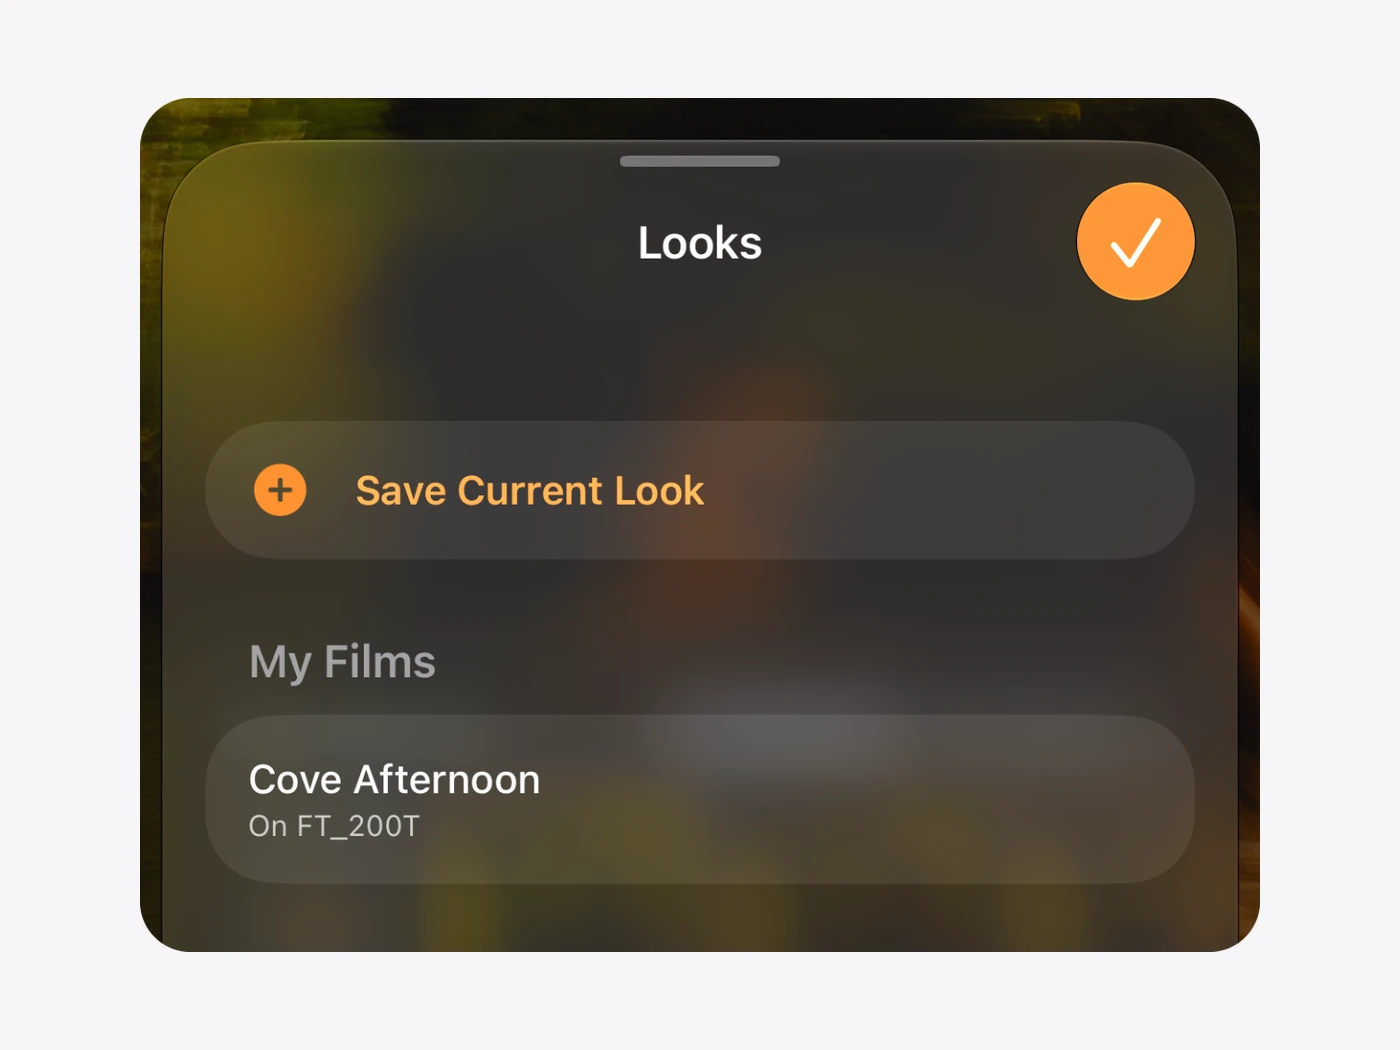
Every account keeps its own looks, in the camera, the editor and Your Collection, and the camera comes back to the look each account last used.
A look you keep from someone stays theirs. Use it, change it, save your own version: it is never shared as yours, and a post made with it shares the picture alone.
Grain and halation, rebuilt from how film behaves.
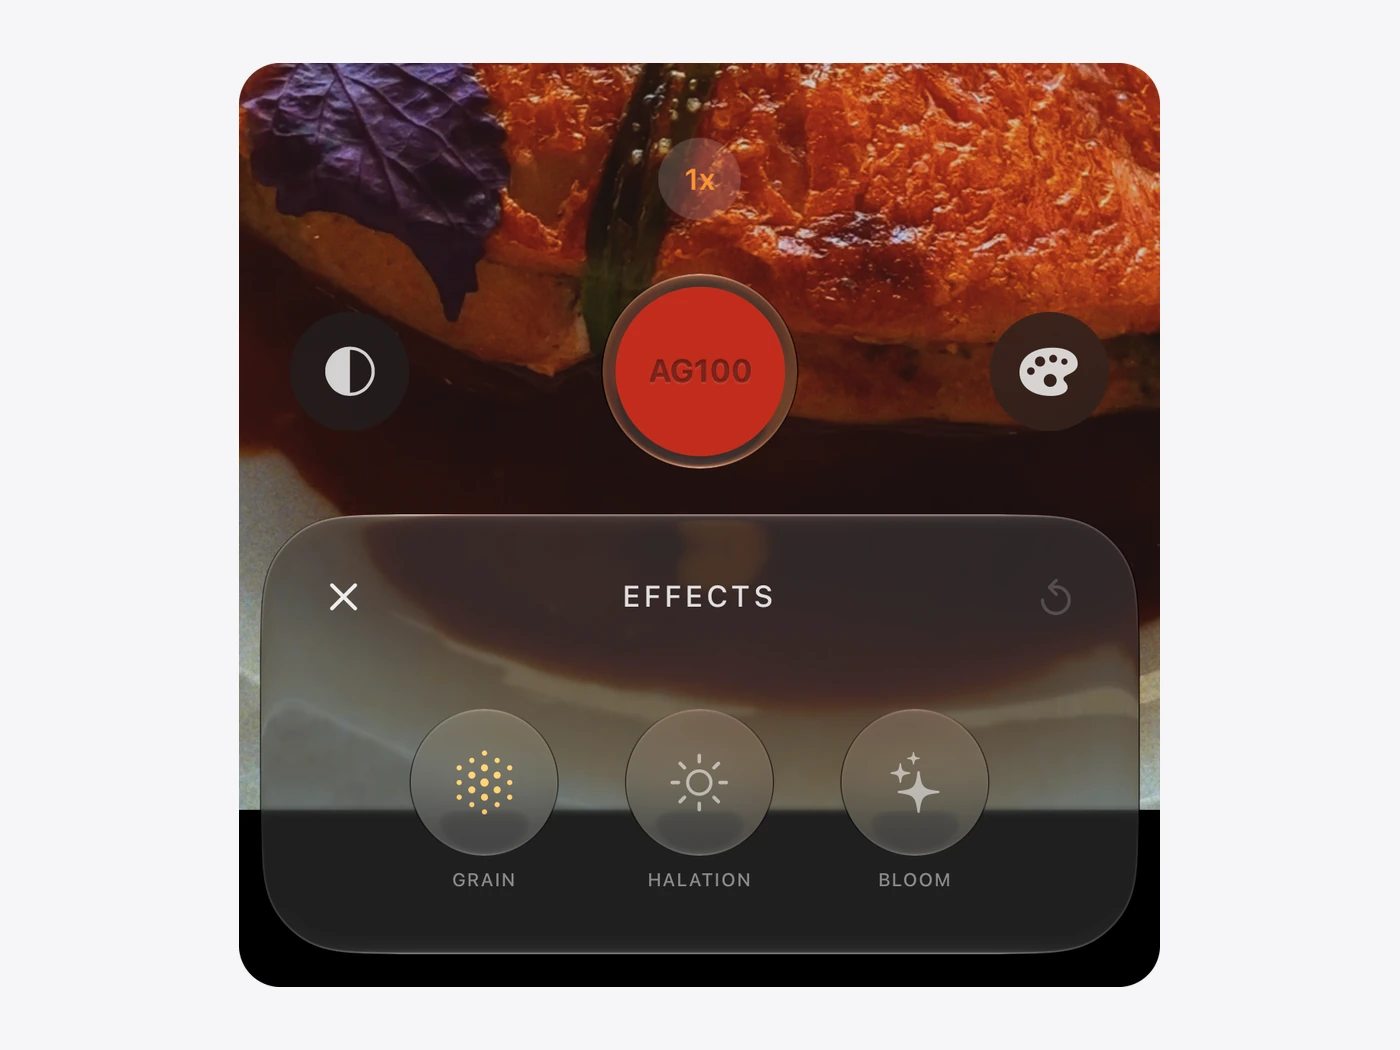
Grain is new from the ground up. It is fullest in the midtones, thins steadily toward white and stays clean in the highlights. It is the same grain in the viewfinder, the clip, the photo and the editor.
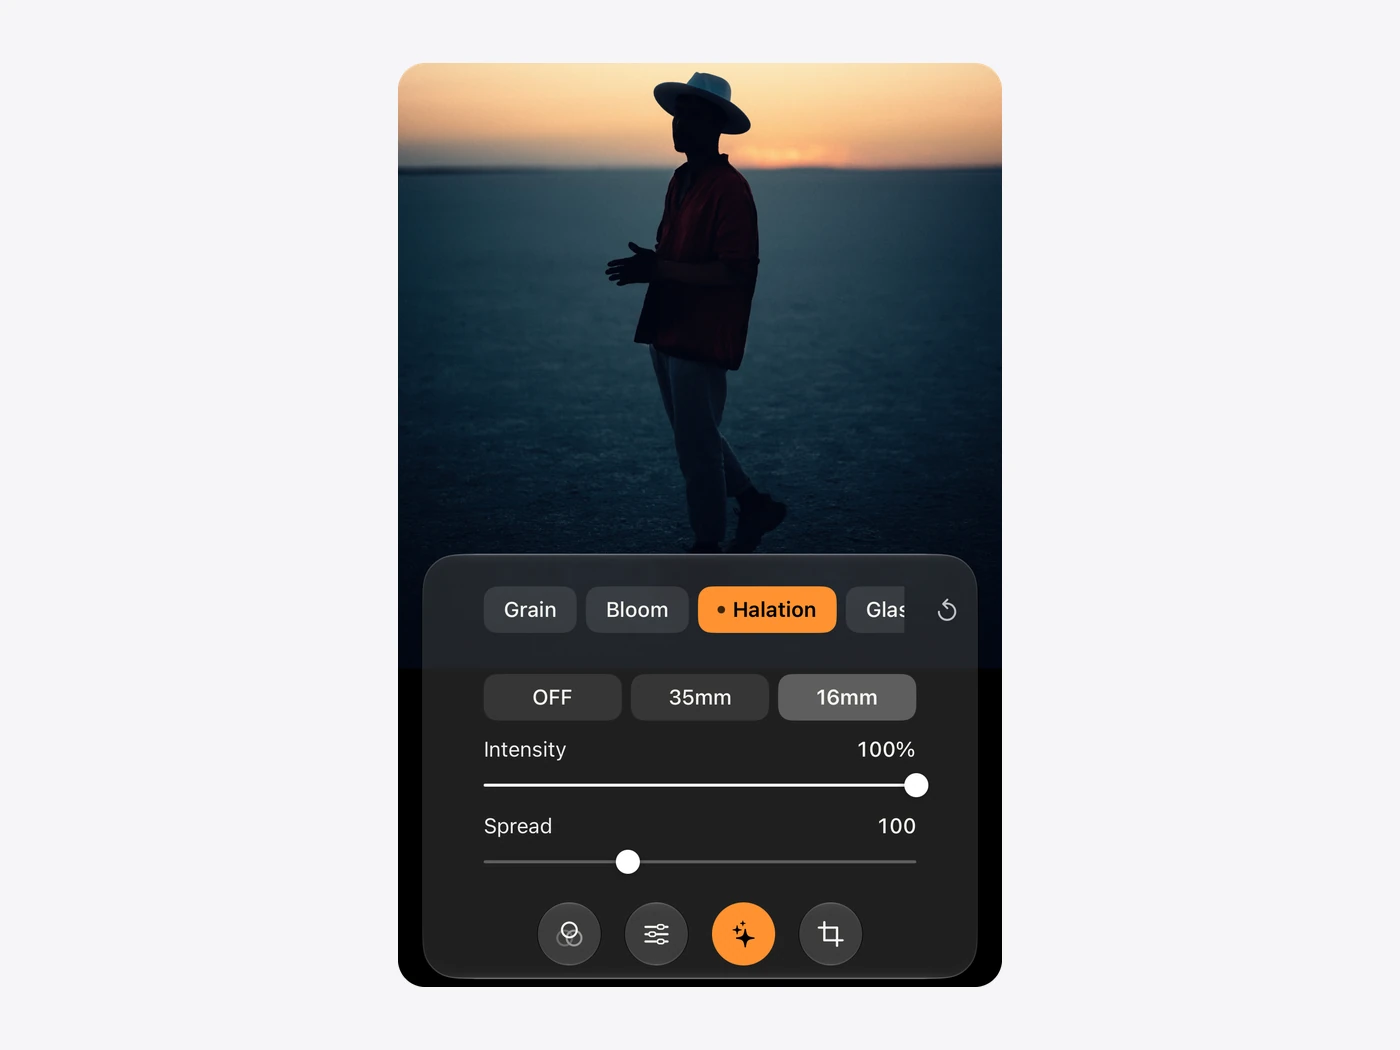
Halation is rebuilt the same way: light spreading at the moment of exposure, not a glow laid on afterwards. A photo and a clip of the same scene now agree.
The community opens: share a frame and the look it was made with, and see what others are shooting. New accounts' first posts are reviewed before they appear.
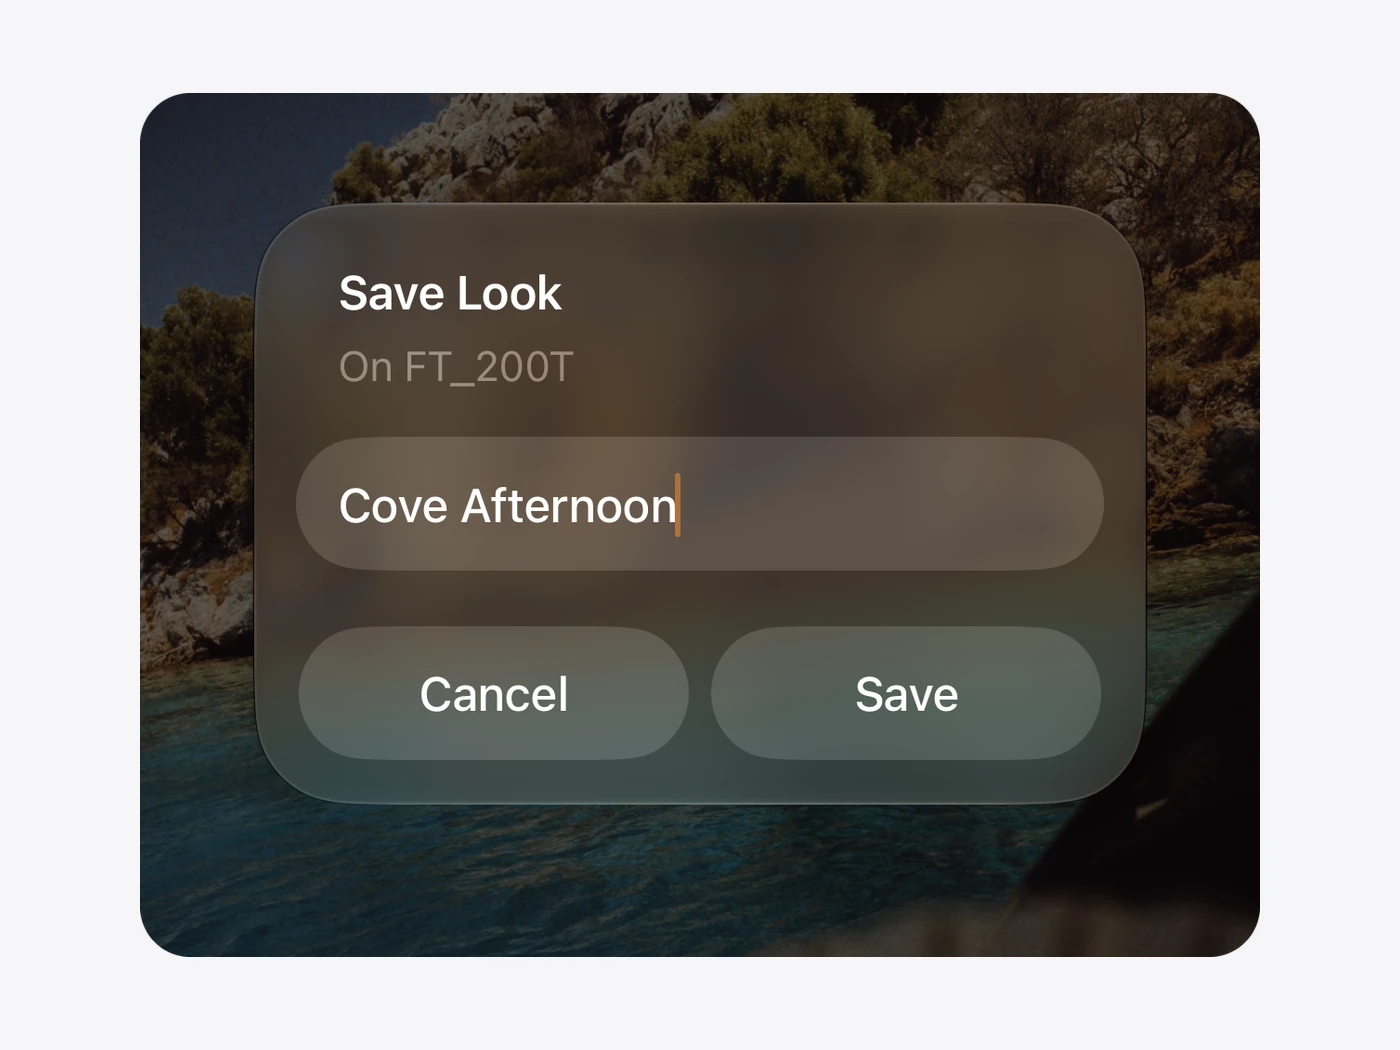
Save any edit as a look from the editor, give it a name, and shoot with it: the camera draws it live. Looks you keep from the community sit beside yours in My Looks.
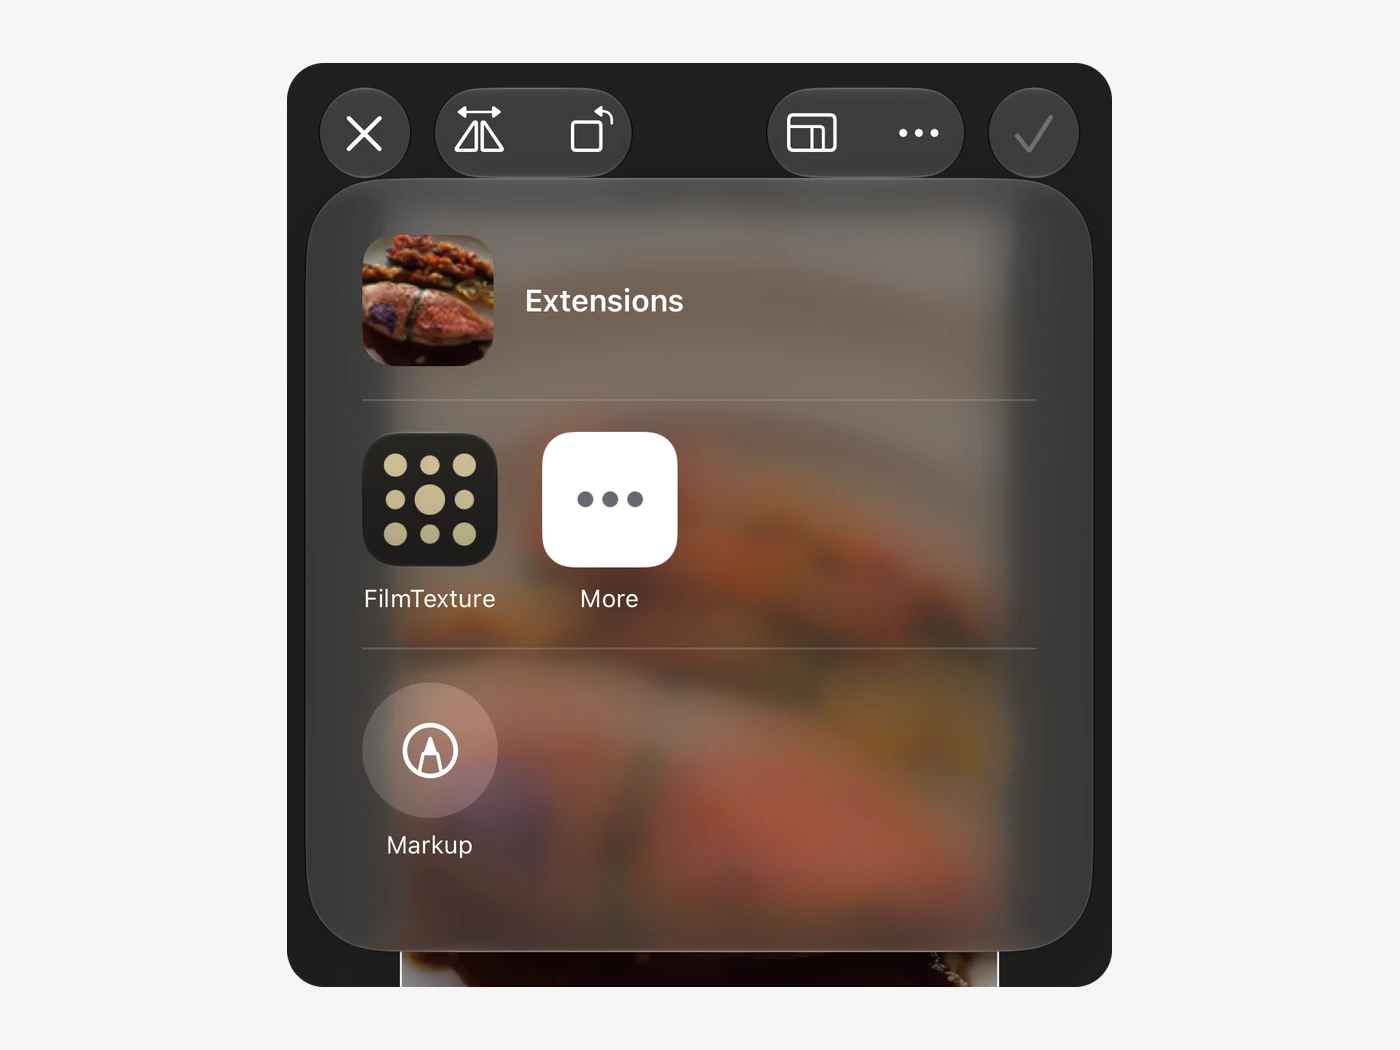
FilmTexture's looks are in the Photos editor. Edits save in place, and the original is always kept.